Ir para o conteúdo principal
Participe da comunidade de reparos - Criar conta

D-Link DIR-890L Power Switch Replacement

O que você precisa

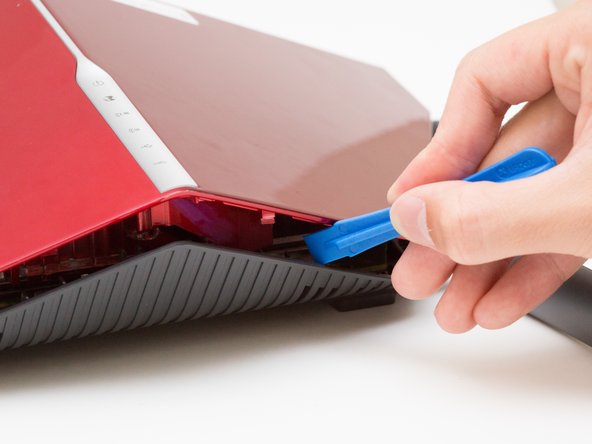
    1. D-Link DIR-890L Power Switch Replacement, Case: passo 1, imagem 1 %32 D-Link DIR-890L Power Switch Replacement, Case: passo 1, imagem 2 %32 D-Link DIR-890L Power Switch Replacement, Case: passo 1, imagem 3 %32
      • Peel off the four rubber rectangular feet with your fingers.

      • The feet may be hard to remove. Apply additional force if necessary.

      Pergunte ao FixBot

      Comentar

    2. D-Link DIR-890L Power Switch Replacement: passo 2, imagem 1 %32 D-Link DIR-890L Power Switch Replacement: passo 2, imagem 2 %32 D-Link DIR-890L Power Switch Replacement: passo 2, imagem 3 %32
      • Unscrew the 5mm screws in each corner using the Phillips #1 screwdriver.

      Pergunte ao FixBot

      Comentar

    3. D-Link DIR-890L Power Switch Replacement: passo 3, imagem 1 %32 D-Link DIR-890L Power Switch Replacement: passo 3, imagem 2 %32 D-Link DIR-890L Power Switch Replacement: passo 3, imagem 3 %32
      • Wedge the opening tool between the red top panel and the gray bottom panel.

      • Twist the opening tool to separate the panels. Work your way around the case until both of the panels are separated.

      Pergunte ao FixBot
      Comentar

    1. D-Link DIR-890L Power Switch Replacement, Motherboard: passo 4, imagem 1 %32
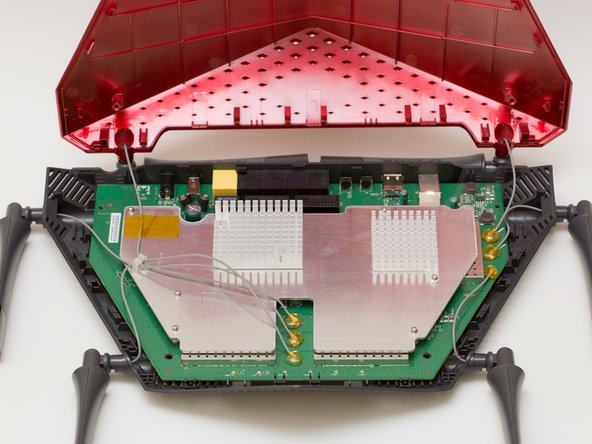
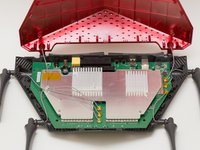
      • Orient the router so the narrow end of the router faces you and the ports face away from you.

      • The six, hot-glued antenna connections are in the middle and at the top right of the motherboard.

      Pergunte ao FixBot
      Comentar

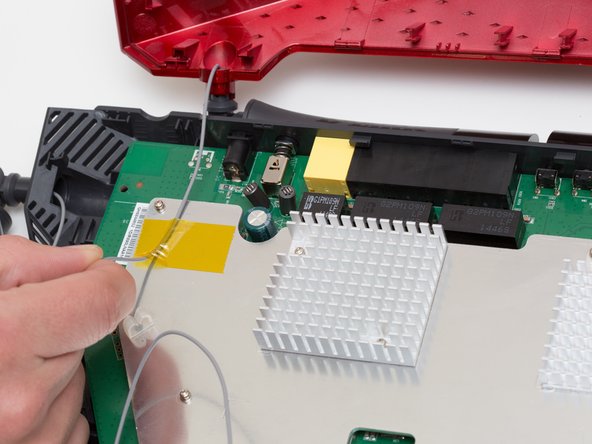
    2. D-Link DIR-890L Power Switch Replacement: passo 5, imagem 1 %32 D-Link DIR-890L Power Switch Replacement: passo 5, imagem 2 %32 D-Link DIR-890L Power Switch Replacement: passo 5, imagem 3 %32
      Ferramenta utilizada neste passo:
      Heavy-Duty Spudger
      $4.99
      Pergunte ao FixBot

      Comentar

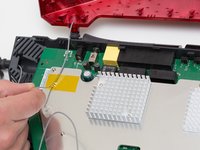
    3. D-Link DIR-890L Power Switch Replacement: passo 6, imagem 1 %32 D-Link DIR-890L Power Switch Replacement: passo 6, imagem 2 %32
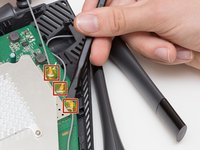
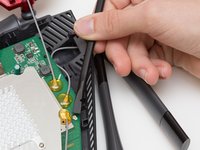
      • Continue to pry off the last three antenna connections on the upper right portion of the motherboard.

      Pergunte ao FixBot
      Comentar

    4. D-Link DIR-890L Power Switch Replacement: passo 7, imagem 1 %32 D-Link DIR-890L Power Switch Replacement: passo 7, imagem 2 %32 D-Link DIR-890L Power Switch Replacement: passo 7, imagem 3 %32
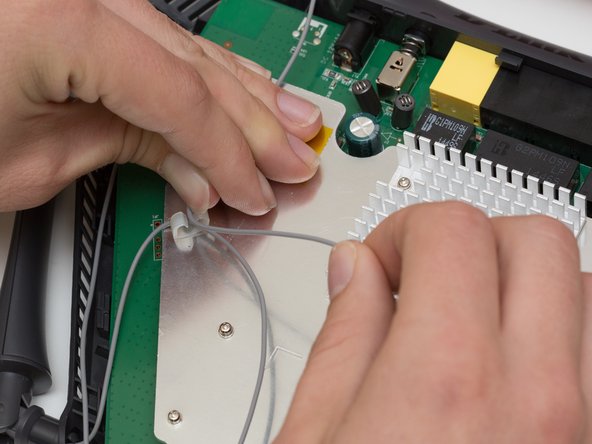
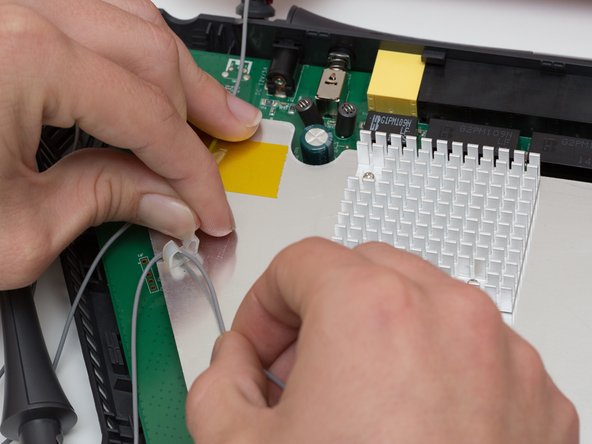
      • Open the plastic bracket enclosing the three antenna wires and pull the wires out with your hands.

      Pergunte ao FixBot
      Comentar

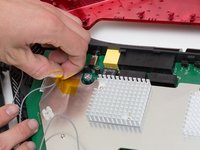
    5. D-Link DIR-890L Power Switch Replacement: passo 8, imagem 1 %32 D-Link DIR-890L Power Switch Replacement: passo 8, imagem 2 %32 D-Link DIR-890L Power Switch Replacement: passo 8, imagem 3 %32
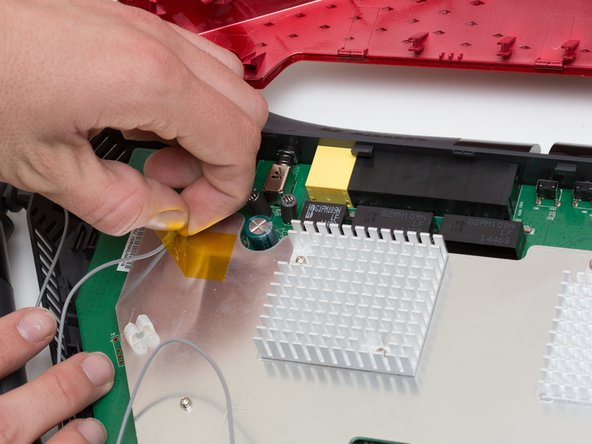
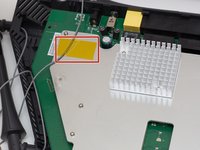
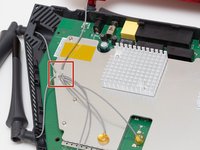
      • Pull the yellow tape off of the motherboard to release the final antenna wire.

      Pergunte ao FixBot
      Comentar

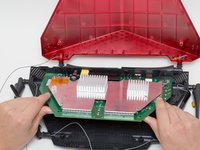
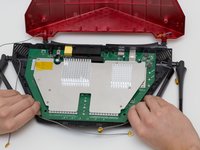
    6. D-Link DIR-890L Power Switch Replacement: passo 9, imagem 1 %32 D-Link DIR-890L Power Switch Replacement: passo 9, imagem 2 %32
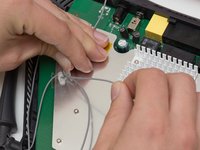
      • Pull the the motherboard away from the case to remove it. Start on the side closest to you, and pull up and out.

      Pergunte ao FixBot
      Comentar

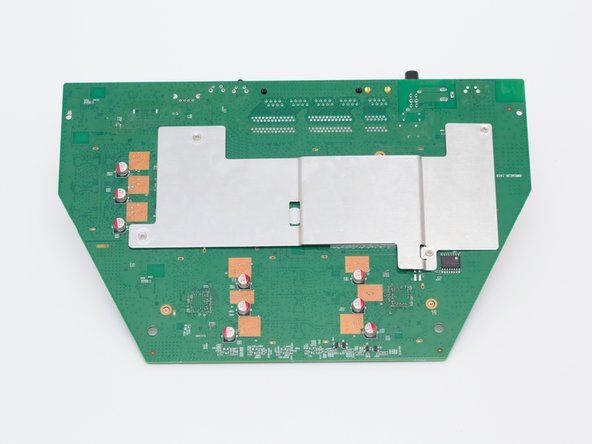
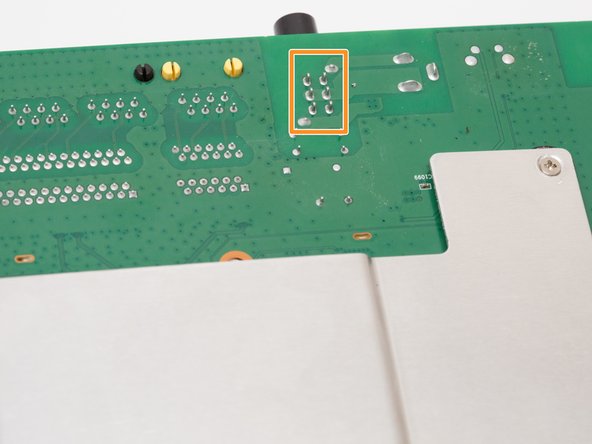
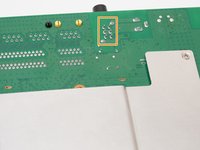
    1. D-Link DIR-890L Power Switch Replacement, Power Switch: passo 10, imagem 1 %32 D-Link DIR-890L Power Switch Replacement, Power Switch: passo 10, imagem 2 %32 D-Link DIR-890L Power Switch Replacement, Power Switch: passo 10, imagem 3 %32
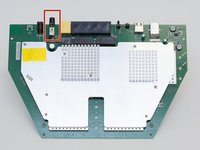
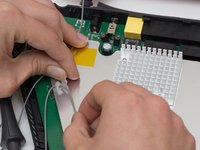
      • Locate the power switch on the top left of the motherboard.

      • The power switch is the component that sticks out the furthest.

      • Turn the motherboard upside down.

      • Locate the 6 solder joints that connect the power switch to the motherboard. They are arranged in 2 columns of 3.

      Pergunte ao FixBot
      Comentar

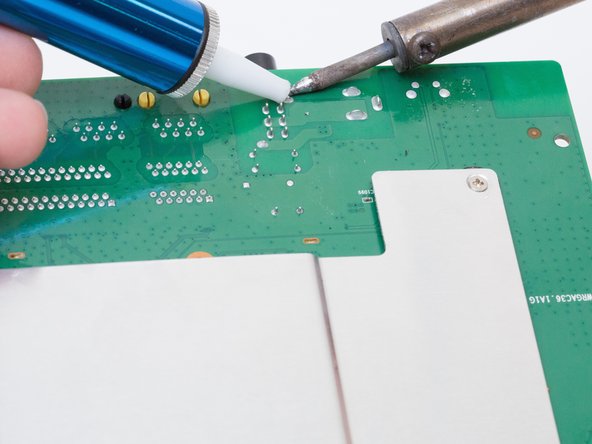
    2. D-Link DIR-890L Power Switch Replacement: passo 11, imagem 1 %32 D-Link DIR-890L Power Switch Replacement: passo 11, imagem 2 %32
      Ferramenta utilizada neste passo:
      Desoldering Pump
      $3.99
      • Using a soldering iron and desoldering pump, desolder the power switch from the board.

      • For more information, see this guide on desoldering.

      Pergunte ao FixBot

      Comentar

Conclusão

To reassemble your device, follow these instructions in reverse order.

Cancelar: não concluí este guia.

Rachel Shaw

Membro desde: 10/06/16

553 Reputação

Autoria de 5 guias

Equipe

Cal Poly, Team 10-7, Livingston Fall 2016 Membro de Cal Poly, Team 10-7, Livingston Fall 2016

CPSU-LIVINGSTON-F16S10G7

4 Membros

Autoria de 24 guias

0Comentários do guia

Comentar

Visualizações:

Últimas 24 horas: 2

Últimos 7 dias: 5

Últimos 30 dias: 31

Ao todo: 1,498