Ir para o conteúdo principal
Participe da comunidade de reparos - Criar conta

D-Link DIR-890L Power Adapter Port Replacement

O que você precisa

  1. D-Link DIR-890L Power Adapter Port Replacement, Case: passo 1, imagem 1 %32 D-Link DIR-890L Power Adapter Port Replacement, Case: passo 1, imagem 2 %32 D-Link DIR-890L Power Adapter Port Replacement, Case: passo 1, imagem 3 %32
    • Peel off the four rubber rectangular feet with your fingers.

    • The feet may be hard to remove. Apply additional force if necessary.

    Pergunte ao FixBot
  2. D-Link DIR-890L Power Adapter Port Replacement: passo 2, imagem 1 %32 D-Link DIR-890L Power Adapter Port Replacement: passo 2, imagem 2 %32 D-Link DIR-890L Power Adapter Port Replacement: passo 2, imagem 3 %32
    • Unscrew the 5mm screws in each corner using the Phillips #1 screwdriver.

    Pergunte ao FixBot
  3. D-Link DIR-890L Power Adapter Port Replacement: passo 3, imagem 1 %32 D-Link DIR-890L Power Adapter Port Replacement: passo 3, imagem 2 %32 D-Link DIR-890L Power Adapter Port Replacement: passo 3, imagem 3 %32
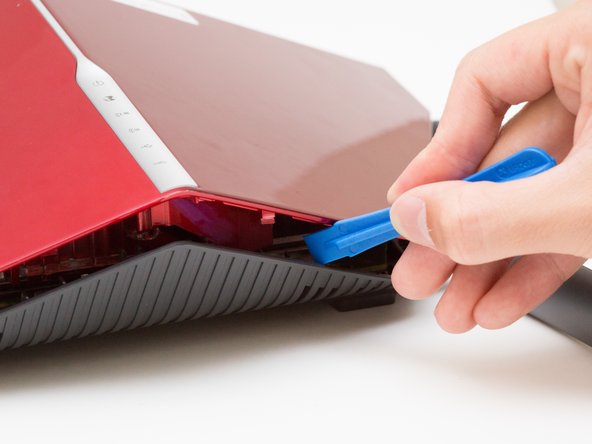
    • Wedge the opening tool between the red top panel and the gray bottom panel.

    • Twist the opening tool to separate the panels. Work your way around the case until both of the panels are separated.

    Pergunte ao FixBot
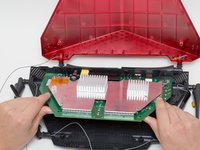
  4. D-Link DIR-890L Power Adapter Port Replacement, Motherboard: passo 4, imagem 1 %32
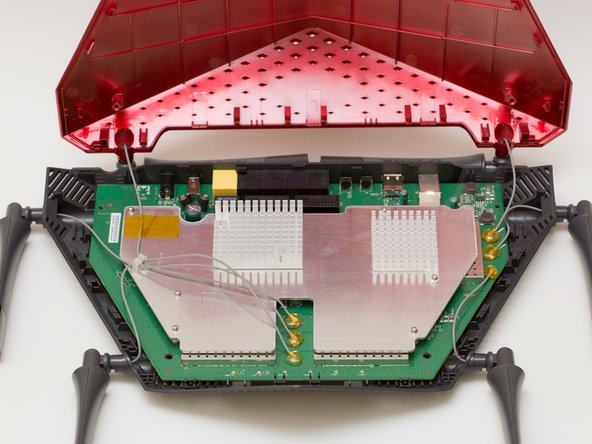
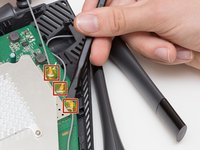
    • Orient the router so the narrow end of the router faces you and the ports face away from you.

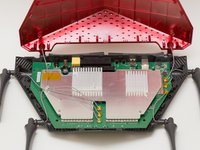
    • The six, hot-glued antenna connections are in the middle and at the top right of the motherboard.

    Pergunte ao FixBot
  5. D-Link DIR-890L Power Adapter Port Replacement: passo 5, imagem 1 %32 D-Link DIR-890L Power Adapter Port Replacement: passo 5, imagem 2 %32 D-Link DIR-890L Power Adapter Port Replacement: passo 5, imagem 3 %32
    Ferramenta utilizada neste passo:
    Heavy-Duty Spudger
    $4.99
    Pergunte ao FixBot
  6. D-Link DIR-890L Power Adapter Port Replacement: passo 6, imagem 1 %32 D-Link DIR-890L Power Adapter Port Replacement: passo 6, imagem 2 %32
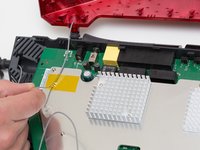
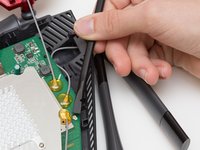
    • Continue to pry off the last three antenna connections on the upper right portion of the motherboard.

    Pergunte ao FixBot
  7. D-Link DIR-890L Power Adapter Port Replacement: passo 7, imagem 1 %32 D-Link DIR-890L Power Adapter Port Replacement: passo 7, imagem 2 %32 D-Link DIR-890L Power Adapter Port Replacement: passo 7, imagem 3 %32
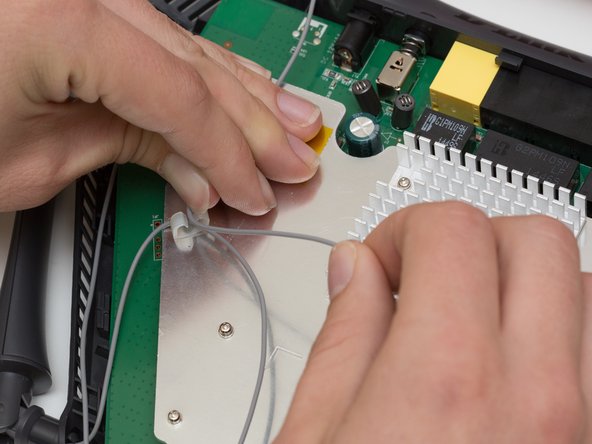
    • Open the plastic bracket enclosing the three antenna wires and pull the wires out with your hands.

    Pergunte ao FixBot
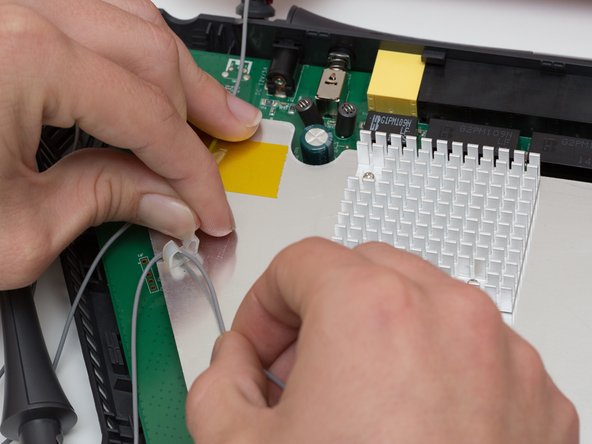
  8. D-Link DIR-890L Power Adapter Port Replacement: passo 8, imagem 1 %32 D-Link DIR-890L Power Adapter Port Replacement: passo 8, imagem 2 %32 D-Link DIR-890L Power Adapter Port Replacement: passo 8, imagem 3 %32
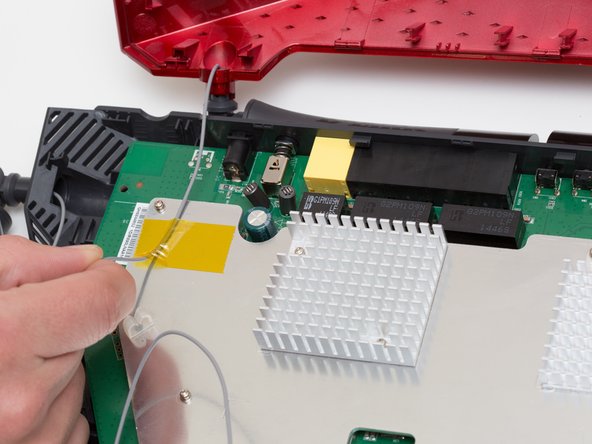
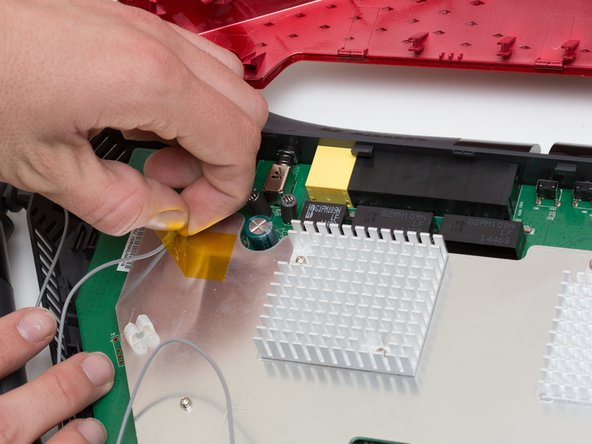
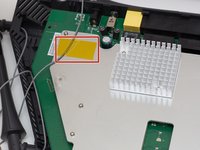
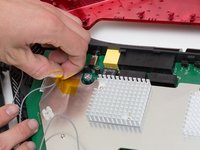
    • Pull the yellow tape off of the motherboard to release the final antenna wire.

    Pergunte ao FixBot
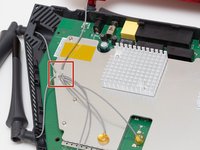
  9. D-Link DIR-890L Power Adapter Port Replacement: passo 9, imagem 1 %32 D-Link DIR-890L Power Adapter Port Replacement: passo 9, imagem 2 %32
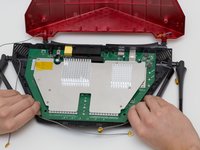
    • Pull the the motherboard away from the case to remove it. Start on the side closest to you, and pull up and out.

    Pergunte ao FixBot
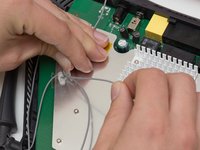
  10. D-Link DIR-890L Power Adapter Port Replacement, Power Adapter Port: passo 10, imagem 1 %32 D-Link DIR-890L Power Adapter Port Replacement, Power Adapter Port: passo 10, imagem 2 %32 D-Link DIR-890L Power Adapter Port Replacement, Power Adapter Port: passo 10, imagem 3 %32
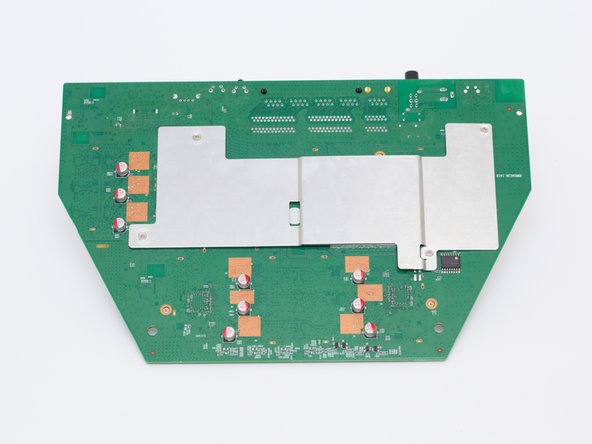
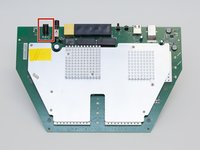
    • Locate the power adapter port at the top left of the motherboard.

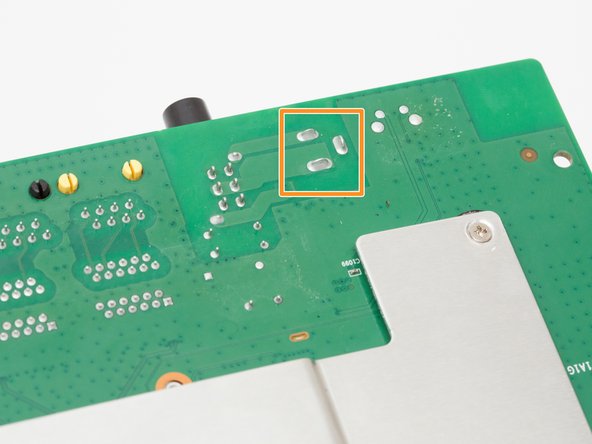
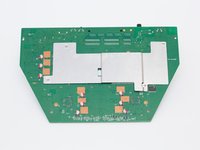
    • Flip the motherboard over.

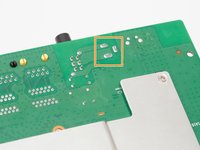
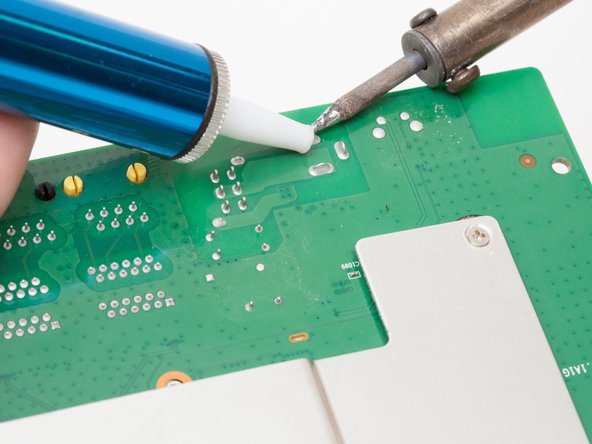
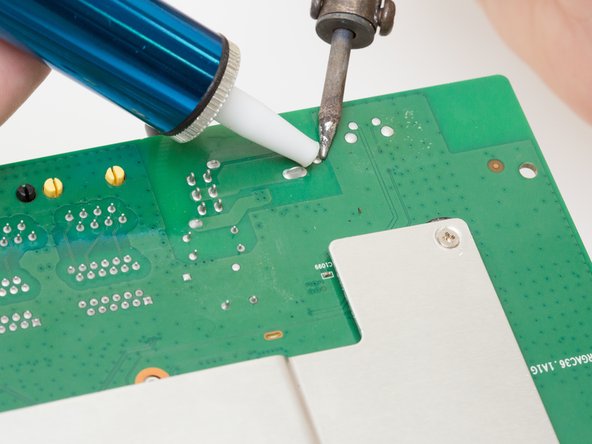
    • Locate the 3 solder joints that connect the power adapter port to the motherboard.

    Pergunte ao FixBot
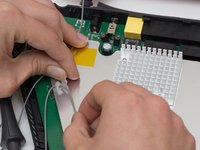
  11. D-Link DIR-890L Power Adapter Port Replacement: passo 11, imagem 1 %32 D-Link DIR-890L Power Adapter Port Replacement: passo 11, imagem 2 %32 D-Link DIR-890L Power Adapter Port Replacement: passo 11, imagem 3 %32
    Ferramenta utilizada neste passo:
    Desoldering Pump
    $3.99
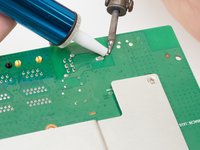
    • Using a soldering iron and desoldering pump, desolder the power adapter port from the board.

    • For more information, see this guide on desoldering

    Pergunte ao FixBot
Conclusão

To reassemble your device, follow these instructions in reverse order.

Uma outra pessoa concluiu este guia.

Rachel Shaw

Membro desde: 10/06/16

553 Reputação

Autoria de 5 guias

Equipe

Cal Poly, Team 10-7, Livingston Fall 2016 Membro de Cal Poly, Team 10-7, Livingston Fall 2016

CPSU-LIVINGSTON-F16S10G7

4 Membros

Autoria de 12 guias

1Comentário do guia

What are the specifications of the power port if we would like to replace it?
Chad Altobelli - Responder Compartilhar

Comentar

Visualizações:

Últimas 24 horas: 0

Últimos 7 dias: 3

Últimos 30 dias: 41

Ao todo: 896