Ir para o conteúdo principal
Participe da comunidade de reparos - Criar conta

Conair Infiniti Pro Model 259NP Hot/Cold Button Replacement

O que você precisa

    1. Conair Infiniti Pro Model 259NP Hot/Cold Button Replacement, Back Panel: passo 1, imagem 1 %32
      • Caution: Unplug the hair dryer before attempting this guide. Leaving the device plugged in may result in electrocution and damage to the device.

      • Hold the hair dryer by the handle so that the back panel faces up.

      Pergunte ao FixBot

      Comentar

    2. Conair Infiniti Pro Model 259NP Hot/Cold Button Replacement: passo 2, imagem 1 %32 Conair Infiniti Pro Model 259NP Hot/Cold Button Replacement: passo 2, imagem 2 %32
      • Remove the two 15.875 mm Phillips #2 screws from the back panel.

      Pergunte ao FixBot

      Comentar

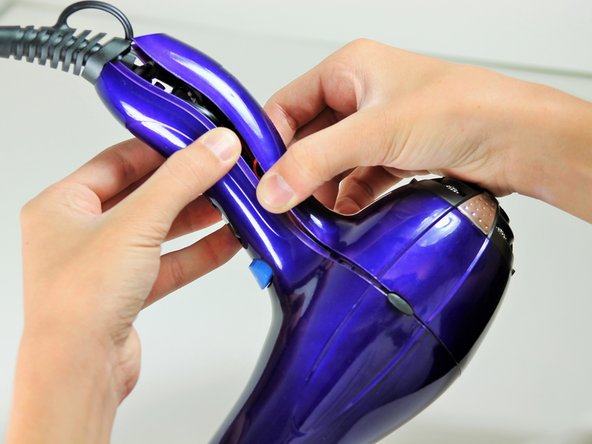
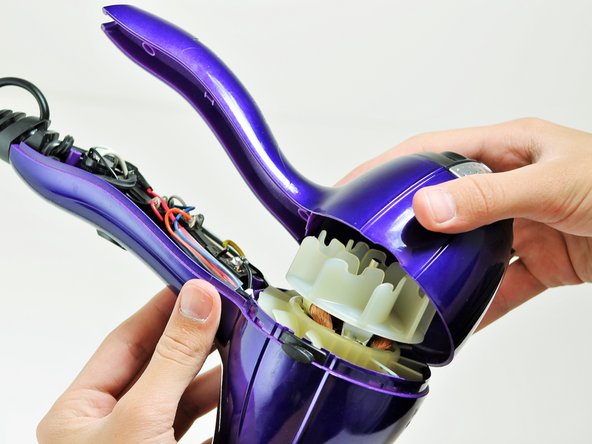
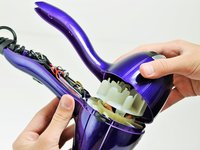
    3. Conair Infiniti Pro Model 259NP Hot/Cold Button Replacement: passo 3, imagem 1 %32 Conair Infiniti Pro Model 259NP Hot/Cold Button Replacement: passo 3, imagem 2 %32 Conair Infiniti Pro Model 259NP Hot/Cold Button Replacement: passo 3, imagem 3 %32
      • Starting from where the cord attaches to the handle, pull apart the two plastic panels.

      • Continue separating the back panel, working along the seam.

      • With moderate force, completely remove the back panel from the hair dryer.

      Pergunte ao FixBot

      Comentar

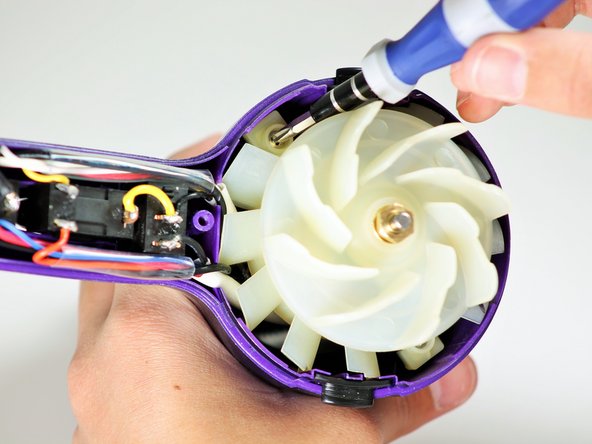
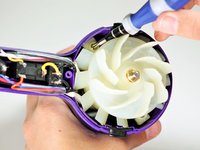
    1. Conair Infiniti Pro Model 259NP Hot/Cold Button Replacement, Fan Motor Assembly: passo 4, imagem 1 %32 Conair Infiniti Pro Model 259NP Hot/Cold Button Replacement, Fan Motor Assembly: passo 4, imagem 2 %32
      • Hold the hair dryer by the nozzle so that the handle points to the left.

      • Remove the two 1-inch Phillips #2 screws from the back of the fan motor.

      Pergunte ao FixBot

      Comentar

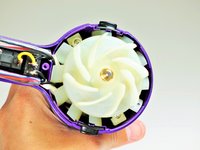
    2. Conair Infiniti Pro Model 259NP Hot/Cold Button Replacement: passo 5, imagem 1 %32 Conair Infiniti Pro Model 259NP Hot/Cold Button Replacement: passo 5, imagem 2 %32 Conair Infiniti Pro Model 259NP Hot/Cold Button Replacement: passo 5, imagem 3 %32
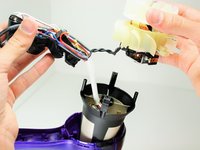
      • Caution: If you recently used the hair dryer, wait at least 10 minutes before attempting this step. The heating element may still be very hot and can cause serious burns.

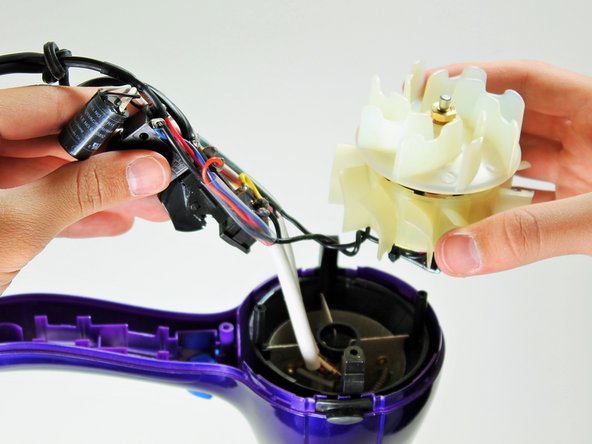
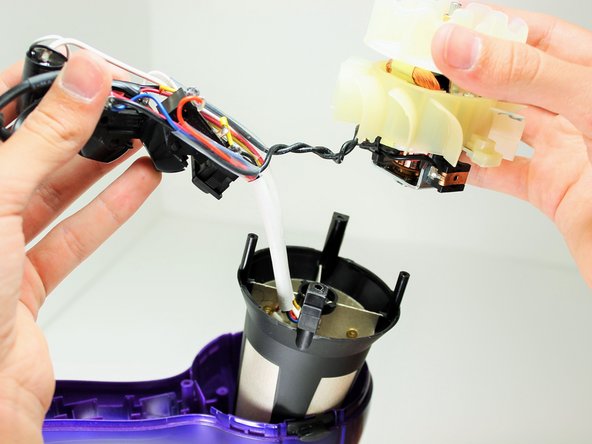
      • Pull on the back of the fan motor to gently lift the motor out of the hair dryer.

      • Lift the attached electrical wiring and heat shield completely out of the hair dryer.

      Pergunte ao FixBot

      Comentar

    1. Conair Infiniti Pro Model 259NP Hot/Cold Button Replacement, Hot/Cold Button: passo 6, imagem 1 %32
      • Caution: Do not attempt to open or tamper with the capacitor. You may suffer severe electrical shocks.

      • Hold the electrical switches so that the wires are facing upwards.

      Pergunte ao FixBot

      Comentar

    2. Conair Infiniti Pro Model 259NP Hot/Cold Button Replacement: passo 7, imagem 1 %32
      • Focus on the middle of the three buttons.

      • Desolder the button at the circled locations.

      • To reattach the new button, resolder at the same points. Be sure the wires connect to the correct locations.

      Pergunte ao FixBot

      Comentar

Conclusão

To reassemble your device, follow these instructions in reverse order.

Cancelar: não concluí este guia.

2 outras pessoas executaram este guia.

Timothy Lo

Membro desde: 04/22/14

1.214 Reputação

Autoria de 7 guias

Equipe

Cal Poly, Team 10-58, Amido Spring 2014 Membro de Cal Poly, Team 10-58, Amido Spring 2014

CPSU-AMIDO-S14S10G58

4 Membros

Autoria de 14 guias

2Comentários do guia

so where do you buy parts???

akatser1 - Responder Compartilhar

That's not a capacitor, that's an ion generator like this one https://www.goldmine-elec-products.com/p...

Shannon Carey - Responder Compartilhar

Comentar

Visualizações:

Últimas 24 horas: 3

Últimos 7 dias: 11

Últimos 30 dias: 53

Ao todo: 5,314