Ir para o conteúdo principal
Participe da comunidade de reparos - Criar conta

Beats Studio3 Wireless Hinge Replacement

O que você precisa

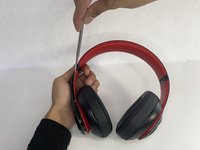
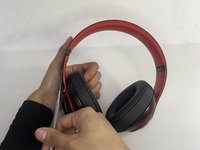
  1. Beats Studio3 Wireless Hinge Replacement, Ear Pad: passo 1, imagem 1 %32 Beats Studio3 Wireless Hinge Replacement, Ear Pad: passo 1, imagem 2 %32
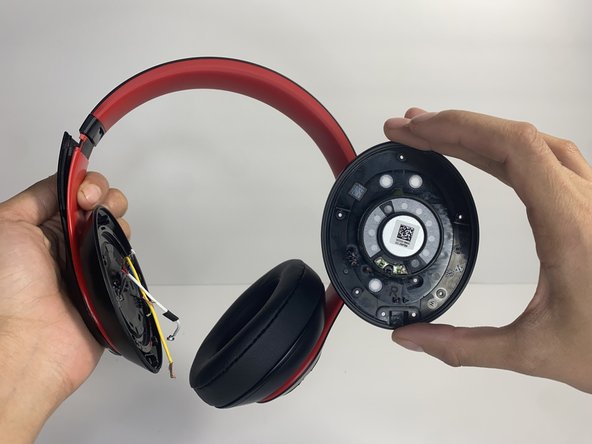
    • Find the separation between the headset and ear cushion.

    • Use an opening tool to go underneath the separation site and split the pieces apart.

    Pergunte ao FixBot

    Comentar

  2. Beats Studio3 Wireless Hinge Replacement: passo 2, imagem 1 %32 Beats Studio3 Wireless Hinge Replacement: passo 2, imagem 2 %32 Beats Studio3 Wireless Hinge Replacement: passo 2, imagem 3 %32
    • You can also use your hands to remove it completely.

    • Pulling it off can be challenging; make sure to apply enough pressure.

    Pergunte ao FixBot

    Comentar

  3. Beats Studio3 Wireless Hinge Replacement, Left Driver Assembly: passo 3, imagem 1 %32 Beats Studio3 Wireless Hinge Replacement, Left Driver Assembly: passo 3, imagem 2 %32
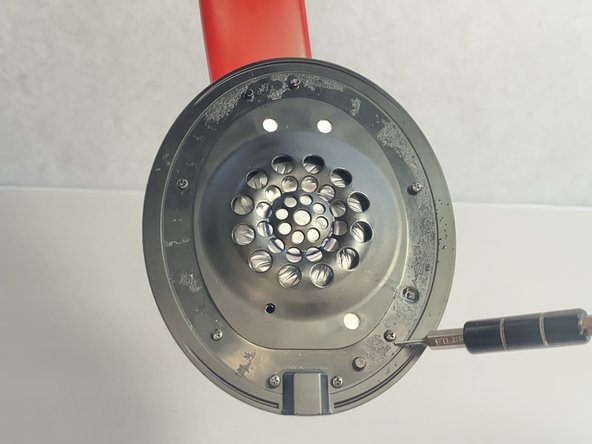
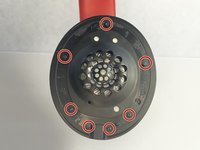
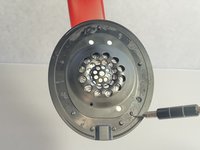
    • Remove seven 3.6 mm screws holding the speaker assembly in place using a Phillips #0 screwdriver.

    • Make sure the screws aren't close to the speaker; due to it being a magnet, the screws could get stuck and damage the speaker.

    • Open the speaker by pulling the top layer of the speaker.

    Pergunte ao FixBot

    Comentar

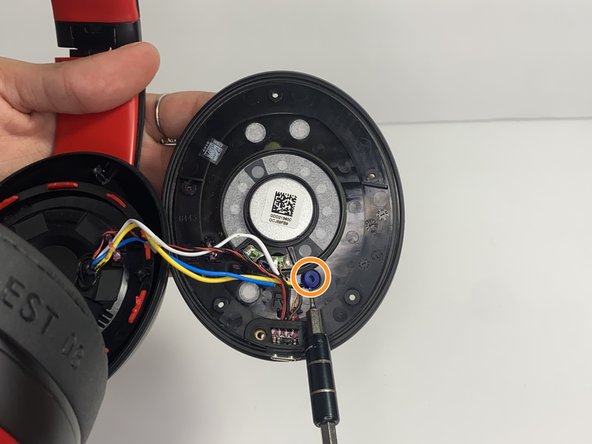
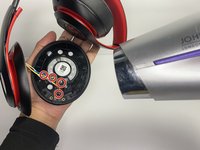
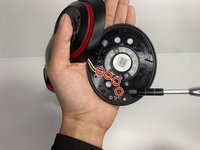
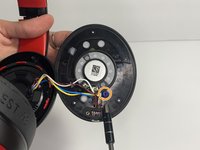
  4. Beats Studio3 Wireless Hinge Replacement: passo 4, imagem 1 %32 Beats Studio3 Wireless Hinge Replacement: passo 4, imagem 2 %32 Beats Studio3 Wireless Hinge Replacement: passo 4, imagem 3 %32
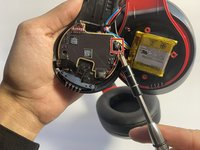
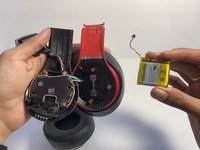
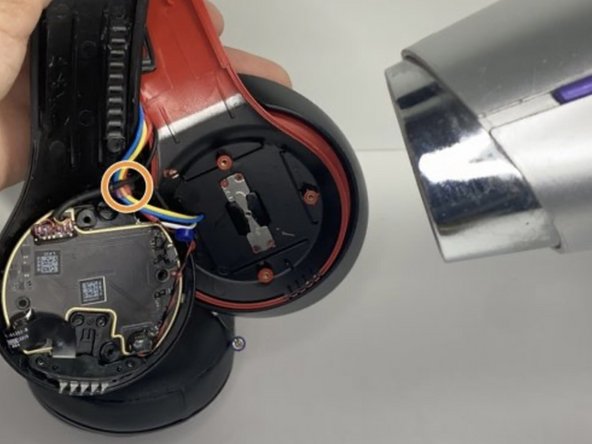
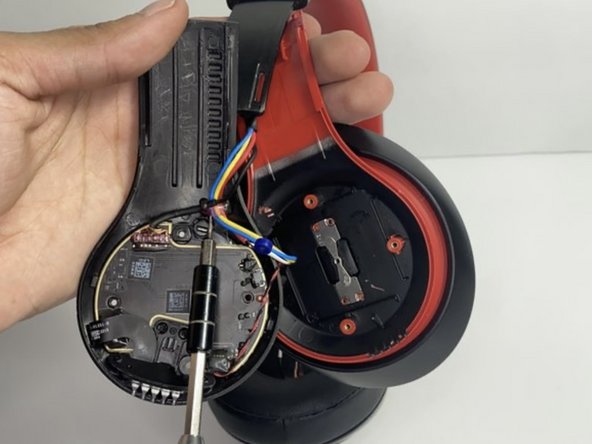
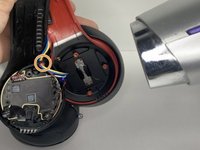
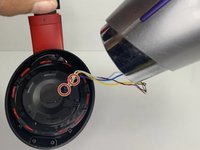
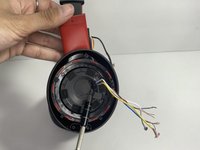
    • With a heat gun or hair dryer, heat the glue that is sticking the wires down until the glue softens.

    • Use a nylon spudger to remove the glue.

    • Pull on the wire to remove it while also removing the blue rubber band.

    Pergunte ao FixBot

    Comentar

  5. Beats Studio3 Wireless Hinge Replacement: passo 5, imagem 1 %32 Beats Studio3 Wireless Hinge Replacement: passo 5, imagem 2 %32 Beats Studio3 Wireless Hinge Replacement: passo 5, imagem 3 %32
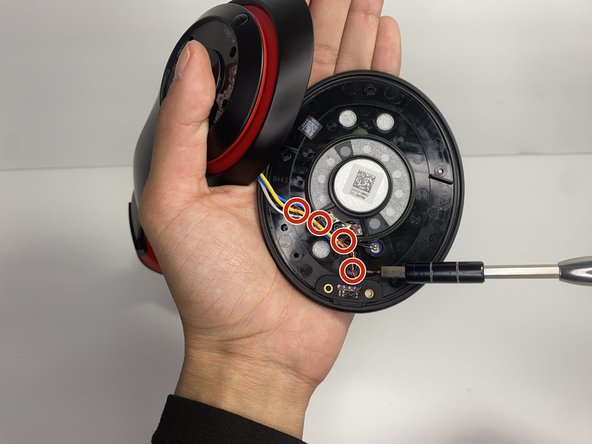
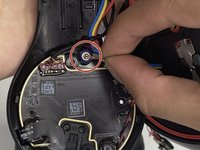
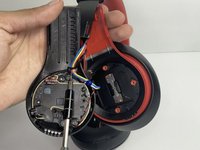
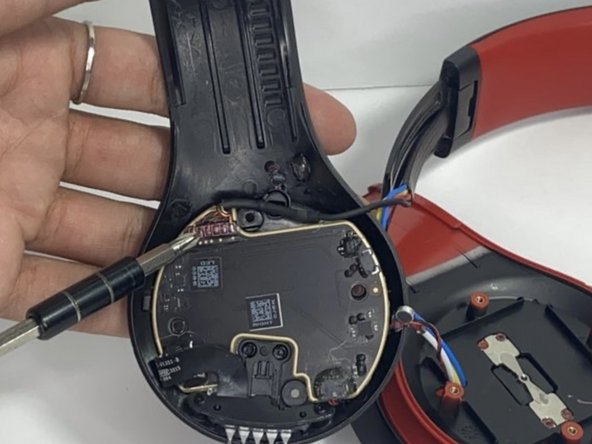
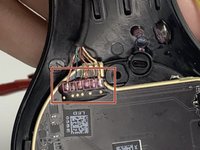
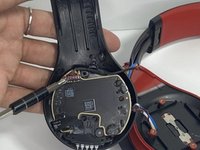
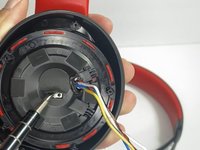
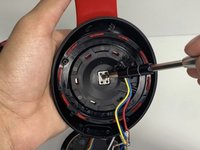
    • Using a soldering iron to remove the cables on the charger port.

    • For help with soldering, check out the How to Solder and Desolder Connections guide.

    • Remove the two wires connected in the middle of the speaker using a soldering iron.

    • Remove the speaker from the headset.

    Pergunte ao FixBot

    Comentar

  6. Beats Studio3 Wireless Hinge Replacement, Battery: passo 6, imagem 1 %32 Beats Studio3 Wireless Hinge Replacement, Battery: passo 6, imagem 2 %32
    • Use a pointed nylon spudger to remove the center circular panel on the right side of your device.

    • Be gentle while removing this piece as it is glued on with adhesive.

    Pergunte ao FixBot

    Comentar

  7. Beats Studio3 Wireless Hinge Replacement: passo 7, imagem 1 %32 Beats Studio3 Wireless Hinge Replacement: passo 7, imagem 2 %32
    • Remove the four 3.5 mm screws using a Phillips #0 screwdriver.

    Pergunte ao FixBot

    Comentar

  8. Beats Studio3 Wireless Hinge Replacement: passo 8, imagem 1 %32 Beats Studio3 Wireless Hinge Replacement: passo 8, imagem 2 %32 Beats Studio3 Wireless Hinge Replacement: passo 8, imagem 3 %32
    • Using a pointed nylon spudger, remove the tab located on the inner part of the headband labeled "R."

    • Place the nylon spudger in between the side panels and push inward going from bottom to top to separate both sides of the panel.

    • The panel will pop open after separating.

    Pergunte ao FixBot

    Comentar

  9. Beats Studio3 Wireless Hinge Replacement: passo 9, imagem 1 %32
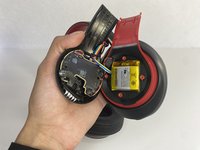
    • Place the nylon spudger underneath the battery, push inward and separate the battery from the inside.

    • Never use sharp tools to pry batteries. Metal spudgers can puncture an unprotected battery, potentially causing a fire.

    Pergunte ao FixBot

    Comentar

  10. Beats Studio3 Wireless Hinge Replacement: passo 10, imagem 1 %32 Beats Studio3 Wireless Hinge Replacement: passo 10, imagem 2 %32
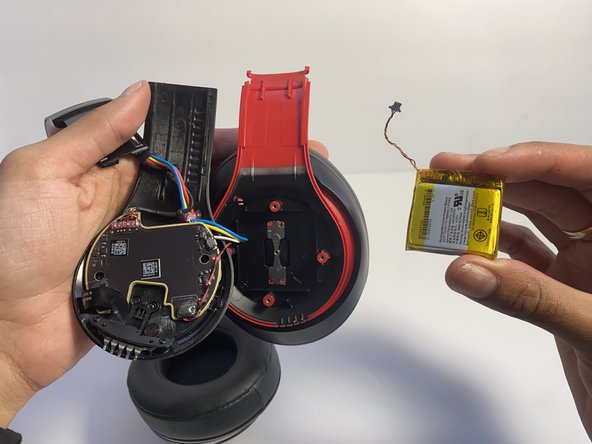
    • Use a nylon spudger to lift up the glue sticking the wires down.

    • Use a nylon spudger to lift the connector to disconnect the battery.

    Pergunte ao FixBot

    Comentar

  11. Beats Studio3 Wireless Hinge Replacement, Hinge: passo 11, imagem 1 %32 Beats Studio3 Wireless Hinge Replacement, Hinge: passo 11, imagem 2 %32 Beats Studio3 Wireless Hinge Replacement, Hinge: passo 11, imagem 3 %32
    • Pull the wire making sure that the blue rubber band is off.

    • Heat the glue holding the wires down with a hair dryer or heat gun until the glue softens.

    • Make sure not to overheat any device part, which could cause damage to the sound.

    • With a pointed nylon spudger, remove the glue.

    Pergunte ao FixBot

    Comentar

  12. Beats Studio3 Wireless Hinge Replacement: passo 12, imagem 1 %32 Beats Studio3 Wireless Hinge Replacement: passo 12, imagem 2 %32
    Pergunte ao FixBot

    Comentar

  13. Beats Studio3 Wireless Hinge Replacement: passo 13, imagem 1 %32 Beats Studio3 Wireless Hinge Replacement: passo 13, imagem 2 %32 Beats Studio3 Wireless Hinge Replacement: passo 13, imagem 3 %32
    • With a hair dryer or heating gun, heat the glue that is sticking the wires down.

    • Use a nylon spudger to remove the softened glue.

    • Remove the circular tape inside of the ear pad.

    Pergunte ao FixBot

    Comentar

  14. Beats Studio3 Wireless Hinge Replacement: passo 14, imagem 1 %32 Beats Studio3 Wireless Hinge Replacement: passo 14, imagem 2 %32
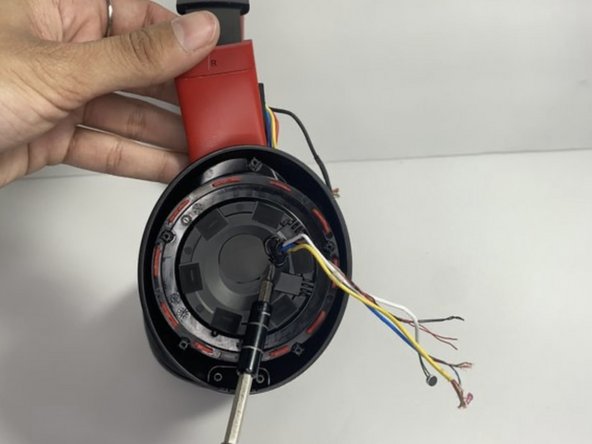
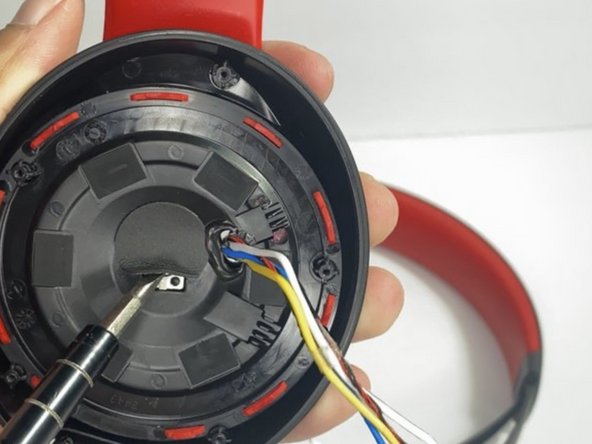
    • Remove the single 3.5 mm screw with a Phillips #0 screwdriver.

    • Pull apart the top layer of the earpiece.

    Pergunte ao FixBot

    Comentar

  15. Beats Studio3 Wireless Hinge Replacement: passo 15, imagem 1 %32 Beats Studio3 Wireless Hinge Replacement: passo 15, imagem 2 %32
    • Remove the tape holding the wires in place.

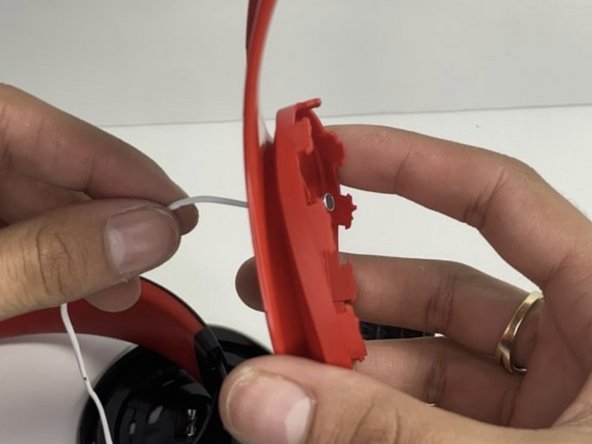
    • Pull the wires through the hole with your hand.

    Pergunte ao FixBot

    Comentar

  16. Beats Studio3 Wireless Hinge Replacement: passo 16, imagem 1 %32
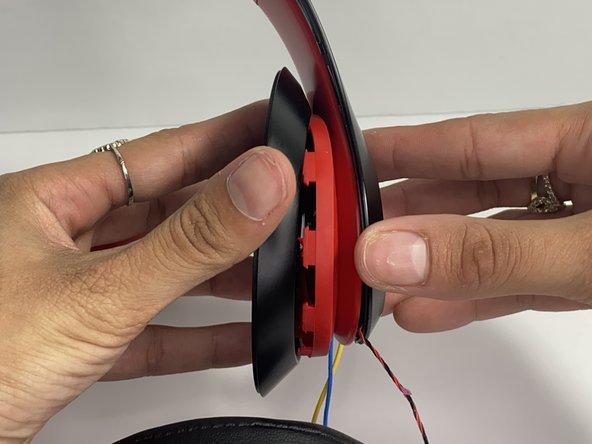
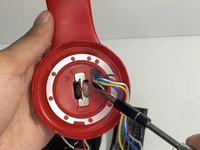
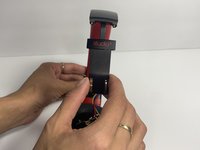
    • Bend the hinge and remove the two 3.5 mm screws with a Phillips #0 screwdriver.

    Pergunte ao FixBot

    Comentar

  17. Beats Studio3 Wireless Hinge Replacement: passo 17, imagem 1 %32 Beats Studio3 Wireless Hinge Replacement: passo 17, imagem 2 %32 Beats Studio3 Wireless Hinge Replacement: passo 17, imagem 3 %32
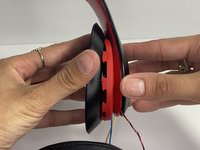
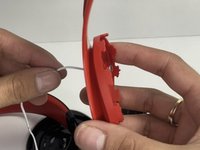
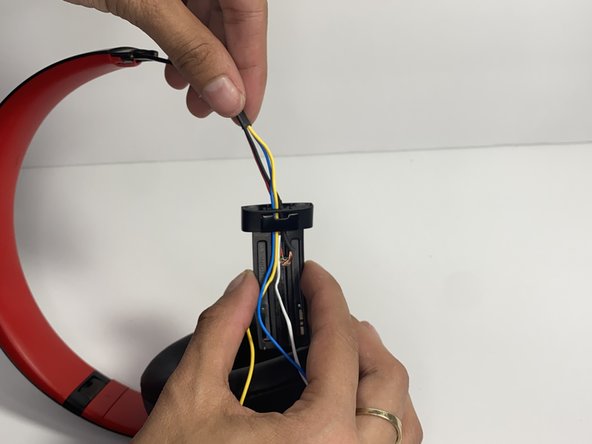
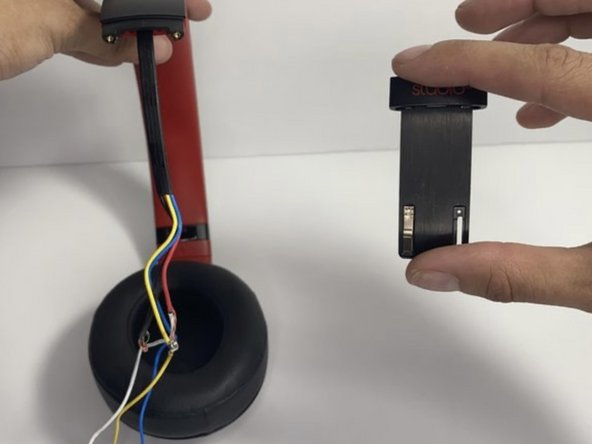
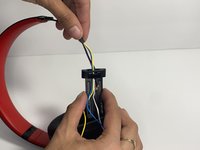
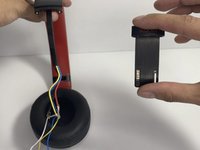
    • Pull the hinge down.

    • Pull on the wires one at a time making sure you don't damage them.

    Pergunte ao FixBot

    Comentar

  18. Beats Studio3 Wireless Hinge Replacement: passo 18, imagem 1 %32 Beats Studio3 Wireless Hinge Replacement: passo 18, imagem 2 %32
    Ferramenta utilizada neste passo:
    Tweezers
    $4.99
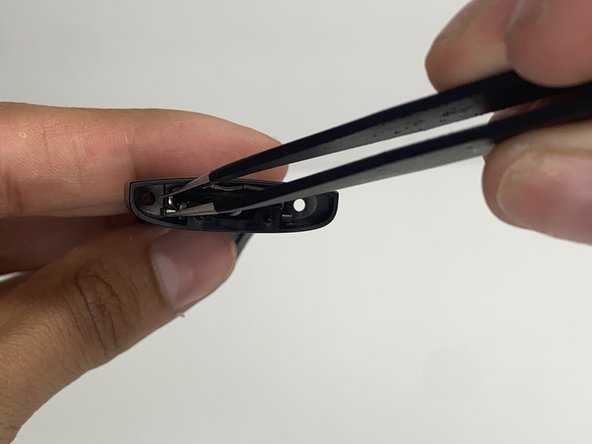
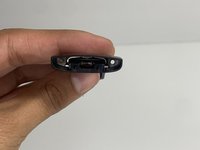
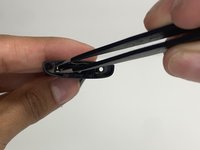
    • With tweezers, remove the pin located inside of the hinge.

    Pergunte ao FixBot

    Comentar

Conclusão

To reassemble your device, follow these instructions in reverse order.

Cancelar: não concluí este guia.

Uma outra pessoa concluiu este guia.

Nayeli watts

Membro desde: 03/16/23

543 Reputação

Autoria de 3 guias

Equipe

0Comentários do guia

Comentar

Visualizações:

Últimas 24 horas: 6

Últimos 7 dias: 49

Últimos 30 dias: 252

Ao todo: 10,771