Introdução
Replacing your HDD on your Asus laptop is fairly simple. Before you decide a replacement HDD is necessary refer to the troubleshooting page
O que você precisa
-
-
-
Flip your device so that the back of the device is facing you.
 Pergunte ao FixBot
-
-
-
-
Remove the four screws using your Phillips #0 screwdriver to attain access to your Hard Drive.
-
Remove the panel using a plastic opening tool.
-
-
-
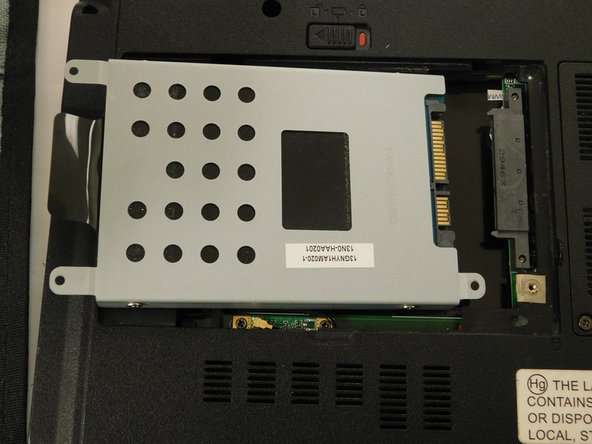
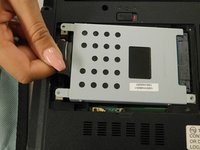
Gently pull the black strip and the Hard Drive should slide right off. Pull your hard drive to the side not up to avoid damage to the slot.
-
-


To reassemble your device, follow these instructions in reverse order.
Cancelar: não concluí este guia.
Uma outra pessoa concluiu este guia.

Equipe

Gateway, Team S1-G2, Saknee Spring 2019 Membro de Gateway, Team S1-G2, Saknee Spring 2019
GCC-SAKNEE-S19S1G2
5 Membros
Autoria de 21 guias
