Introdução
If your Arlo Pro 2 camera is damaged, blurry, or not providing a video feed, follow this guide to replace the devices camera lens.
If the Arlo camera has fallen or been interfered with it may be not show a clear picture on the connected device.
Before using the guide, disconnect the Arlo Pro 2 camera from the device and power it off.
O que você precisa
-
-
-
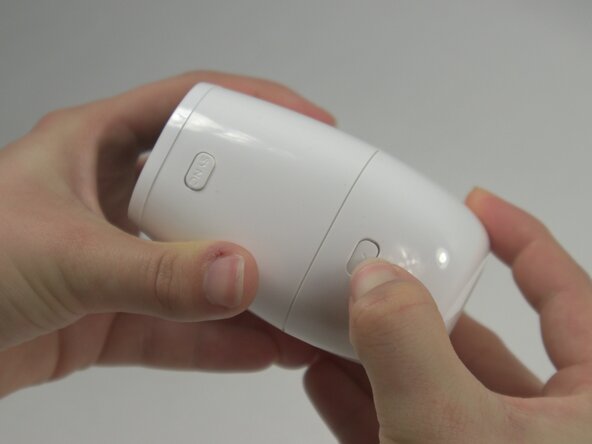
Press the release button on the camera and gently pull apart the casing to open the device.
-
Remove the battery from inside the case.
 Pergunte ao FixBot
-
-
-
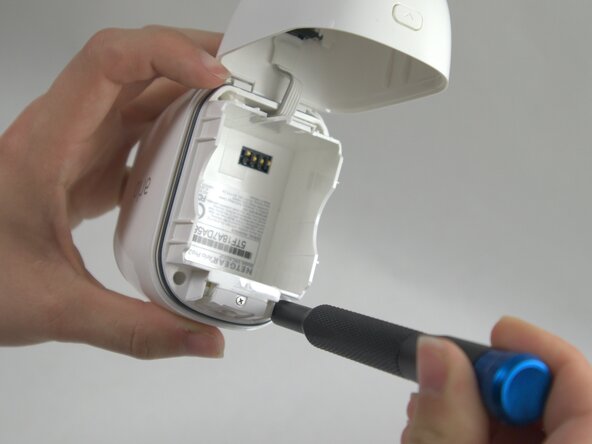
Use a T5 Torx screwdriver to remove the four 7 mm screws securing the camera case.
-
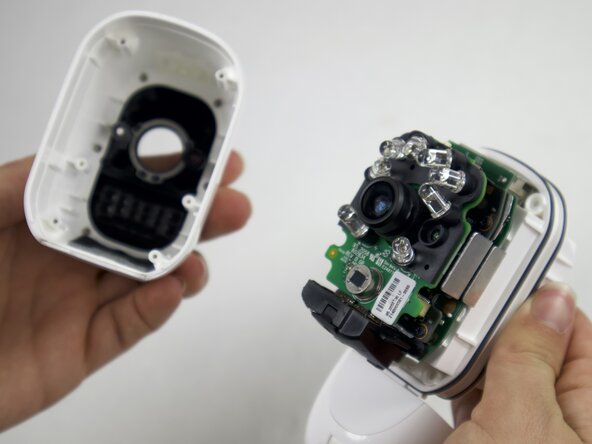
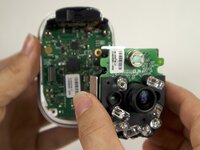
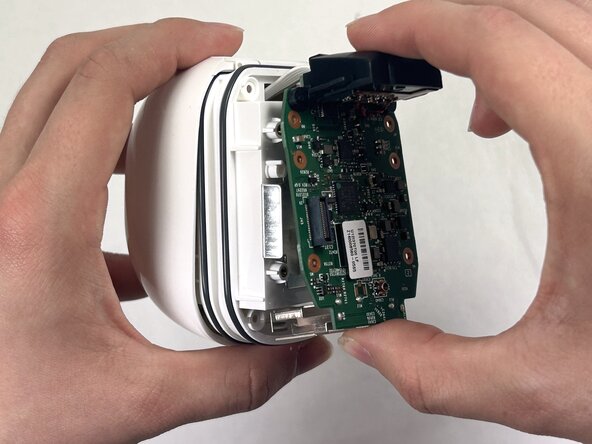
Carefully pull the outside of the case apart from the internal case to remove the camera components from the outside casing.
-
-
-
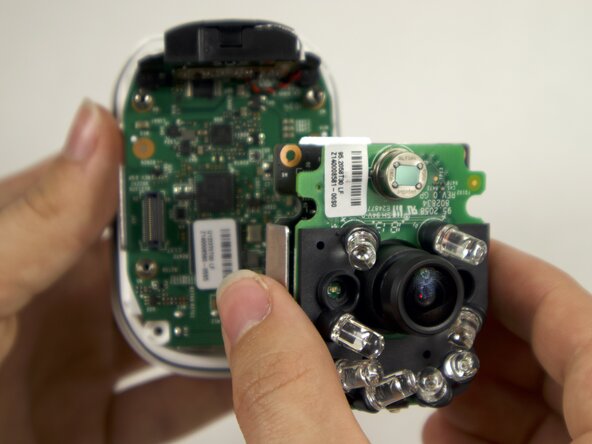
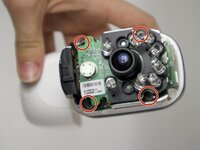
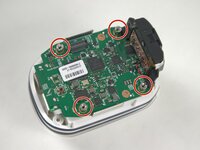
Use a Phillips #00 screwdriver to remove four 4 mm screws connecting the daughterboards to the motherboard.
-
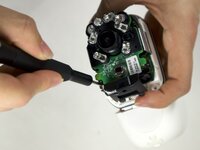
Seperate the daughterboards from the motherboard and camera casing.
-
-
-
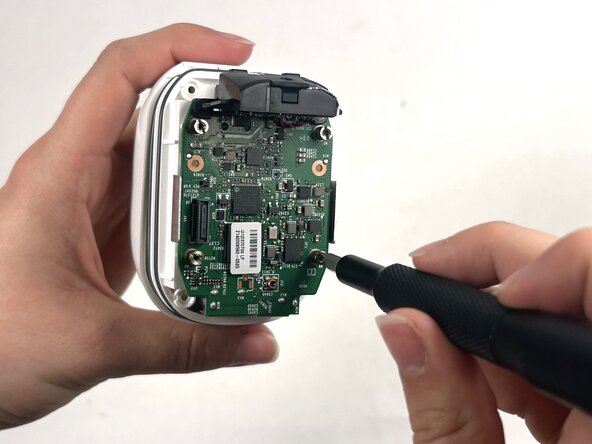
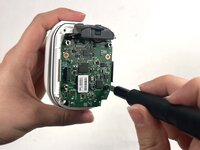
Use a Flathead 4 mm screwdriver to remove the four 7 mm screw posts connecting the motherboard to the case.
-
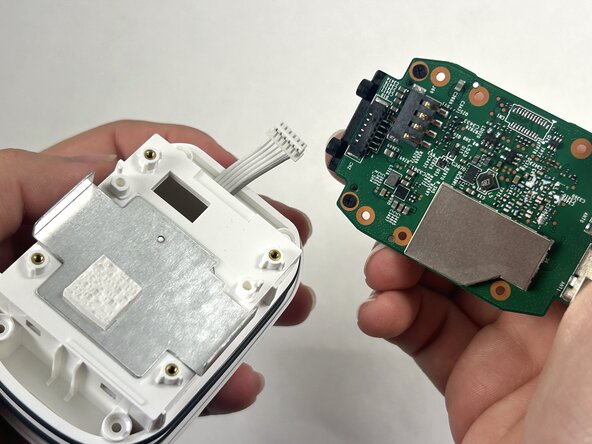
Carefully pull the motherboard apart from the camera casing.
-
-
-
-
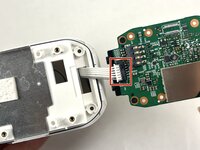
Disconnect the white cord from the port on the motherboard, by gently pulling away from the port to fully isolate the motherboard from the case.
-
-
-
-
-
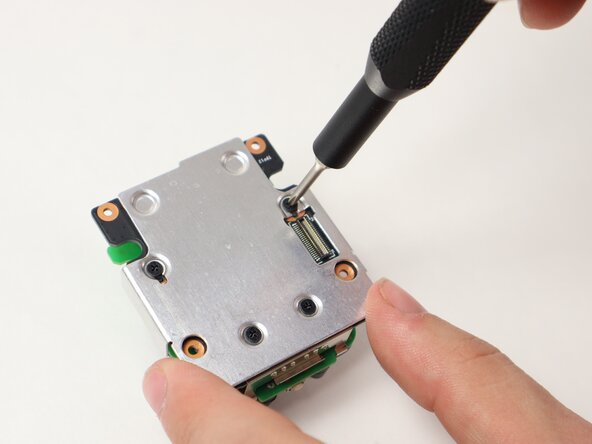
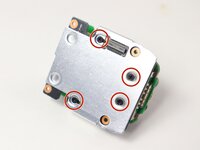
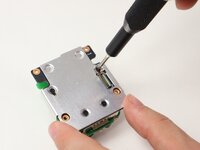
Use a Philips #00 screwdriver to remove the four 4 mm screws on the back metal plate holding the daughterboards together.
-
-
-
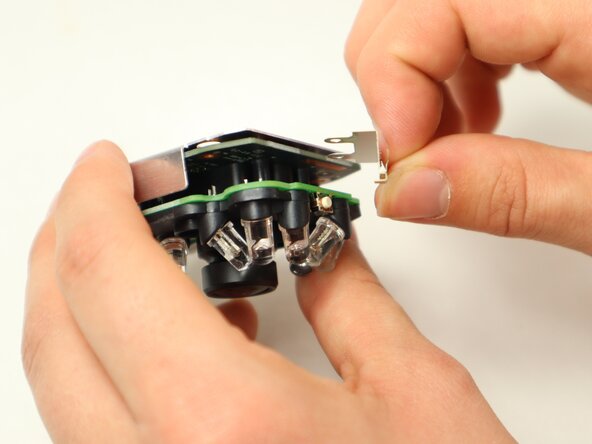
Slide out a small metal retainer bracket from in between the daughterboards.
-
-
-
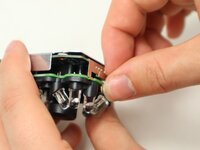
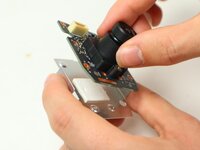
Pull apart the daughterboard containing LEDs from the other daughterboard.
-
-
-
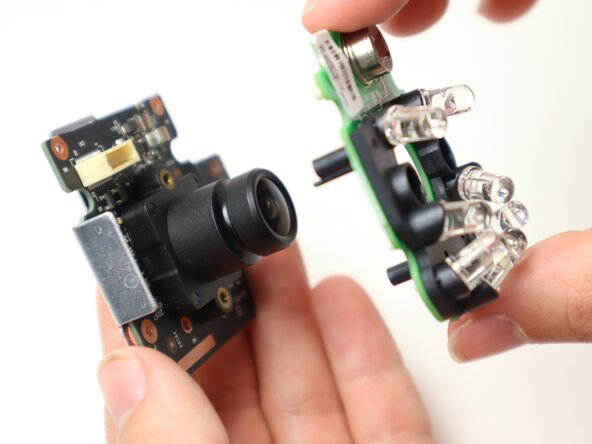
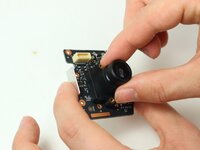
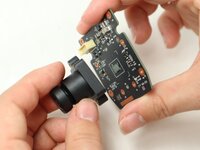
Separate the daughterboard containing the camera piece from the metal backing.
-
-
-
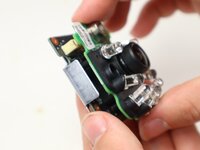
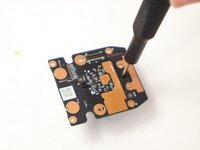
Use a Philips #00 screwdriver to remove the two 5 mm screws on the back of the camera daughterboard to disconnect the camera piece from the daughterboard.
-
-


To reassemble your device, follow the above steps in reverse order.
Take your e-waste to an R2 or e-Stewards certified recycler.
Repair didn’t go as planned? Try some basic troubleshooting or ask our Answers community for help.
Equipe

UMass Dartmouth, Team 2-2, Botvin Spring 2025 Membro de UMass Dartmouth, Team 2-2, Botvin Spring 2025
UMASSD-BOTVIN-S25S2G2
3 Membros
Autoria de 5 guias