Introdução
Got a dead or swollen battery in your Apple Watch? Use this guide to replace it.
Note: If your battery is swollen, take appropriate precautions.
O que você precisa
-
-
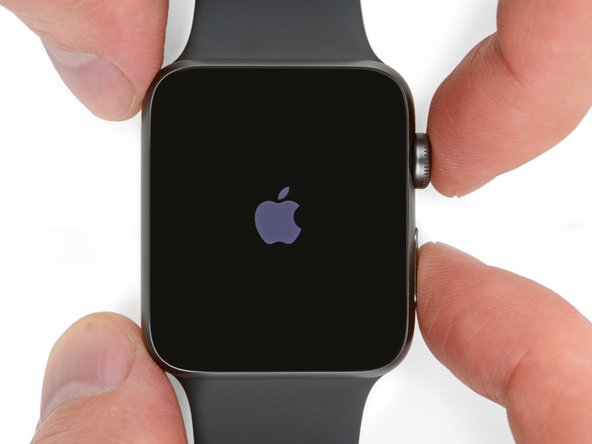
Before starting repairs, take your watch off the charger and power it down.
-
-
-
Prepare an iOpener (or grab a hair dryer or heat gun) and heat the face of the watch until it's slightly too hot to touch.
-
Leave the iOpener on the watch for at least a minute to fully heat the screen and soften the adhesive holding it to the case.
-
-
-
Place the curved section of the blade in the gap between the glass and case on the lower edge of the watch face, and press firmly straight down into the gap.
-
When the glass has lifted, gently rotate the knife down, opening the gap more by pushing the glass up.
-
-
-
-
Use scissors to cut one of your opening picks to about the width of the battery. Try not to leave any sharp corners.
-
Insert the modified pick between the right side of the battery and the case.
-
Use constant, steady pressure to slowly pry the battery up, separating it from the adhesive securing it to the system board.
-
On the larger (42 mm) models, it's possible to accidentally pry at the system board underneath the battery. Insert the pick only far enough to get underneath the battery, not the system board.
-
If needed, apply a little high concentration isopropyl alcohol (90% or greater) around and under the battery to help weaken the adhesive.
-


Continue from Step 17 of the Force Touch Sensor guide to re-seal your watch and complete your repair.
Cancelar: não concluí este guia.
408 outras pessoas executaram este guia.


33Comentários do guia
I did a battery replacement in a 38mm Series 1 iwatch and the darn battery is not charging properly. It's been on the charger about 3 hours and I'm only at 14%. Any suggestions?
I managed to replace a swollen battery ($33.25 on amazon) that popped the screen, but this is not for the faint of heart. Special emphasis needs to be placed on not twisting the digitizer connectors as they are quite fragile ($119.99 on ebay for a new digitizer). It's also easy to damage the force-touch sensor ($24.95 on iFixit). You also need adhesive gaskets ($12.98 for 5 on Amazon)
iFixit lists all the parts required but were out of stock on all but one of the items I needed at the time.
Battery:
https://www.amazon.com/gp/product/B01MV2...
Digitizer:
http://www.ebay.com/itm/262744629522?_tr...
Force Touch Sensor Gasket:
[produto vinculado ausente ou desativado: IF308-013-2]
Adhesive Strips:
Appreciate the detailed steps, happy for the option but after reading the $79 to get Apple to replace vs the $33, plus tools for battery... taking it to Apple Store does not seem so bad.
79 is just for battery …there Will be around 220$ service fees extra !!!
Nope $79 complete. Just had it done at Apple store. Took about 30 minutes.