Introdução
This is a step by step guide on replacing the microphone in the Anker SoundCore 2 bluetooth speaker. You made need to replace the microphone if it no longer picks up sound. Take a look at the troubleshooting page to see if you need to replace the microphone. For this guide you will need a screwdriver and possibly glue.
O que você precisa
-
-
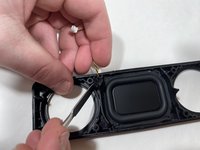
Insert a spudger between the front panel and the body of the speaker.
-
Pry around the edges of the front panel with the spudger to pry it away from the speaker body.
 Pergunte ao FixBot
-
-
-
-
Remove eight 10 mm screws from the speaker mount using a Phillips #0 screwdriver.
-
Insert a spudger in the gap between the speaker mount and speaker body to remove the speaker mount.
-
Flip up the speaker mount panel from the speaker housing case.
-
-
-
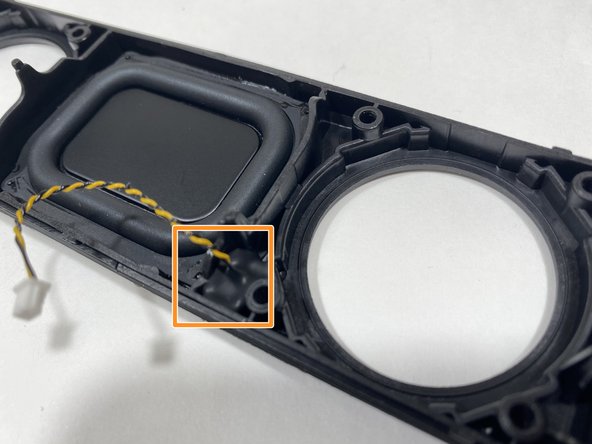
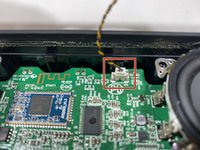
Disconnect the microphone wire from the motherboard.
-
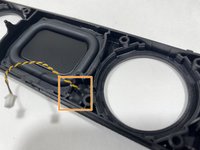
Use a spudger to pry the microphone out of the speaker mount panel.
-


To reassemble your device, follow these instructions in reverse order.
Cancelar: não concluí este guia.
Uma outra pessoa concluiu este guia.
Equipe

Illinois Wesleyan University, Team S1-G2, Bullock Spring 2021 Membro de Illinois Wesleyan University, Team S1-G2, Bullock Spring 2021
IWU-BULLOCK-S21S1G2
3 Membros
Autoria de 10 guias