Introdução
You need plastic prying tools and a 1mm screwdriver. Anticipate roughly 10-15 minutes for this procedure. Be sure to have a cleared out space.
O que você precisa
-
-
-
Place the tablet on its side so that the two screws are facing upward.
-
Remove two 1 mm screws from the left side of the tablet using a Phillips #00 screwdriver.
 Pergunte ao FixBot
-
-
-
Pry the case away from the device slowly by sliding a plastic opening tool along the device.
-
Once loosened, use your hands to separate the case from the device.
-
-
-
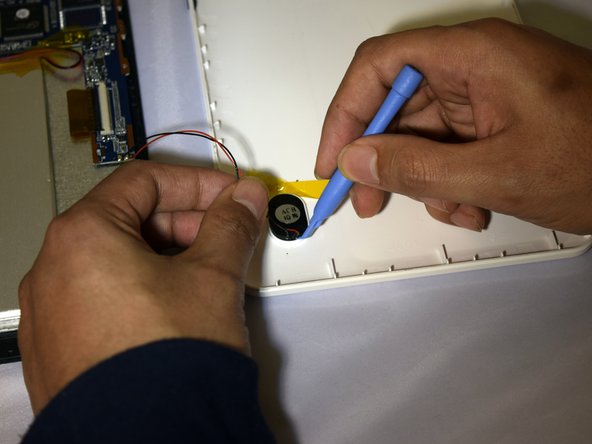
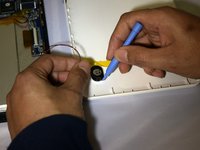
Hold the positive and negative wires as close as possible to the speaker.
-
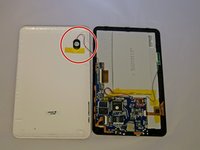
Use an opening tool and fingers to simultaneously lift the speaker from the cover.
-
-
-
-
-
-
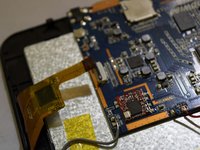
Use soldering gun to remove the positive and negative wires connecting the battery to the circuit board.
-
-
-
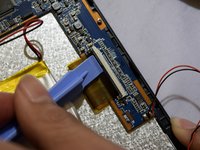
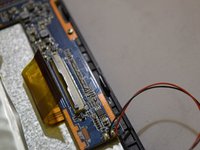
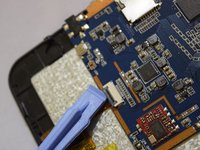
Grip the ribbon located at the far end of the circuit board with a plastic spudger tool.
-
Put pressure on the connector until the clasp comes undone.
-
Gently pull up on electrical ribbon until it disconnects from circuit board.
-
-
-
Using #00 Phillips Screwdriver, remove the four 1mm screws holding the circuit board to the device.
-
-
-
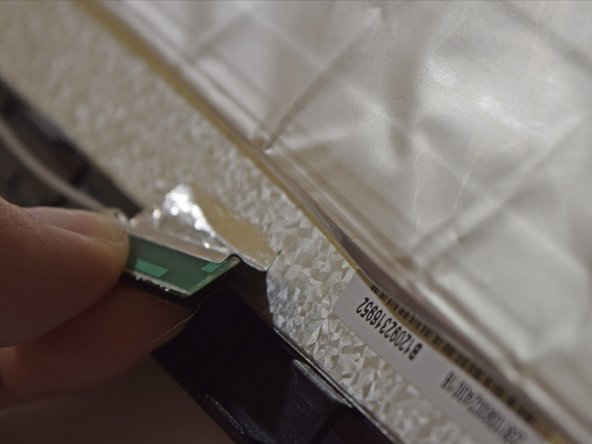
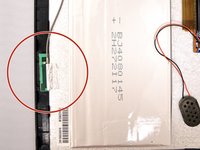
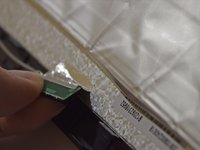
With fingers, grip the green Wi-Fi connector.
-
Gently pull up on connector to remove tape holding the connector in place.
-
-









To reassemble your device, follow these instructions in reverse order.
Cancelar: não concluí este guia.
Uma outra pessoa concluiu este guia.

Equipe

Eastern Washington University, Team 1-2, Plummer Spring 2015 Membro de Eastern Washington University, Team 1-2, Plummer Spring 2015
EWU-PLUMMER-S15S1G2
4 Membros
Autoria de 10 guias
