Ir para o conteúdo principal
Participe da comunidade de reparos - Criar conta

Este teardown (desmontagem analítica) não é um guia de reparo. Para reparar seu/sua glorious Model 02 Pro, use o nosso manual de serviço.

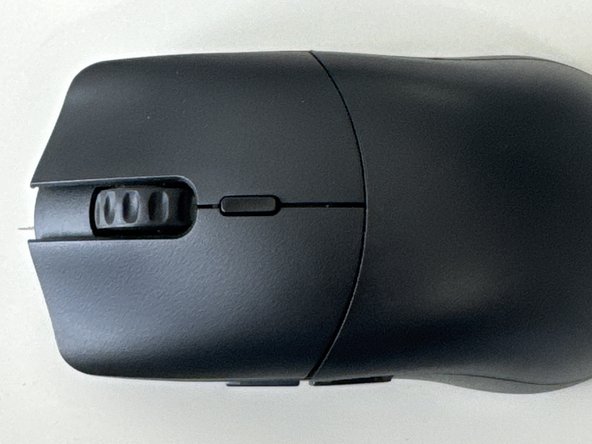
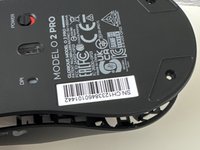
  1. Glorious Model O2 Pro Teardown, Flip Over: passo 1, imagem 1 %32 Glorious Model O2 Pro Teardown, Flip Over: passo 1, imagem 2 %32
    • Turn the mouse to the bottom

    Pergunte ao FixBot
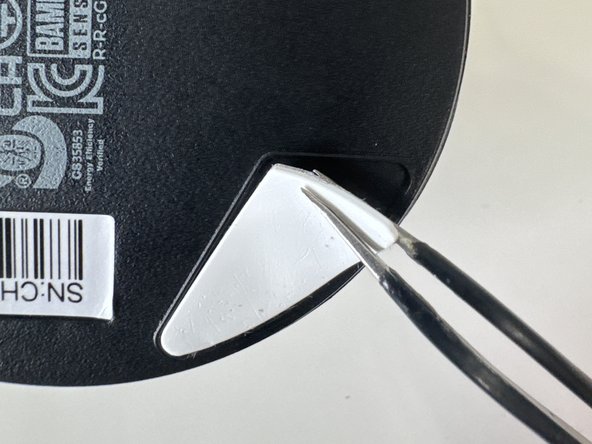
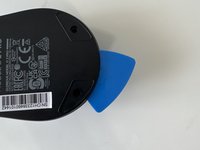
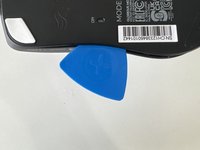
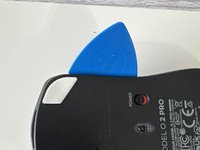
  2. Glorious Model O2 Pro Teardown, Remove feet: passo 2, imagem 1 %32 Glorious Model O2 Pro Teardown, Remove feet: passo 2, imagem 2 %32 Glorious Model O2 Pro Teardown, Remove feet: passo 2, imagem 3 %32
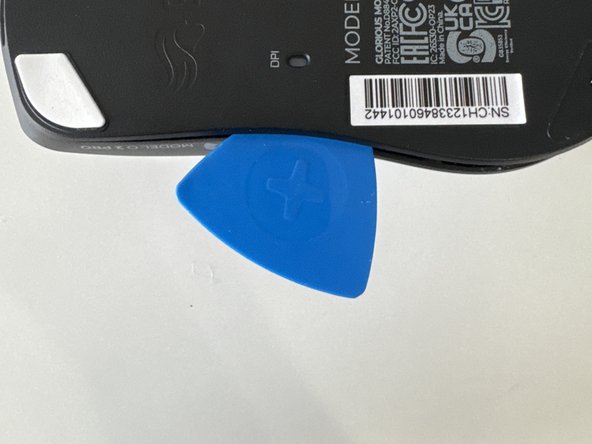
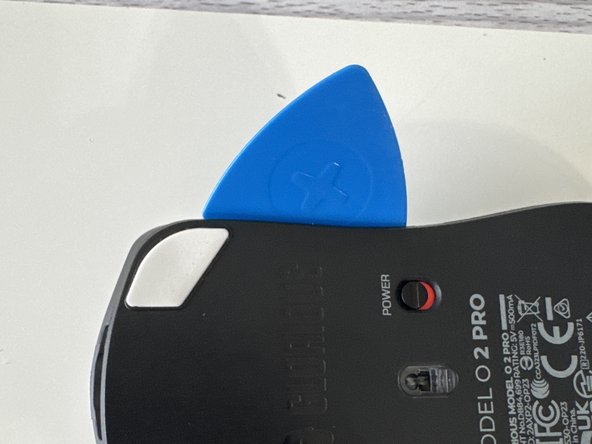
    • Remove top and bottom feet

    • Make sure to keep these and don't loose then

    Pergunte ao FixBot
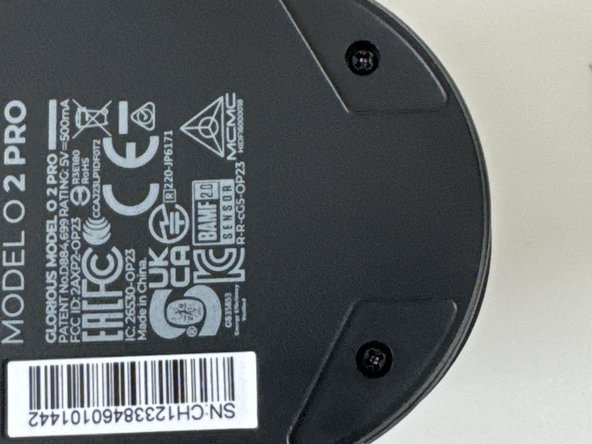
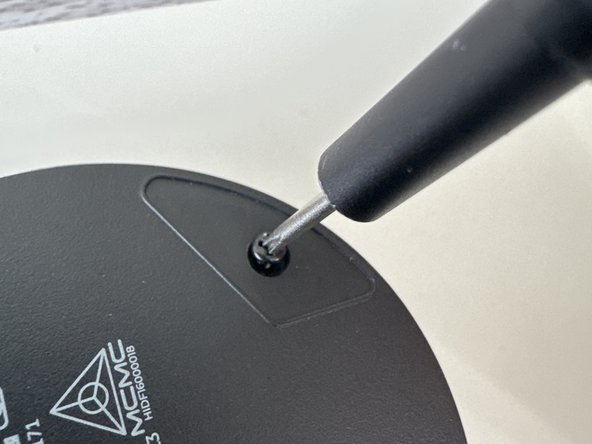
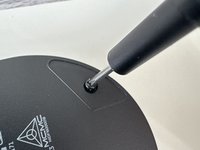
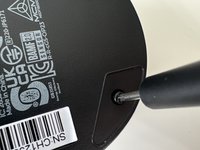
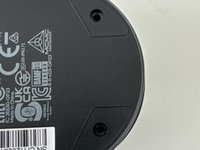
  3. Glorious Model O2 Pro Teardown, Remove Screws: passo 3, imagem 1 %32 Glorious Model O2 Pro Teardown, Remove Screws: passo 3, imagem 2 %32 Glorious Model O2 Pro Teardown, Remove Screws: passo 3, imagem 3 %32
    • Use a PH001 Screwdriver to remove both screws

    Pergunte ao FixBot
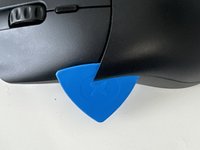
  4. Glorious Model O2 Pro Teardown, Unclip Plastic Piece: passo 4, imagem 1 %32 Glorious Model O2 Pro Teardown, Unclip Plastic Piece: passo 4, imagem 2 %32 Glorious Model O2 Pro Teardown, Unclip Plastic Piece: passo 4, imagem 3 %32
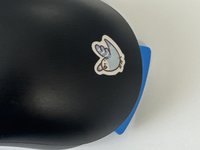
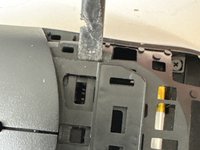
    • (Ignore Bird Sticker)

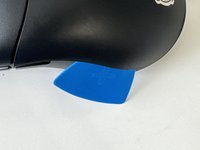
    • Slide in an opening pick and gently wiggle across the plate

    Pergunte ao FixBot
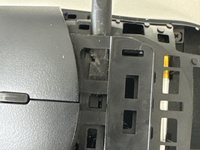
  5. Glorious Model O2 Pro Teardown, Same as step 4: passo 5, imagem 1 %32
    • After undoing the last clip the playe should come off to reveal…. (Drum roll) More Clips!

    Pergunte ao FixBot
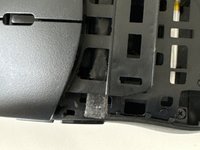
  6. Glorious Model O2 Pro Teardown, Remove Mouse Buttons: passo 6, imagem 1 %32 Glorious Model O2 Pro Teardown, Remove Mouse Buttons: passo 6, imagem 2 %32 Glorious Model O2 Pro Teardown, Remove Mouse Buttons: passo 6, imagem 3 %32
    • Insert a plastic spudger through the clips

    Pergunte ao FixBot
  7. Glorious Model O2 Pro Teardown, Unscew: passo 7, imagem 1 %32 Glorious Model O2 Pro Teardown, Unscew: passo 7, imagem 2 %32 Glorious Model O2 Pro Teardown, Unscew: passo 7, imagem 3 %32
    • Make sure to get the 4th one that is horizontally straight from the other top screw

    • Keep these screws separate from the ones from the start these 4 are slightly smaller

    Pergunte ao FixBot
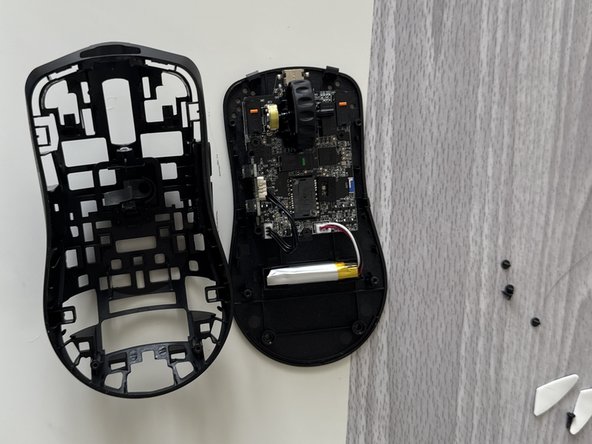
  8. Glorious Model O2 Pro Teardown, Remove Inner shell: passo 8, imagem 1 %32 Glorious Model O2 Pro Teardown, Remove Inner shell: passo 8, imagem 2 %32 Glorious Model O2 Pro Teardown, Remove Inner shell: passo 8, imagem 3 %32
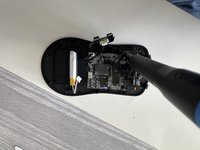
    • Do a combination of using the puck and prying with your hands use caution because the motherboard and battery cables can be damaged

    Pergunte ao FixBot
  9. Glorious Model O2 Pro Teardown, Remove housing: passo 9, imagem 1 %32 Glorious Model O2 Pro Teardown, Remove housing: passo 9, imagem 2 %32
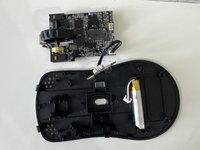
    • Lift it from the housing

    Pergunte ao FixBot
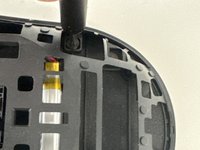
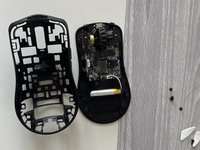
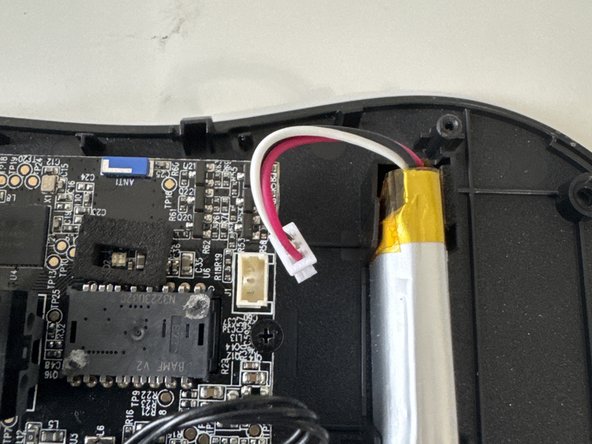
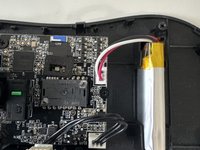
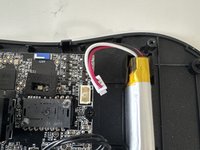
  10. Glorious Model O2 Pro Teardown, Unplug battery: passo 10, imagem 1 %32 Glorious Model O2 Pro Teardown, Unplug battery: passo 10, imagem 2 %32
    • Unplug the JST connector from the lipo-cell battery

    Pergunte ao FixBot
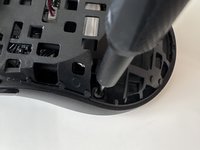
  11. Glorious Model O2 Pro Teardown, Remove mainboard: passo 11, imagem 1 %32 Glorious Model O2 Pro Teardown, Remove mainboard: passo 11, imagem 2 %32
    • Unscew the 3 smaller screws then remove mainboard from housing

    • Thanks for reading my first ifixit guide (R.I.P my prying puck)

    Pergunte ao FixBot
0DanDan0

Membro desde: 08/17/23

262 Reputação

Autoria de 1 guia

3Comentários do guia

They removed the last photo with all the pieces 😭
0DanDan0 - Responder Compartilhar

can you send me the photo with all the pieces?

Fok Pop - Responder Compartilhar

Dont think i can...

0DanDan0 - Responder Compartilhar

Comentar

Visualizações:

Últimas 24 horas: 5

Últimos 7 dias: 31

Últimos 30 dias: 155

Ao todo: 2,354