Ir para o conteúdo principal

Mac mini Mid 2011のロジックボード交換

Aviso: Você está editando um guia tipo pré-requisito. Quaisquer alterações que você faça afetarão o guia que inclui este passo.

Inglês
Japonês
Passo 2
Mac mini Mid 2011 Logic Board Replacement: passo 0, imagem 1 %32 Mac mini Mid 2011 Logic Board Replacement: passo 0, imagem 2 %32 Mac mini Mid 2011 Logic Board Replacement: passo 0, imagem 3 %32
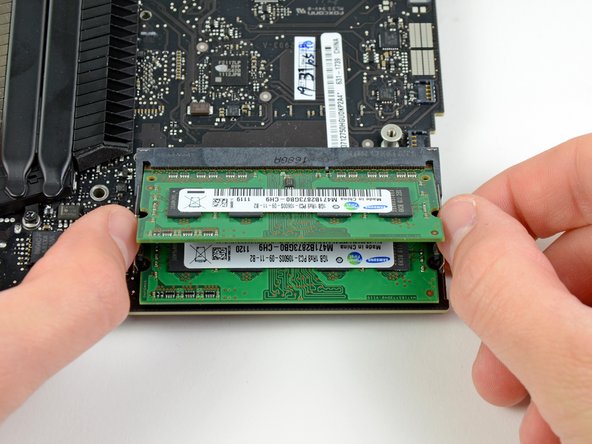
  • Release the tabs on each side of the RAM chip by simultaneously pushing each tab away from the chip.

  • These tabs lock the chip in place and releasing them will cause the chip to "pop" up.

  • After the RAM chip has popped up, pull it straight out of its socket.

  • Repeat this process if a second RAM chip is installed.

RAMチップの両側にあるタブを、2つ同時にチップから離すように押し広げて解放します

これらのタブはチップを所定の位置に固定しているため、解放するとチップが飛び出します。

飛び出したRAMチップを、ソケットから抜き取ります。

2つ目のRAMチップが取り付けられている場合は、この手順を繰り返します。

Suas contribuições são licenciadas pela licença de código aberto Creative Commons.