Aviso: Você está editando um guia tipo pré-requisito. Quaisquer alterações que você faça afetarão o guia que inclui este passo.
Traduzindo o passo 4
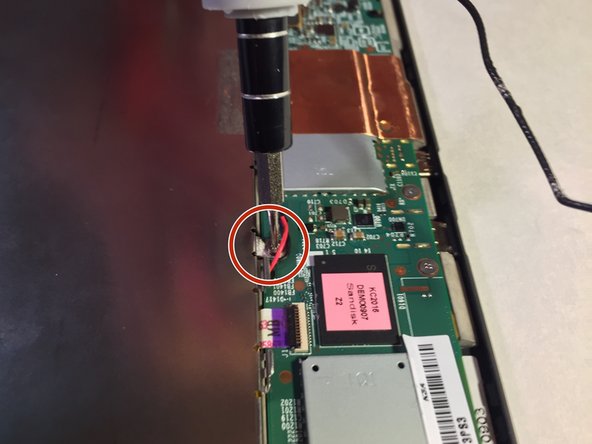
Passo 4


Remove Screws
-
Locate and unscrew the four 3 mm screws using the Phillips #00 screwdriver.
-
Unscrew the one T5 Torx screw using the special T5 Torx screwdriver head.
Suas contribuições são licenciadas pela licença de código aberto Creative Commons.