Traduzindo o passo 4
Passo 4


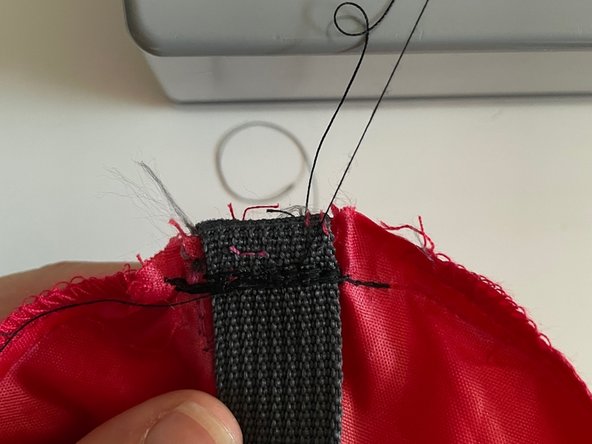


Sewing the Seam
-
Prepare your sewing machine and the area around it. Position the broken seam underneath the foot and pull the foot down.
-
Tip: Remember to remove the pins before starting!
-
Start at one end of the seam and end at the other. Turn the bag around 180 degrees and repeat the process back the other way. Continue to do this until the repair looks to be a similar (or stronger) strength to the original.
-
Lock the repair at both ends with a lock stitch or back stitch. Check the repair and finally cut the thread.
Suas contribuições são licenciadas pela licença de código aberto Creative Commons.