Aviso: Você está editando um guia tipo pré-requisito. Quaisquer alterações que você faça afetarão o guia que inclui este passo.
Traduzindo o passo 26
Passo 26

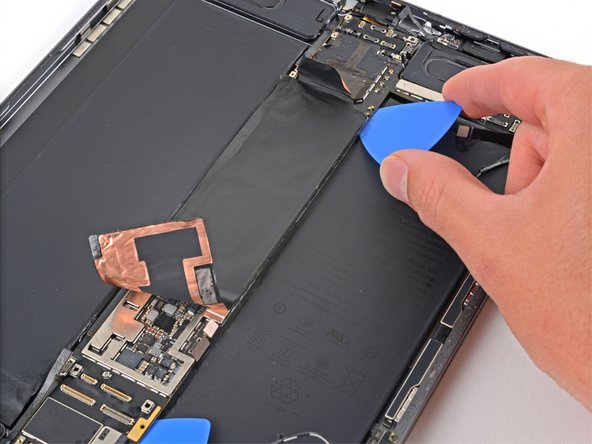


Pry up the right edge
-
Insert an opening pick under the right edge of the logic board above the left microphone and Apple Pencil charger cables.
-
Slide the opening pick under the right edge of the logic board to loosen it.
-
Pry against the frame underneath the logic board to separate the adhesive.
Suas contribuições são licenciadas pela licença de código aberto Creative Commons.