Aviso: Você está editando um guia tipo pré-requisito. Todas as alterações que você fizer afetarão todos os 3 guias que incluem este passo.
Traduzindo o passo 16
Passo 16


-
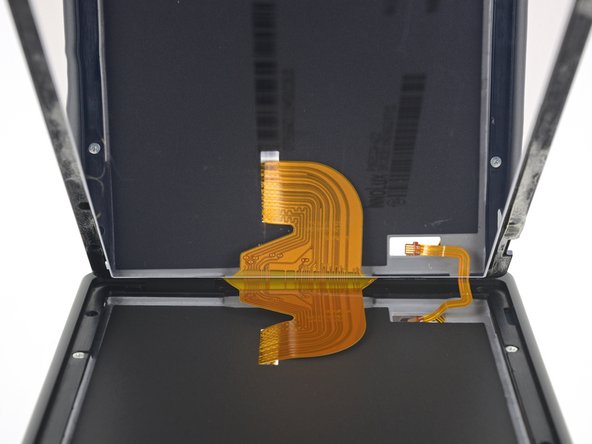
Lift the right edge of the screen straight off the device, threading the ribbon cables through the frame as you do so.
| [* black] Lift the right edge of the screen straight off the device, threading the ribbon cables through the frame as you do so. | |
| [* icon_caution] Take care not to snag any of the ribbon cables on the frame as you remove the screen. | |
| + | [* icon_reminder] You can reuse the screen adhesive if it is still sticky. Otherwise, replace the adhesive with double-sided tape such as Tesa tape. |
Suas contribuições são licenciadas pela licença de código aberto Creative Commons.