Ir para o conteúdo principal

Nintendo Switch 스크린 교체

Aviso: Você está editando um guia tipo pré-requisito. Todas as alterações que você fizer afetarão todos os 3 guias que incluem este passo.

Inglês
Coreano

Traduzindo o passo 16
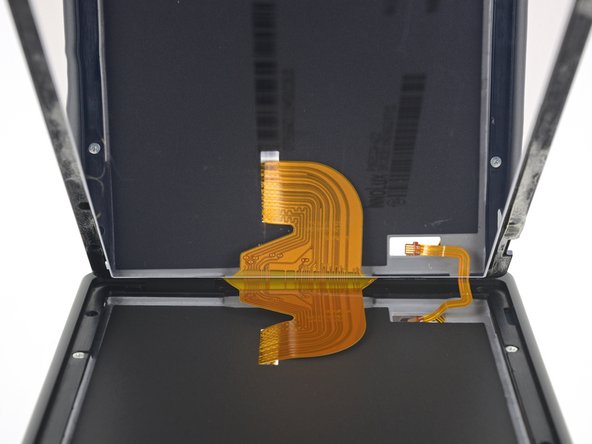
Passo 16
Nintendo Switch Screen Replacement: passo 0, imagem 1 %32 Nintendo Switch Screen Replacement: passo 0, imagem 2 %32 Nintendo Switch Screen Replacement: passo 0, imagem 3 %32
  • Lift the right edge of the screen straight off the device, threading the ribbon cables through the frame as you do so.

  • Take care not to snag any of the ribbon cables on the frame as you remove the screen.

  • You can reuse the screen adhesive if it is still sticky. Otherwise, replace the adhesive with double-sided tape such as Tesa tape.

리본 케이블을 프레임에 끼우면서, 스크린 오른편 가장자리를 기기에서 똑바로 들어 올리세요.

스크린을 분리할 때 리본 케이블이 프레임에 걸리지 않도록 주의하세요.

스크린 접착제가 여전히 끈적하면 재사용할 수 있습니다. 그렇지 않으면, 접착제를 Tesa 테이프 같은 양면 테이프로 교체하세요.

Suas contribuições são licenciadas pela licença de código aberto Creative Commons.