Ir para o conteúdo principal

Remplacement du panneau frontal de l'iPod Touch 7e génération

Aviso: Você está editando um guia tipo pré-requisito. Todas as alterações que você fizer afetarão todos os 10 guias que incluem este passo.

Inglês
Francês
Passo 5
iPod Touch 7th Generation Front Panel Replacement: passo 0, imagem 1 %32 iPod Touch 7th Generation Front Panel Replacement: passo 0, imagem 2 %32 iPod Touch 7th Generation Front Panel Replacement: passo 0, imagem 3 %32
  • In the following steps, you will be loosening and freeing the plastic frame that surrounds the screen. It is connected to the rear case with several clips.

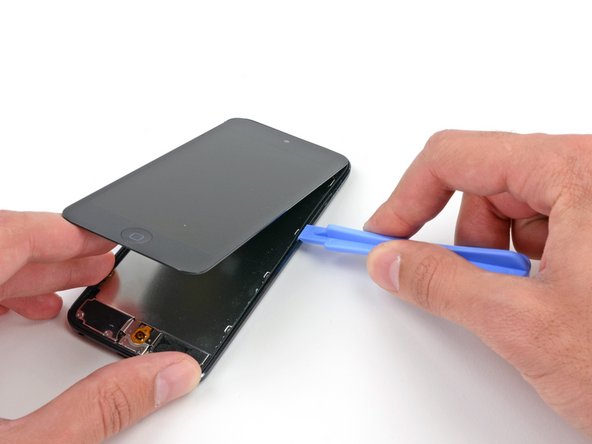
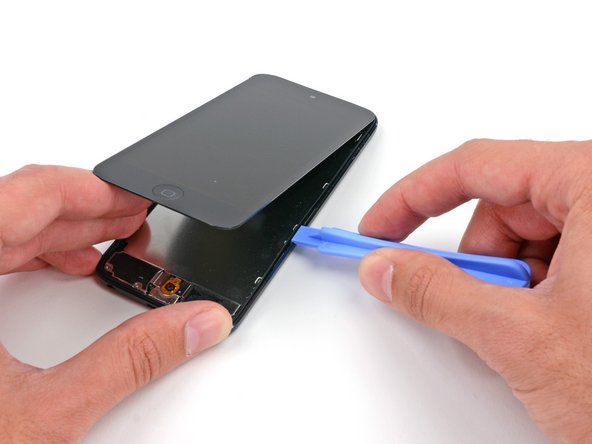
  • Starting at the top right of the device, insert a plastic opening tool into the gap between the plastic frame and the aluminum rear case.

  • Slide the tool down this crack, loosening the frame from the case.

Au cours des prochaines étapes, vous allez détacher le châssis en plastique qui entoure l'écran. Plusieurs clips le fixent à la coque arrière.

En commençant dans le bord droit de l'appareil, insérez un outil d'ouverture en plastique dans l'espace entre le châssis en plastique et la coque arrière en aluminium.

Faites glisser l'outil le long de la jointure pour détacher le châssis de la coque.

Suas contribuições são licenciadas pela licença de código aberto Creative Commons.