Ir para o conteúdo principal
Participe da comunidade de reparos - Criar conta

iVIEW-754TPC Digitizer Replacement

O que você precisa

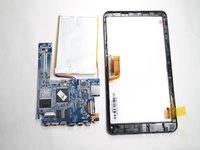
  1. iVIEW-754TPC Digitizer Replacement, Rear Panel: passo 1, imagem 1 %32 iVIEW-754TPC Digitizer Replacement, Rear Panel: passo 1, imagem 2 %32 iVIEW-754TPC Digitizer Replacement, Rear Panel: passo 1, imagem 3 %32
    • Before disassembling your tablet, make sure it is powered off.

    • Use plastic opening tool to release the clips holding the device together. The clips will take a small amount of pressure to release. Once you have the plastic opening tool inserted, use a twisting action to release the clips. Start from bottom of device and work all the way around.

    Pergunte ao FixBot
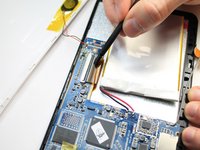
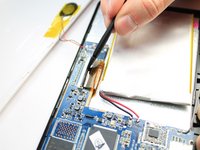
  2. iVIEW-754TPC Digitizer Replacement, Remove Battery: passo 2, imagem 1 %32 iVIEW-754TPC Digitizer Replacement, Remove Battery: passo 2, imagem 2 %32 iVIEW-754TPC Digitizer Replacement, Remove Battery: passo 2, imagem 3 %32
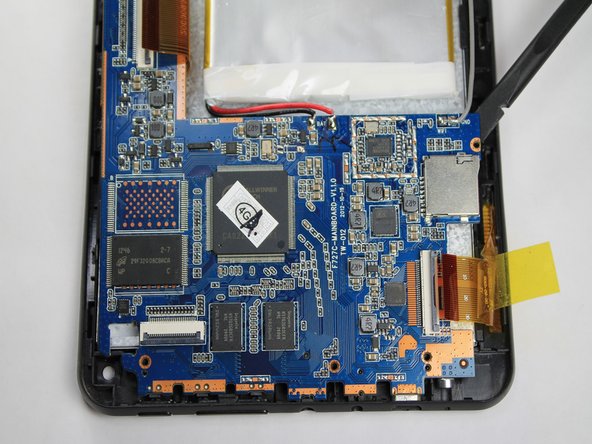
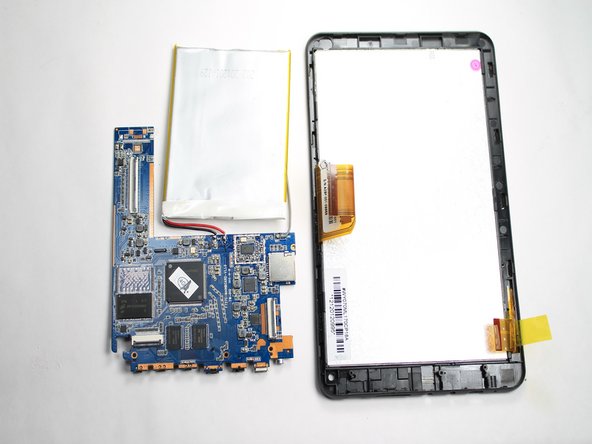
    • Use flat side of the spudger to get under battery and use pressure to release from glue. Do this all the way around battery until it comes off.

    • At this point do not attempt to fully remove the battery as it is still attached to the logic board.

    Pergunte ao FixBot
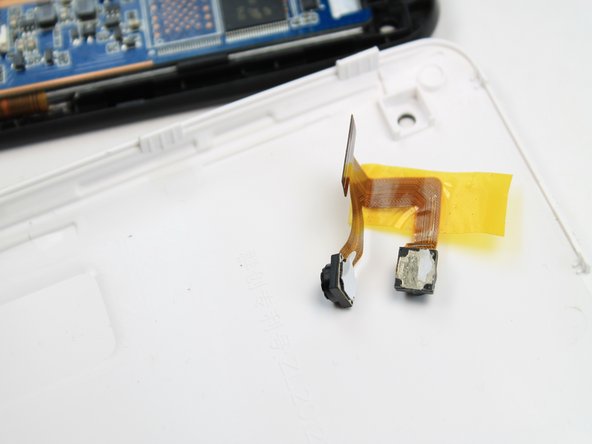
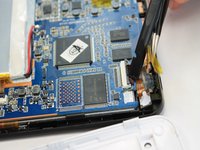
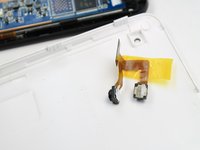
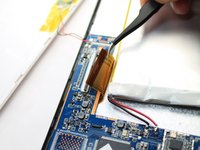
  3. iVIEW-754TPC Digitizer Replacement, Camera Assembly: passo 3, imagem 1 %32 iVIEW-754TPC Digitizer Replacement, Camera Assembly: passo 3, imagem 2 %32 iVIEW-754TPC Digitizer Replacement, Camera Assembly: passo 3, imagem 3 %32
    Ferramenta utilizada neste passo:
    Tweezers
    $4.99
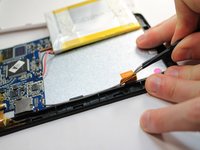
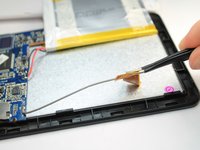
    • The camera module is located directly under the top right corner of the back cover.

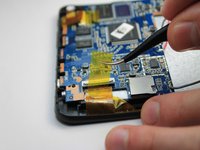
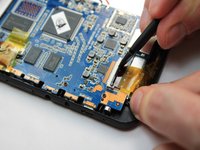
    • Peel back the tape holding down the camera ribbon connector using a pair of tweezers.

    • As you peel the tape backward, the front facing camera may come out, this is not an issue.

    • If the front facing camera does not come out, gently lift it out with a pair of tweezers

    Pergunte ao FixBot
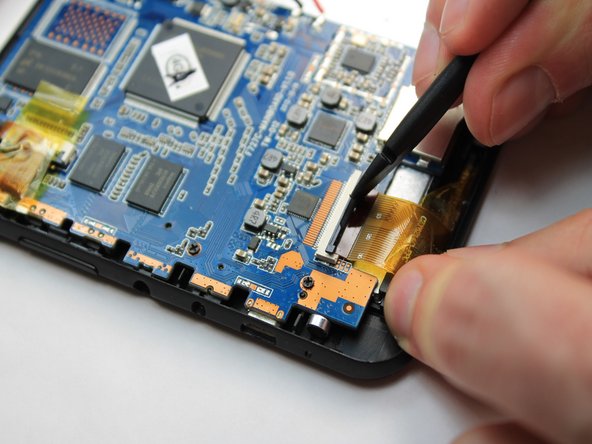
  4. iVIEW-754TPC Digitizer Replacement, Remove Camera: passo 4, imagem 1 %32 iVIEW-754TPC Digitizer Replacement, Remove Camera: passo 4, imagem 2 %32
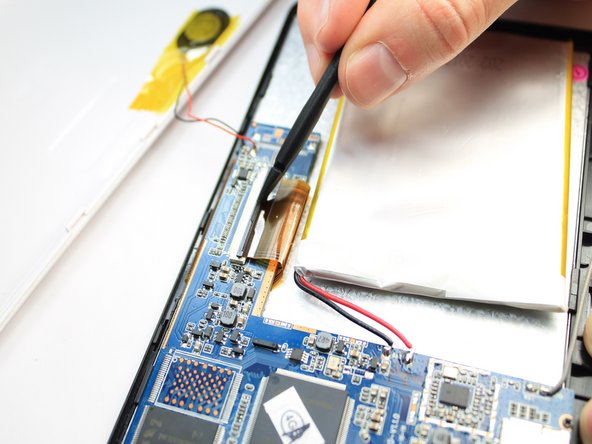
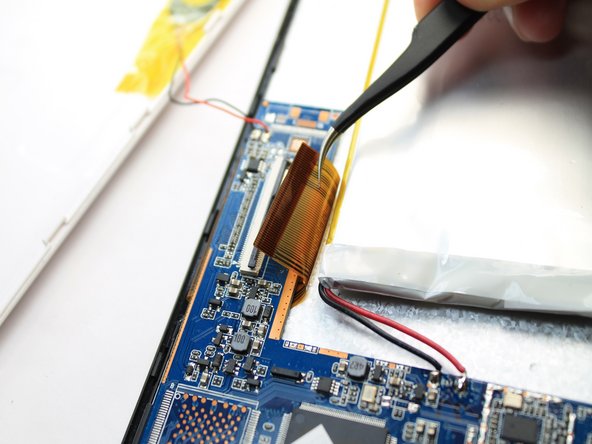
    • Use a spudger to lift flap on top of the camera ZIF adapter.

    • At this point the camera module can be easily removed with a pair of tweezers.

    • During reassembly, make sure you put the ZIF adapter snugly back into its socket and secure the flap.

    Pergunte ao FixBot
  5. iVIEW-754TPC Digitizer Replacement, Logic Board: passo 5, imagem 1 %32
    • Remove the four 2.2mm Phillips screws holding the logic board in place. Place the screws on the iFixit magnetic project mat.

    Pergunte ao FixBot
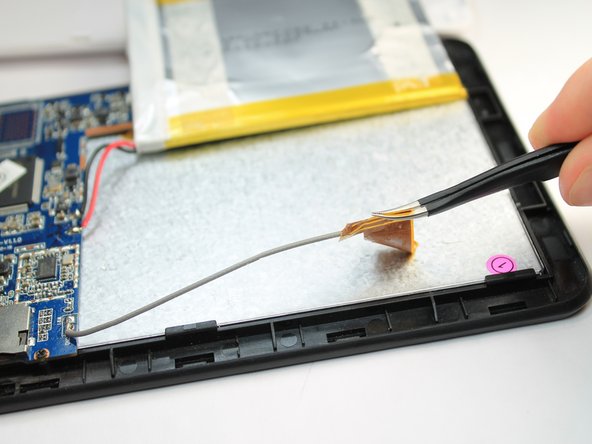
  6. iVIEW-754TPC Digitizer Replacement, WIFI Antenna: passo 6, imagem 1 %32 iVIEW-754TPC Digitizer Replacement, WIFI Antenna: passo 6, imagem 2 %32
    Ferramenta utilizada neste passo:
    Tweezers
    $4.99
    • Gently peel the WIFI Antenna up using a pair of tweezers.

    Pergunte ao FixBot
  7. iVIEW-754TPC Digitizer Replacement, Disconnect LCD: passo 7, imagem 1 %32 iVIEW-754TPC Digitizer Replacement, Disconnect LCD: passo 7, imagem 2 %32 iVIEW-754TPC Digitizer Replacement, Disconnect LCD: passo 7, imagem 3 %32
    • Use a spudger to lift the flap on top of the LCD ZIF socket.

    • Gently remove the ribbon cable from the socket using a tweezers.

    Pergunte ao FixBot
  8. iVIEW-754TPC Digitizer Replacement, Disconnect Digitizer: passo 8, imagem 1 %32 iVIEW-754TPC Digitizer Replacement, Disconnect Digitizer: passo 8, imagem 2 %32 iVIEW-754TPC Digitizer Replacement, Disconnect Digitizer: passo 8, imagem 3 %32
    • Use a spudger to lift the flap on top of the digitizer ZIF socket.

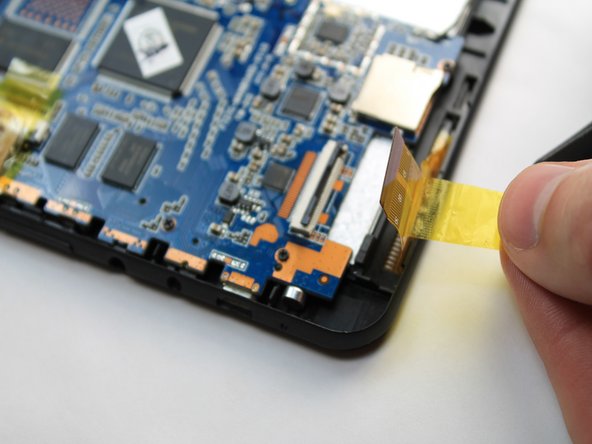
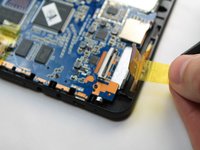
    • Gently pull the tape attached to the ribbon cable to remove the cable from its socket.

    Pergunte ao FixBot
  9. iVIEW-754TPC Digitizer Replacement, Remove Logic Board: passo 9, imagem 1 %32 iVIEW-754TPC Digitizer Replacement, Remove Logic Board: passo 9, imagem 2 %32 iVIEW-754TPC Digitizer Replacement, Remove Logic Board: passo 9, imagem 3 %32
    • Gently slide the spudger below the logic board at the left side nearest the battery. Lift upward and away from the power button and bottom connectors.

    • The battery is still attached to the logic board. Be careful to not tear the two apart during removal.

    Pergunte ao FixBot
  10. iVIEW-754TPC Digitizer Replacement, LCD: passo 10, imagem 1 %32 iVIEW-754TPC Digitizer Replacement, LCD: passo 10, imagem 2 %32 iVIEW-754TPC Digitizer Replacement, LCD: passo 10, imagem 3 %32
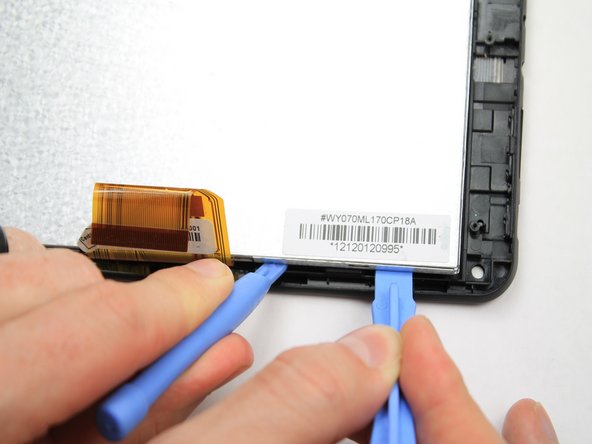
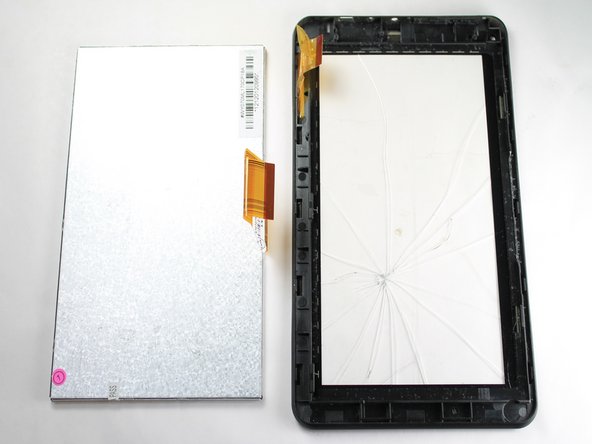
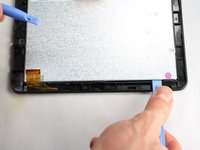
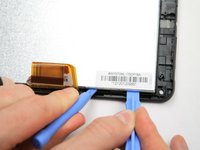
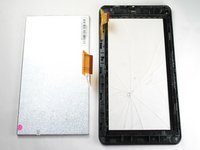
    • Insert a plastic opening tool between the LCD and digitizer on the side of the LCD with the ribbon cable. Use a second plastic opening tool to lift the LCD from the digitizer. Repeat this process on both sides of the LCD ribbon cable.

    • Fully remove the LCD from the digitizer.

    Pergunte ao FixBot
Conclusão

To reassemble your device, follow these instructions in reverse order.

Uma outra pessoa concluiu este guia.

Robert Clark

Membro desde: 01/21/15

1.065 Reputação

Autoria de 7 guias

Equipe

USF Tampa, Team 5-4, Brown Winter 2015 Membro de USF Tampa, Team 5-4, Brown Winter 2015

USFT-BROWN-W15S5G4

4 Membros

Autoria de 16 guias

0Comentários do guia

Comentar

Visualizações:

Últimas 24 horas: 0

Últimos 7 dias: 5

Últimos 30 dias: 53

Ao todo: 1,313