Ir para o conteúdo principal
Participe da comunidade de reparos - Criar conta

iRobot Roomba 560 Fan Replacement

O que você precisa

  1. iRobot Roomba 560 Fan Replacement, Fan: passo 1, imagem 1 %32
    • Press the black circular button on the back end of the Roomba and pull the bin out towards you to remove the vacuum bin.

    Pergunte ao FixBot

    Comentar

  2. iRobot Roomba 560 Fan Replacement: passo 2, imagem 1 %32 iRobot Roomba 560 Fan Replacement: passo 2, imagem 2 %32
    • Lay the vacuum bin down and remove the six 15 mm screws around the outside of the vacuum bin using the Phillips JIS #1 driver.

    • Remove the top of the vacuum bin by pulling it straight up.

    • The bin is composed of two parts (the clear top casing and the red bottom filter). To avoid a mess, be careful to not let these two pieces detach, unless over a trash bin.

    Pergunte ao FixBot

    Comentar

  3. iRobot Roomba 560 Fan Replacement: passo 3, imagem 1 %32 iRobot Roomba 560 Fan Replacement: passo 3, imagem 2 %32 iRobot Roomba 560 Fan Replacement: passo 3, imagem 3 %32
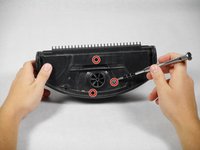
    • Remove the three 10 mm screws that surround the fan using the Phillips JIS #1 driver.

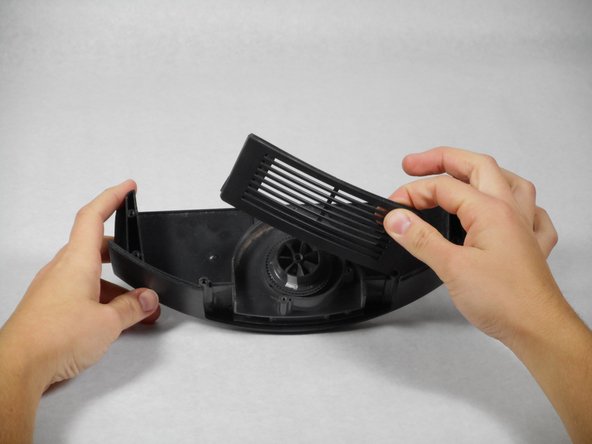
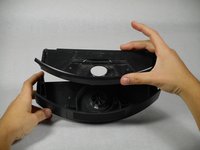
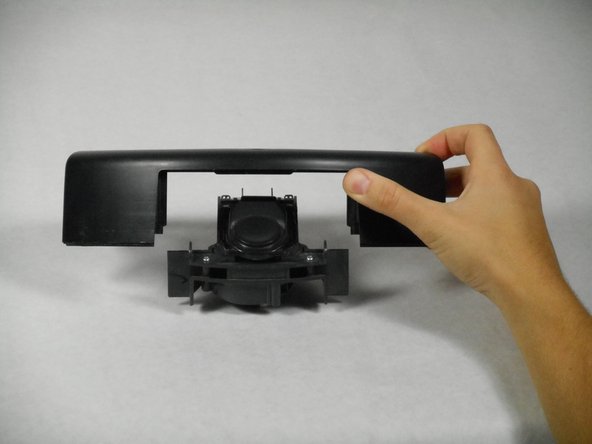
    • Remove the casing that surrounds the fan by pulling it straight up.

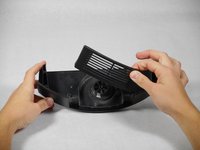
    • The casing is composed of 2 parts (the large top casing, and a small air filter). If these parts detach, they are very easy to put back together. Do not lose the air filter.

    Pergunte ao FixBot

    Comentar

  4. iRobot Roomba 560 Fan Replacement: passo 4, imagem 1 %32 iRobot Roomba 560 Fan Replacement: passo 4, imagem 2 %32 iRobot Roomba 560 Fan Replacement: passo 4, imagem 3 %32
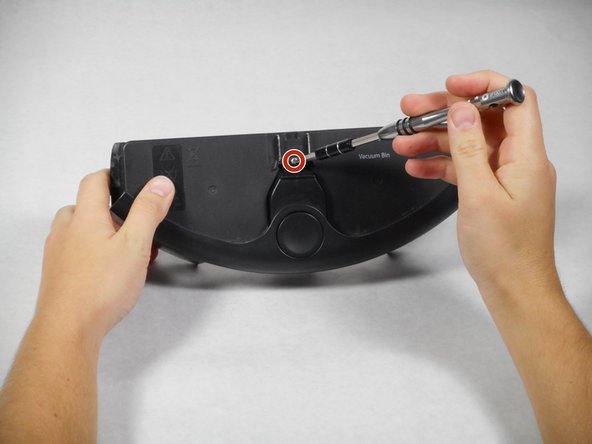
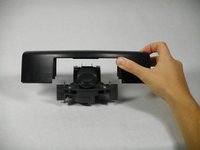
    • Turn over the remainder of the fan casing and remove the single 15mm screw, using the Phillips JIS #1 screwdriver.

    • Remove the casing from the fan and battery component by pulling it straight up.

    Pergunte ao FixBot

    Comentar

  5. iRobot Roomba 560 Fan Replacement: passo 5, imagem 1 %32
    • Remove the small black button from the top of the battery.

    • Save the spring and the button cover. The remainder of the fan assembly (yellow motor and the black housing) will need to be replaced as a unit.

    Pergunte ao FixBot

    Comentar

Conclusão

To reassemble your device, follow these instructions in reverse order.

Cancelar: não concluí este guia.

2 outras pessoas executaram este guia.

TJ Tamura

Membro desde: 10/01/15

289 Reputação

Autoria de 1 guia

Equipe

Cal Poly, Team 1-22, Maness Fall 2015 Membro de Cal Poly, Team 1-22, Maness Fall 2015

CPSU-MANESS-F15S1G22

4 Membros

Autoria de 14 guias

0Comentários do guia

Comentar

Visualizações:

Últimas 24 horas: 2

Últimos 7 dias: 8

Últimos 30 dias: 44

Ao todo: 5,233