Ir para o conteúdo principal
Participe da comunidade de reparos - Criar conta

iRobot Roomba 551 Side Wheel Replacement

O que você precisa

    1. iRobot Roomba 551 Side Wheel Replacement, Side Brush: passo 1, imagem 1 %32
      • Place your Roomba upside-down on a hard surface.

      Pergunte ao FixBot

      Comentar

    2. iRobot Roomba 551 Side Wheel Replacement: passo 2, imagem 1 %32
      • While holding the side brush in place, use a Phillips #1 screwdriver to remove the 4.5mm screw from the center of the brush.

      Pergunte ao FixBot

      Comentar

    3. iRobot Roomba 551 Side Wheel Replacement: passo 3, imagem 1 %32
      • Gently pull upwards on the brush to remove it.

      Pergunte ao FixBot

      Comentar

    1. iRobot Roomba 551 Side Wheel Replacement, Bottom Plate: passo 4, imagem 1 %32
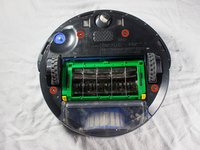
      • Rotate the Roomba upside-down so the bottom is facing towards you.

      Pergunte ao FixBot

      Comentar

    2. iRobot Roomba 551 Side Wheel Replacement: passo 5, imagem 1 %32 iRobot Roomba 551 Side Wheel Replacement: passo 5, imagem 2 %32
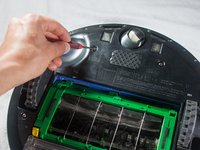
      • Using a Phillips #2 screwdriver, remove the captive screws that hold the bottom plate in place.

      Pergunte ao FixBot

      Comentar

    3. iRobot Roomba 551 Side Wheel Replacement: passo 6, imagem 1 %32
      • Carefully lift the bottom plate.

      • The battery is only secured in place by the bottom plate, and may fall out once the bottom plate is removed.

      Pergunte ao FixBot

      Comentar

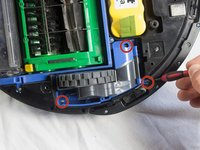
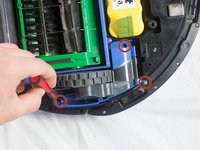
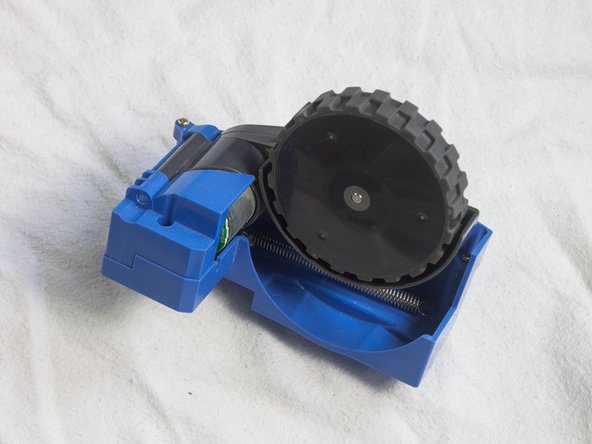
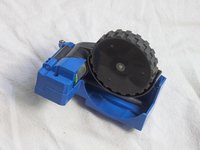
    1. iRobot Roomba 551 Side Wheel Replacement, Side Wheel: passo 7, imagem 1 %32 iRobot Roomba 551 Side Wheel Replacement, Side Wheel: passo 7, imagem 2 %32 iRobot Roomba 551 Side Wheel Replacement, Side Wheel: passo 7, imagem 3 %32
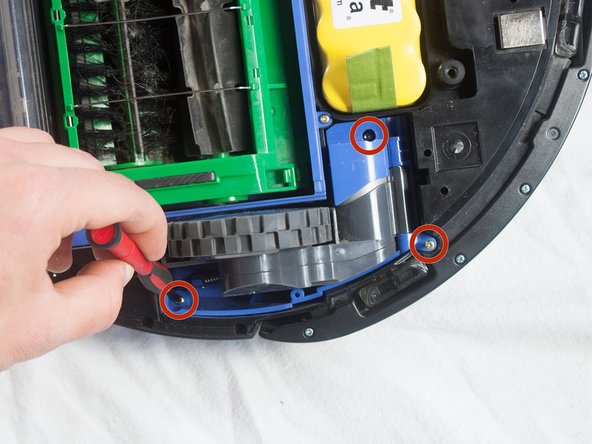
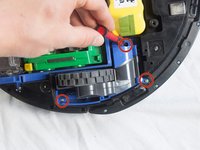
      • Find the blue wheel at the bottom of the Roomba, and unscrew the three captive screws holding it in place using a Phillips #1 screwdriver.

      Pergunte ao FixBot

      Comentar

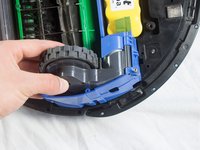
    2. iRobot Roomba 551 Side Wheel Replacement: passo 8, imagem 1 %32 iRobot Roomba 551 Side Wheel Replacement: passo 8, imagem 2 %32
      • Gently lift the wheel to remove.

      Pergunte ao FixBot

      Comentar

Conclusão

To reassemble your device, follow these instructions in reverse order.

Cancelar: não concluí este guia.

4 outras pessoas executaram este guia.

Equipe

Cal Poly, Team 13-14, Regan Winter 2014 Membro de Cal Poly, Team 13-14, Regan Winter 2014

CPSU-REGAN-W14S13G14

4 Membros

Autoria de 32 guias

0Comentários do guia

Comentar

Visualizações:

Últimas 24 horas: 1

Últimos 7 dias: 14

Últimos 30 dias: 45

Ao todo: 1,769