Introdução
Use this guide to replace a broken or faulty LCD display in your 7th Generation iPod Nano.
O que você precisa
-
-
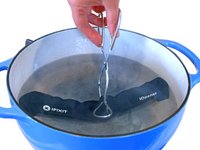
Fill a pot or pan with enough water to fully submerge an iOpener.
-
Heat the water to a boil. Turn off the heat.
-
Place an iOpener into the hot water for 2-3 minutes. Make sure the iOpener is fully submerged in the water.
-
Use tongs to extract the heated iOpener from the hot water.
-
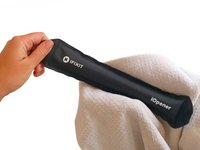
Thoroughly dry the iOpener with a towel.
-
Your iOpener is ready for use! If you need to reheat the iOpener, heat the water to a boil, turn off the heat, and place the iOpener in the water for 2-3 minutes.
-
-
-
Lay the iOpener over the plastic tab to loosen the adhesive. Let the bag sit on the device for approximately 90 seconds before attempting to open the panel.
-
-
-
-
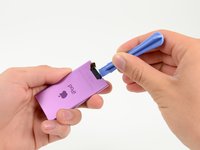
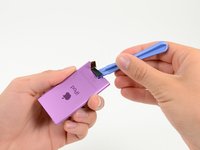
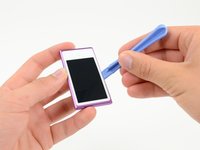
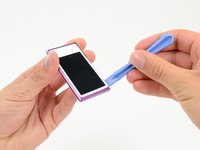
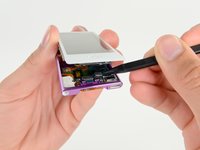
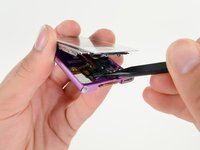
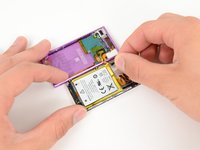
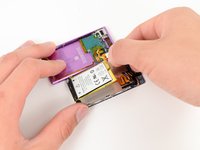
Insert a spudger under the metal midframe and display on the left side of the home button.
-
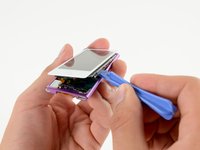
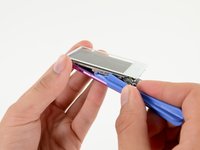
Rotate the spudger around the home button and across the front panel, releasing the adhesive holding the display in place.
-
-
-
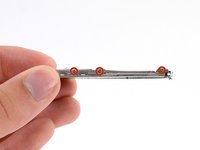
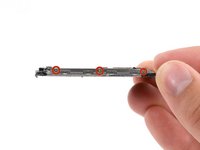
Remove the six (three on each side) 1.5 mm Phillips #000 screws securing the metal midframe to the display.
-
To reassemble your device, follow these instructions in reverse order.
Cancelar: não concluí este guia.
43 outras pessoas executaram este guia.
3Comentários do guia
My display didn’t come out intact, so I ordered a new one but it has no metal backing. Where could I get it?
Love the guide. In performing this myself very useful, but there are may small details that would have helped me and for the first time novice such as:
- Describing in more detail how to separate the Digitizer and Display cables that intertwine and is connected to the home button.
- Recommend repair novice taking their own pictures as reference points to go back to
- Tools a good magnifying lens or a means to see small part details
- Provide more insight on how the display metal back is to be removed after folding back display cables and removing corner tape.
- Not all repair parts are the same; recommend basic instruction on common steps for parts that require re-applying the metal back, and folding over the cables
All-in-all a good guide…Thanks.
while removing the screen you should slightly pull it toward the bottom of the device because the top of the screen frame sits under the bezle of the device


