Introdução
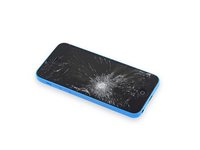
Use this guide to replace a broken rear-facing camera in an iPhone 5c.
O que você precisa
Vídeo de Apresentação
-
-
If your display glass is cracked, keep further breakage contained and prevent bodily harm during your repair by taping the glass.
-
Lay overlapping strips of clear packing tape over the iPhone's display until the whole face is covered.
-
-
-
Power off your iPhone before beginning disassembly.
-
Remove the two 3.8 mm P2 Pentalobe screws on either side of the Lightning connector.
-
-
Ferramenta utilizada neste passo:iSclack$24.99
-
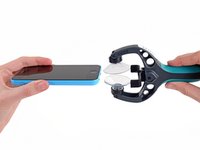
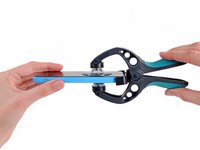
Close the handle on the iSclack, opening the suction-cup jaws.
-
Place the bottom of your iPhone in between the suction cups, against the plastic depth gauge.
-
The top suction cup should rest just above the home button.
-
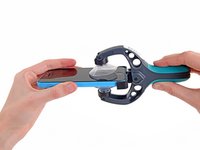
Open the handles to close the jaws of the iSclack. Center the suction cups and press them firmly onto the top and bottom of the iPhone.
-
-
-
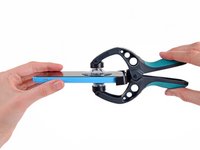
Hold onto your iPhone securely and close the handle of the iSclack to separate the suction cups, pulling the front panel up from the rear case.
-
The iSclack is designed to safely open your iPhone just enough to separate the pieces, but not enough to damage any cables.
-
Skip the next three steps and continue on to Step 8.
-
-
-
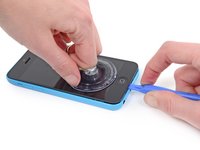
Press a suction cup onto the screen, just above the home button.
-
-
-
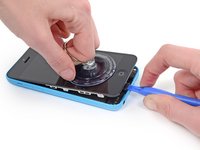
While holding the iPhone down with one hand, pull up on the suction cup to slightly separate the front panel assembly from the rear case.
-
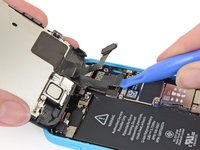
With a plastic opening tool, begin to gently pry the rear case down, away from the display assembly, while you pull up with the suction cup.
-
-
-
-
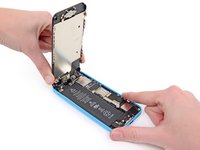
Lift the home button end of the front panel up to gain access to the connectors near the top of the phone.
-
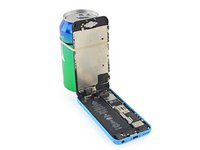
Open the display to about a 90º angle, and lean it against something to keep it propped up while you're working on the phone.
-
In a pinch, you can use an unopened canned beverage to hold the display.
-
Add a rubber band to keep the display securely in place while you work. This prevents undue strain on the display cables.
-
-
-
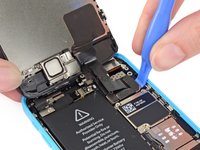
Use a spudger or a clean fingernail to gently pry the battery connector up from its socket on the logic board.
-
-
-
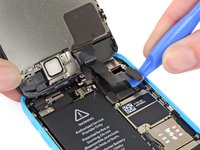
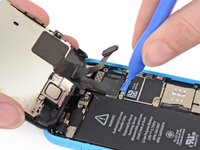
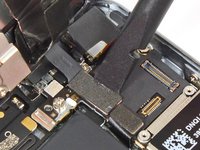
Use a plastic opening tool or a fingernail to disconnect the front-facing camera and sensor cable connector.
-
-
-
Remove the front panel assembly from the rear case.
-
-
-
Remove the two 1.5 mm Phillips #000 screws securing the rear-facing camera to the rear case.
-
To reassemble your device, follow these instructions in reverse order.
Cancelar: não concluí este guia.
41 outras pessoas executaram este guia.
3Comentários do guia
fixed it. thanks for another great turtorial.
I installed the camera, and it was working but wouldn’t focus so I went back to adjust the position. But I must have caused another problem in the process, because now the screen is just colored bars. :-( Does anybody know if this means my screen is kaput, if I messed up the logic board, and if there’s anything to be done at this point?
Merci beaucoup Walter, j’ai suivi à la lettre le tutoriel que tu as publier et tout est parfait. Ça nous évite d’acheter un autre iPhone.
Bravo!


