Essa tradução foi gerada por um programa e ainda não foi revisada por uma pessoa. Falas essa língua? Dá uma olhada.
Introdução
Use este guia para remover a câmera traseira principal do iPhone.
Nota: Remover a bateria permite um melhor acesso à placa que cobre o conector da câmera traseira. No entanto, não é absolutamente necessário remover a bateria. Se a sua bateria estiver particularmente difícil de remover, deixe-a no lugar e trabalhe ao redor dela.
O que você precisa
-
-
-
Desligue o seu iPhone antes de começar a desmontagem.
-
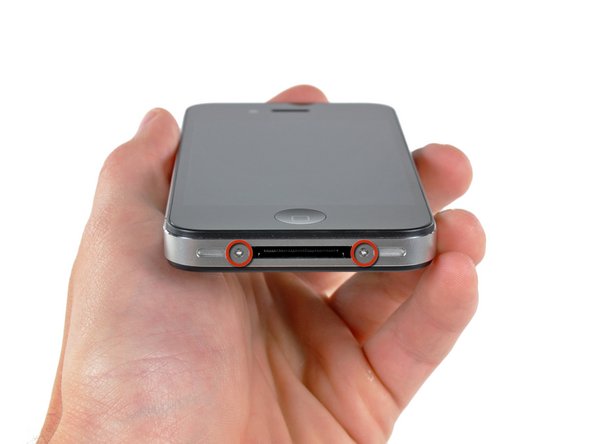
A tampa traseira do seu iPhone 4 pode ter dois parafusos Phillips #000 ou parafusos "Pentalobe" de 5 pontas da Apple (segunda imagem). Verifique quais parafusos você possui e certifique-se de também ter a chave correta para removê-los.
-
Remova os dois parafusos Pentalobe ou Phillips #000 de 3,6 mm ao lado do conector de dock.
 Pergunte ao FixBot
-
-
-
Empurre o painel traseiro em direção à borda superior do iPhone.
-
-
-
Pince o painel traseiro com os dedos e levante-o para longe do iPhone. Como alternativa, use uma ventosa de sucção (boca única).
-
-
-
-
-
Remova o parafuso Phillips de 2,5 mm que prende o conector da bateria à placa lógica.
-
-
-
-
Use uma Ferramenta de abertura de plástico para levantar delicadamente o conector da bateria do seu soquete na placa lógica.
-
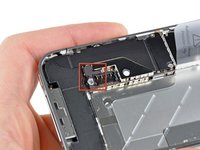
Remova o clipe de metal que cobre o conector da antena.
-
-
-
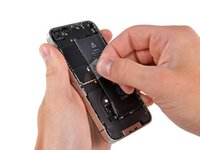
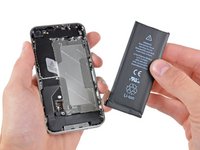
Use a aba de puxar de plástico transparente para levantar suavemente a bateria do iPhone.
-
Se houver algum resto de solução de álcool no celular, limpe cuidadosamente ou deixe secar ao ar antes de instalar sua nova bateria.
-
Antes de reconectar o conector da bateria, verifique se o clipe de contato (mostrado em vermelho) está posicionado corretamente ao lado do conector da bateria.
-
-
-
-
-
Remova os cinco parafusos a seguir que prendem a tampa do conector ao iPhone:
-
Um parafuso Phillips de 2,3 mm
-
Dois parafusos Phillips de 1,6 mm
-
Um parafuso Phillips de 1,4 mm
-
Um parafuso Phillips de 4,8 mm
-
Nota: para se lembrar das posições corretas, pode ser útil desenhar 5 círculos em uma folha de papel e colocar cada parafuso no círculo correspondente.
-
-
-
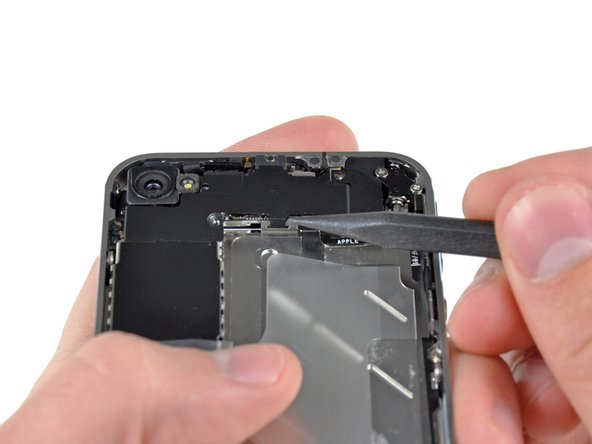
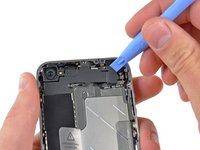
Use uma Ferramenta de abertura de iPod para levantar levemente a borda superior da tampa do conector para fora da placa lógica.
-
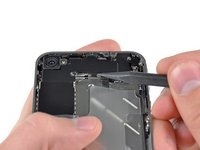
Use a ponta de uma espátula para puxar os clipes de retenção da tampa do conector para fora da estrutura interna.
-
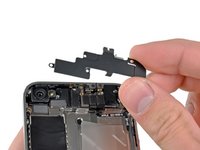
Remova a tampa do conector do iPhone.
-
Antes da remontagem, certifique-se de limpar todos os pontos de contato metal com metal na tampa do conector com um desengordurante, como o Windex. Os óleos dos seus dedos têm potencial para causar problemas de interferência sem fio.
-
-
-
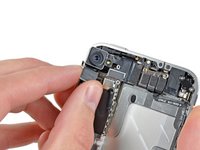
Use uma Ferramenta de abertura para levantar cuidadosamente o conector da câmera traseira de seu soquete na placa lógica.
-
-
-
Remova a câmera traseira do iPhone, evitando mover alguns dos conectores para a direita.
-
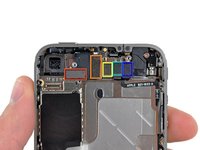
Após inserir a nova câmera, verifique estes conectores caso o iPhone não ligue.
-
Observação: A bateria (não mostrada nas fotos) deve ser desconectada, mas não precisa ser removida por completo.
-
-







Para a remontagem de seu dispositivo, siga estas instruções na ordem inversa.
Cancelar: não concluí este guia.
194 outras pessoas executaram este guia.
Documentos anexados

11Comentários do guia
This was super simple. My camera was not focusing after a previous company replaced it due to a faulty flash. I decided to take things into my own hands...no pun intended.
The instructions are super simple and easy to follow. Be aware of the loose clip under the connector - mine flew out - and I was worried I wouldn't figure out how to get it back in.
I also had to use a #0 screwdriver...#00 was too large.
I couldn't get the battery out...so, I was just super careful that the phone was off, and remained off during the repair.
Out with the defective camera...in with the functioning camera...replaced a couple of screws and the battery connector. Tested the camera prior to replacing everything.
Thank you ifixit!
You ROCK!!!
great comment!. You Rock!
Hi guys. I just did it ! I would not describe it as super easy, but thanks to the screw template provided file, even the now famous pressure contact can not be lost ;-)
I just wanted to comment, not only to praise iFixit (and myself), but also to mention two side effects I had to overcome:
-First, when finished, the power button did not work (I had to plug the Dock Connector to start the phone). As I the power button is not so far from the rear camera, I figured out something went wrong in the reassembly. Since I had just done it once, I thought I could do it a second time, so I removed the newly assembled camera and reassembled it with extra caution. At the end, the power button worked as expected.
-Second: each time I restarted the phone after reassembly (twice, then), the SIM card would not unlock after the PIN code was entered. I had to remove and reinsert the SIM card for the PIN code to finally unlock it.
Otherwise, everything went smoothly, thanks again to the iFixit guys !
Fantastic!!! my problem was the rear camera, when i switch on the camera app the screen were completely black and the torch was not working at all! I buyed the tools and the rear camera everything arrived here in Italy in perfect time as scheduled and in one hour I did the job !!! now my iphone camera is perfectly up and running !!! thanks to IFIXIT.COM and their guides!
hello guys ! I have done the replacement correctly because my camera wasn't able to focus anymore ! But now the flash light isn't working anymore :(( what can i do ?
Sincerly,
Antoine
