Introdução
Follow the steps in this guide to replace an aging battery in an iPad mini 4 Wi-Fi.
If your battery is swollen, take appropriate precautions.
O que você precisa
-
-
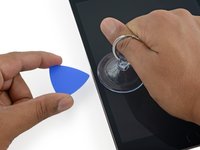
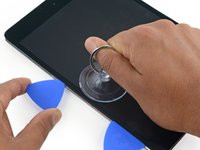
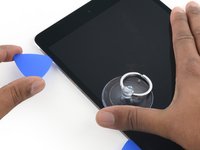
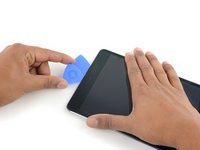
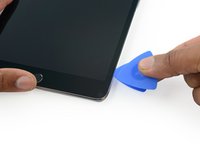
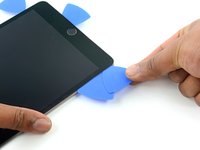
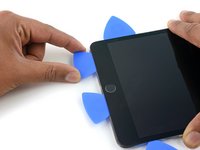
Leave the opening pick in the iPad slightly past the front-facing camera.
-
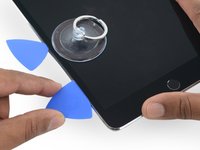
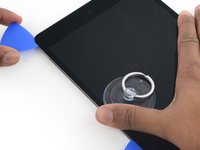
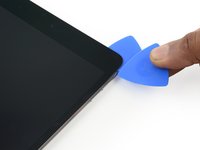
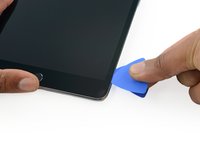
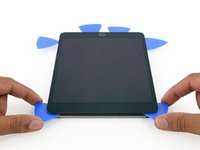
Take a second pick and insert it to the left of the camera, where the first pick just was. Slide it back to the corner to completely cut any remaining adhesive.
-
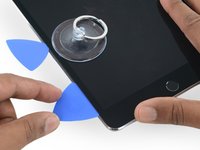
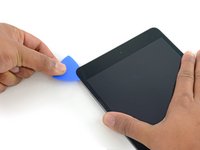
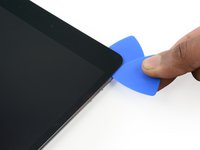
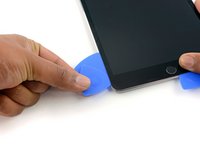
Leave the second pick in place to prevent the corner adhesive from re-sealing as it cools.
-
-
-
-
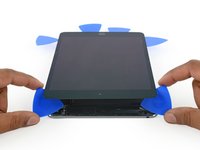
Remove the four 1.2 mm Phillips screws over the battery/display connector bracket.
-
-
-
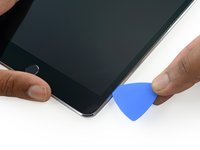
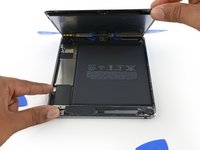
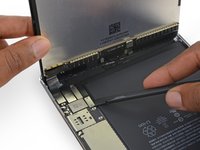
Use the pointed end of a spudger to disconnect the display data connector from its socket on the logic board.
-
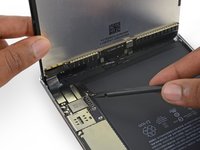
Use the pointed end of a spudger to disconnect the digitizer cable connector from its socket on the logic board.
-
-
-
Reheat your iOpener.
-
Lay the iPad face down on your work surface and place the iOpener on the rear case, where the lower edge of the battery is.
-
-
-
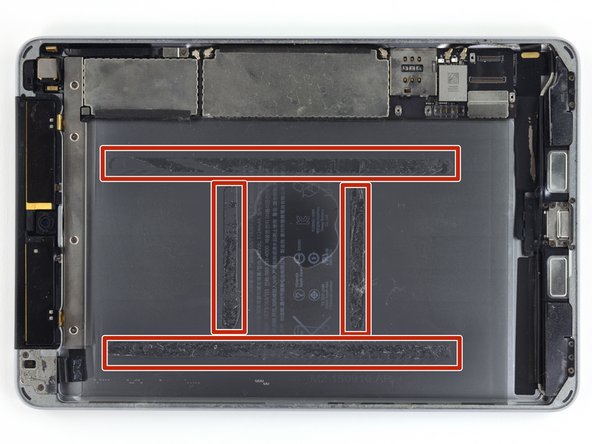
In the following steps you will be cutting the adhesive under the battery, and prying it off of the rear case.
-
The adhesive is laid out as shown in this image: two strips along the long edges, and two shorter strips perpendicular in the center.
-
To avoid damaging the battery, use plastic tools, heat, and patience. Do not puncture, bend, or overheat the battery.
-
Do not pry near the logic board, you could damage your iPad.
-
-
Ferramenta utilizada neste passo:Plastic Cards$2.99
-
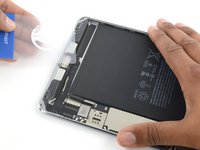
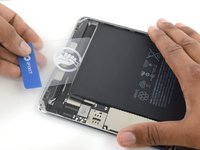
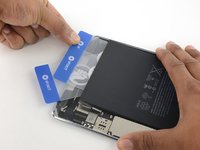
Insert the corner of a plastic card between the lower end of the battery and the rear case.
-
Press the card until approximately an inch and a half is underneath the battery.
-
-
-
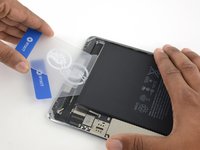
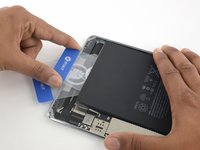
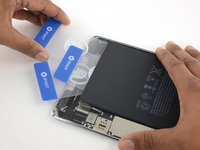
Insert a third plastic card between the first and second ones, this time aligned with the left edge of the battery.
-
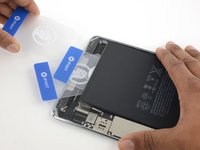
Continue to cut the adhesive under the battery until the battery is freed.
-
Reheat and reapply your iOpener when prying becomes difficult. Be sure to wait for the iOpener to cool between sessions.
-


To reassemble your device, follow these instructions in reverse order.
To reassemble your device, follow these instructions in reverse order.
Cancelar: não concluí este guia.
73 outras pessoas executaram este guia.

22 comentários
This guide is great for disassembly. I’ve just successfully removed the battery from my device by following these instructions. However, it does not provide any guidance for applying the new adhesive strips before assembling the screen. For that reason, this guide seems incomplete.
[can’t edit the guide]
Cleaningoff the old adhesive:
Remove the old adhesive from underside of the glass and the edges of the case. This was the most time consuming part. Took 2-3 hours, because the original adhesive was really gummy and i didn’t want to damage any parts with harsh solvents. (I used a series of methods": citrus oil adhesive remover, methylated spirits, sticky tape stick and lift off.)
Making sure the edges of the glass and case are spotless ensures a good result when applying the new adhesive strips. New strips can be gently applied, peeled back and reapplied to make 100% sure they are in the right place. If adhesive residue is still present the new strips could get stuck in the wrong place and be impossible to reposition.
[can’t edit the guide]
Reassembly:
Replacement double sided adhesive strips are applied to the case first. Figure which strips go top, bottom and sides. Start with the top or bottom corner. Apply the side strips last so you can figure which side is which.
Make sure the front camera and its window are clean. Use a strong magnifying glass and air duster. You won’t be able to get any dirt out unless you have more adhesive strips to use.
When you are ready to assemble, peel the backing off the double sided adhesive.
Support the screen at 90deg to case. Reattach cable connectors. Attach new battery connector then carefully position new battery with exposed adhesive into position in the case.
Attach connector clamp plate with 4 screws.
Carefully position the screen in case starting from the bottom edge. When it fits all the way around, press firmly round the edges to seal.
The guide is rated at a medium difficulty, which is out of step with a few iPhone battery replacement guides that are at a hard difficulty. Compared to the iPhone, the iPad is significantly more difficult to service. Even though there are few steps, it’s far easier to damage the device.
I’d rate it the hardest repair in earth!
cheongi -