Introdução
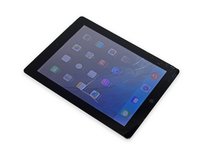
Use this guide to replace the GPS antenna.
O que você precisa
-
-
Fill a pot or pan with enough water to fully submerge an iOpener.
-
Heat the water to a boil. Turn off the heat.
-
Place an iOpener into the hot water for 2-3 minutes. Make sure the iOpener is fully submerged in the water.
-
Use tongs to extract the heated iOpener from the hot water.
-
Thoroughly dry the iOpener with a towel.
-
Your iOpener is ready for use! If you need to reheat the iOpener, heat the water to a boil, turn off the heat, and place the iOpener in the water for 2-3 minutes.
-
-
-
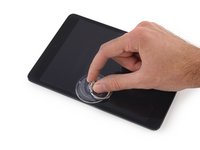
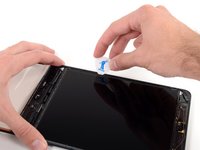
If your display glass is cracked, keep further breakage contained and prevent bodily harm during your repair by taping the glass.
-
Lay overlapping strips of clear packing tape over the iPad's display until the whole face is covered.
-
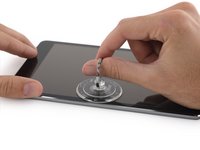
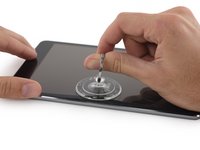
Do your best to follow the rest of the guide as described. However, once the glass is broken, it will likely continue to crack as you work, and you may need to use a metal prying tool to scoop the glass out.
-
-
-
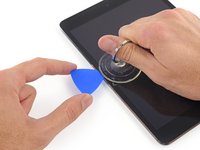
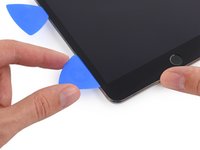
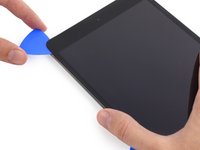
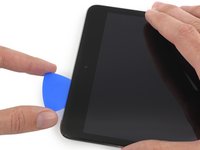
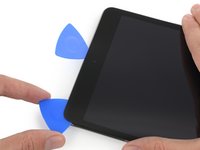
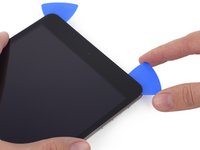
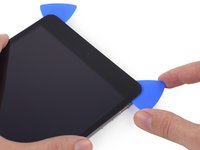
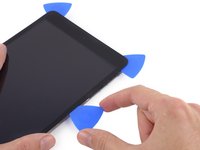
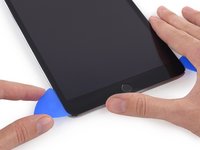
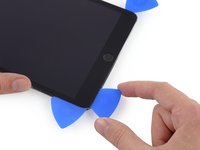
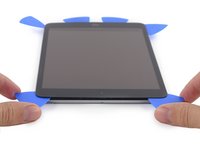
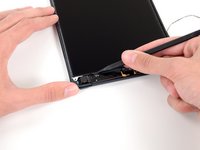
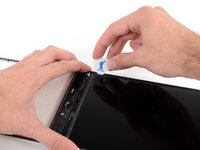
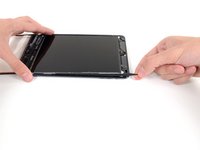
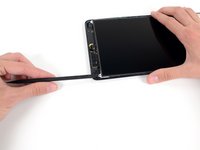
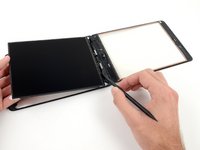
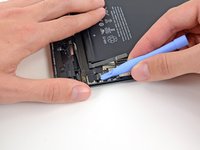
Take the first pick you inserted and slide it up toward the top corner of the iPad.
-
If you can see the tip of the opening pick through the front glass, don't panic—just pull the pick out a little bit. Most likely, everything will be fine, but try to avoid this as it may deposit adhesive on the front of the LCD that is difficult to clean off.
-
-
-
-
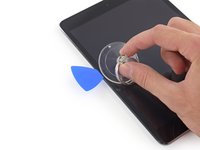
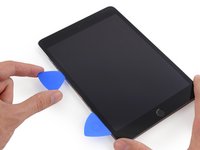
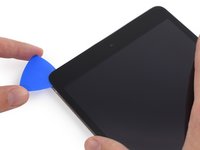
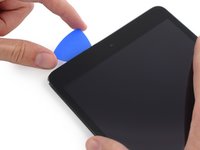
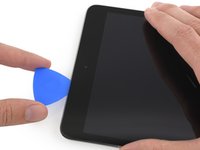
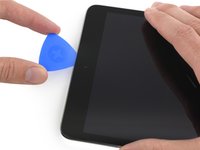
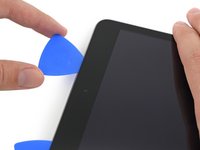
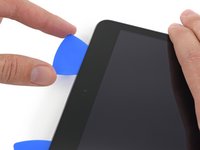
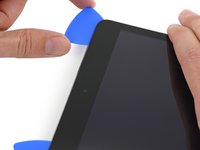
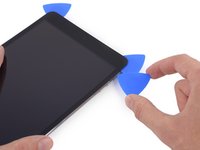
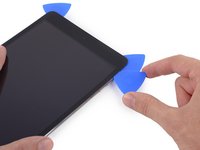
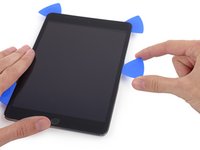
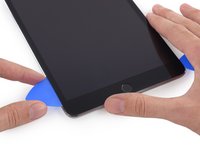
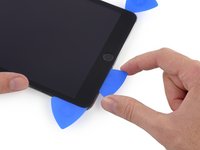
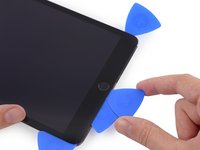
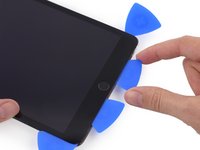
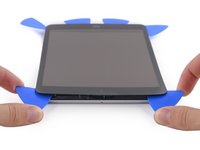
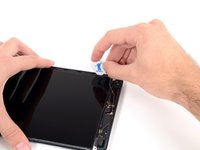
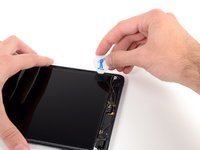
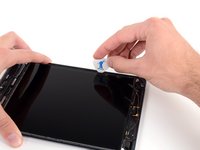
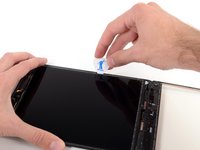
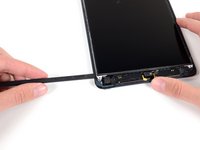
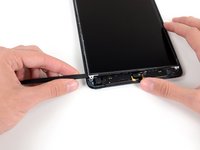
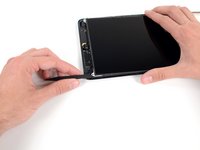
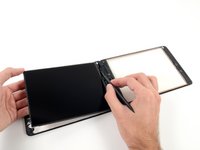
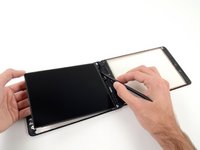
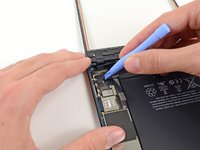
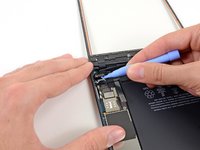
Slide the lower left pick to the lower left corner to cut the adhesive on that corner.
-
Leave the pick at the corner. Do not pry any farther, and do not remove the pick from the iPad.
-
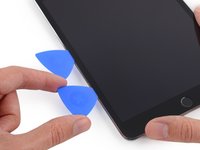
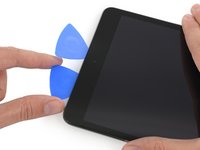
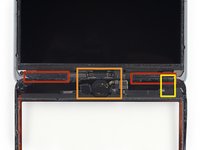
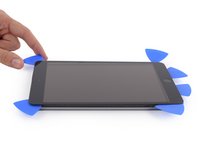
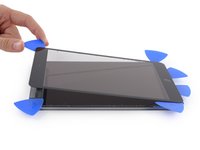
Antennas
-
Home button cavity
-
Digitizer cable
-
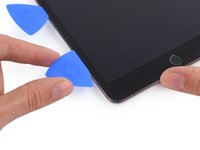
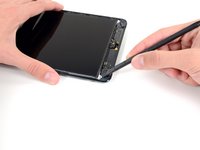
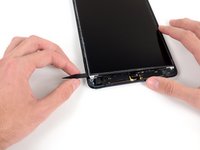
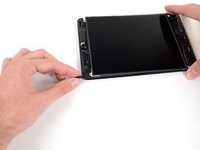
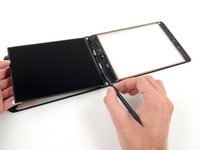
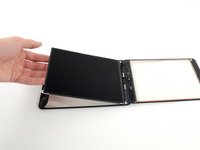
The following steps will direct you where to pry to avoid damage to these components. Only apply heat and pry where directed.
-
-
-
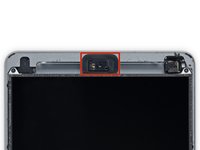
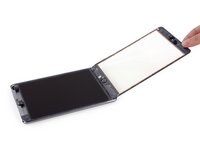
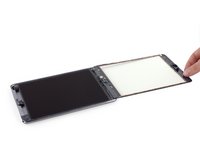
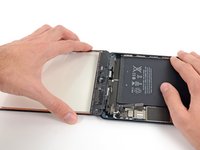
The front-facing camera housing may stick to the front panel; peel up the housing and place it back over the camera to protect it.
-
Rock the camera housing up on one edge to free it from the adhesive and remove it from the front panel.
-
Return the front-facing camera housing to its recess in the rear case.
-
-
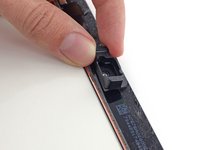
Ferramenta utilizada neste passo:Tweezers$4.99
-
Use tweezers to peel up and remove the rectangular piece of foam tape covering the top right LCD screw.
-
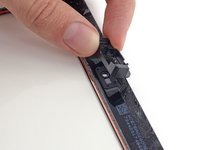
Remove the triangular tape covering the lower right LCD screw.
-
-
-
Remove the following screws securing the LCD shield plate to the rear case of the iPad:
-
Two 2.6 mm Phillips #00
-
Thirteen 1.7 mm Phillips #00
-
One additional 1.7 mm Phillips #00 on some devices.
-
-
-
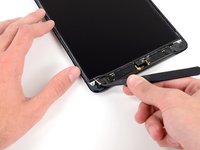
Remove the three 1.3 mm Phillips #00 screws securing the connector shield to the logic board.
-
-
-
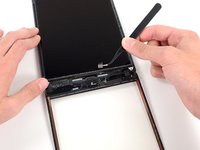
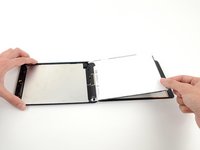
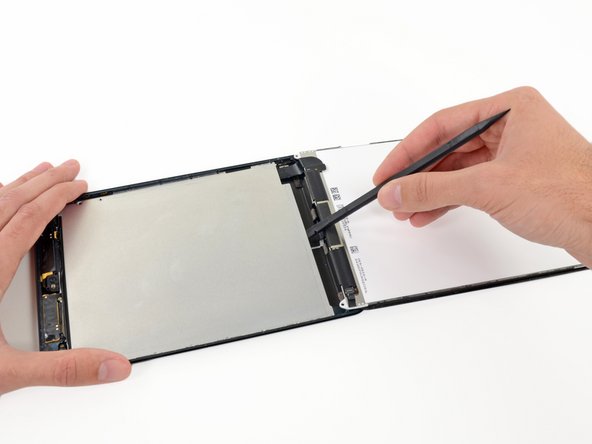
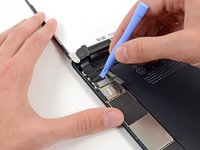
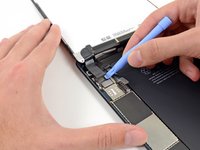
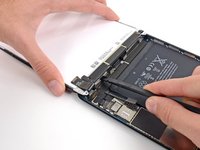
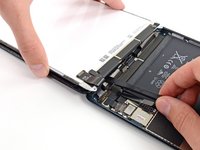
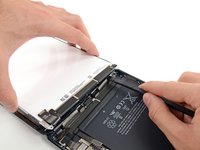
Use a plastic opening tool to pry the LCD connector from its socket on the logic board.
-
-
-
To minimize stress on the socket, try prying under the short edge of the connector, rather than the long edge which is shown in these images.
-
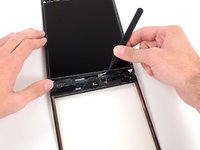
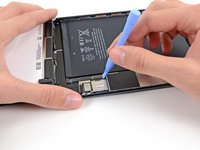
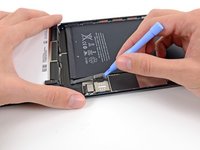
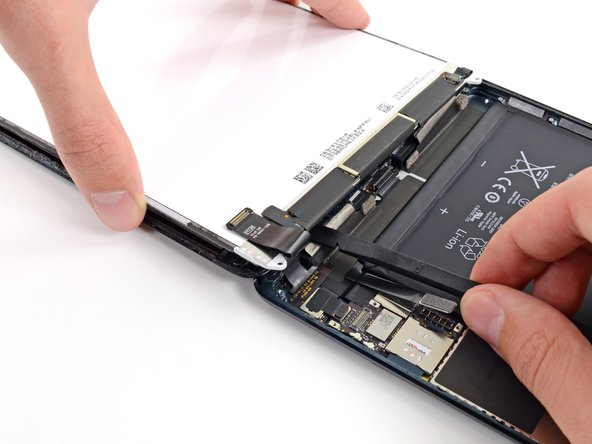
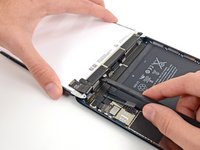
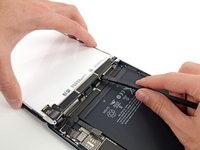
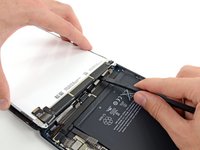
Gently pry the digitizer connector up from its socket on the logic board.
-
-
-
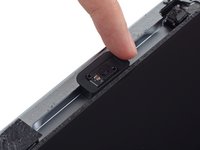
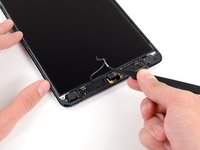
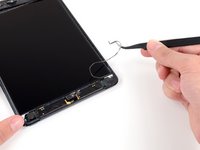
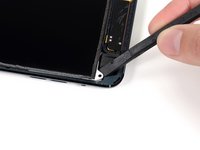
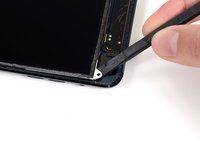
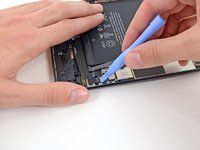
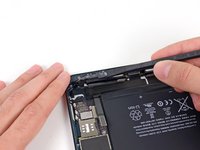
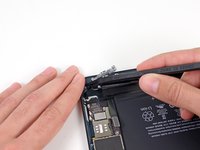
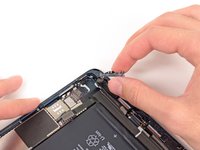
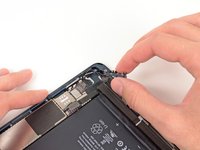
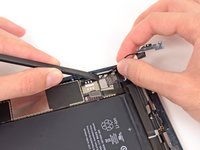
Use the tip of a spudger to peel back the small piece of tape covering both antenna cables located near the bottom right corner of the iPad.
-
-
-
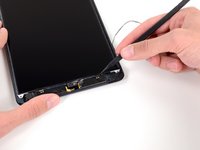
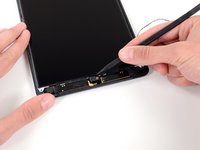
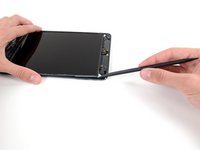
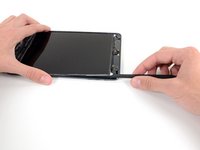
Remove the following screws:
-
One 2.5 mm Phillips #00
-
Two 1.1 mm Phillips #00
-
One 1.2 mm Phillips #00
-


To reassemble your device, follow these instructions in reverse order.
Cancelar: não concluí este guia.
2 outras pessoas executaram este guia.
