Introdução
This guide will walk you through replacing the LED at the bottom of the speaker.
O que você precisa
-
-
Push down and turn the top of the speaker clockwise. This will release the clips and expand the speaker.
 Pergunte ao FixBot
-
-
-
Use a #000 Phillips screwdriver to remove the four 1 mm screws from the bottom half of the speaker.
-
-
-
-
Flip the speaker over and use a #000 Phillips screwdriver to remove three 1mm screws . Unscrew these to unfasten the top.
-
-
-
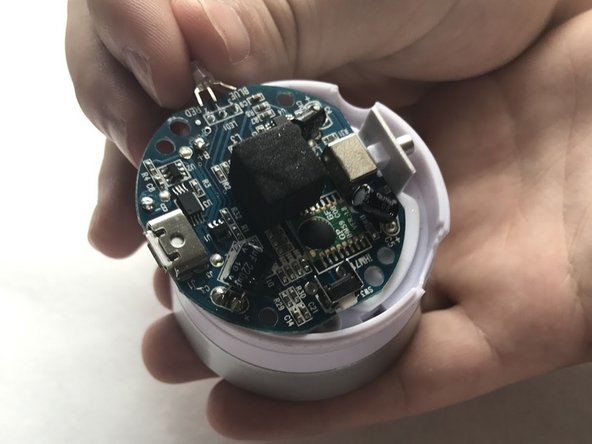
Remove the now unfastened coverings to expose the internals of the speaker.
-
-
-
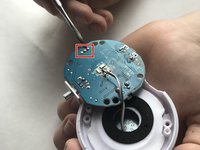
Desolder the three connections to the old LED to remove it from the board.
-


To reassemble your device, follow Steps 1-4 in reverse order.
Equipe

UMass Dartmouth, Team S7-G5, Julie Spring 2017 Membro de UMass Dartmouth, Team S7-G5, Julie Spring 2017
UMASSD-JULIE-S17S7G5
5 Membros
Autoria de 4 guias