Ir para o conteúdo principal
Participe da comunidade de reparos - Criar conta

Zoomer Meowzies Back Button Contact Replacement

O que você precisa

    1. Zoomer Meowzies Back Button Contact Replacement, Legs: passo 1, imagem 1 %32 Zoomer Meowzies Back Button Contact Replacement, Legs: passo 1, imagem 2 %32 Zoomer Meowzies Back Button Contact Replacement, Legs: passo 1, imagem 3 %32
      • Using the Triangle driver remove the four 7.5 mm screws.

      • The two front screws are deeper than the two on the back legs which may cause difficulties. These can be reached by putting the bit in first then carefully putting the driver on slightly (not all the way)

      Pergunte ao FixBot

      Comentar

    2. Zoomer Meowzies Back Button Contact Replacement: passo 2, imagem 1 %32 Zoomer Meowzies Back Button Contact Replacement: passo 2, imagem 2 %32
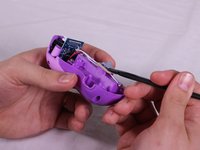
      • Turn the device so that the the device is on its side.

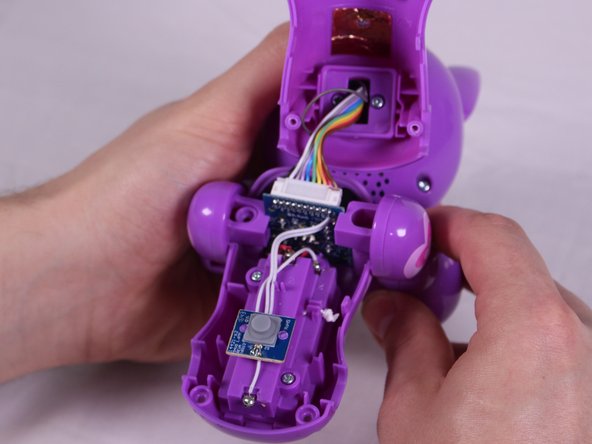
      • Hold the back and belly on the device and gently pull apart.

      • Pulling with too much force might damage a few cables inside, so caution is needed.

      Pergunte ao FixBot

      Comentar

    3. Zoomer Meowzies Back Button Contact Replacement: passo 3, imagem 1 %32 Zoomer Meowzies Back Button Contact Replacement: passo 3, imagem 2 %32 Zoomer Meowzies Back Button Contact Replacement: passo 3, imagem 3 %32
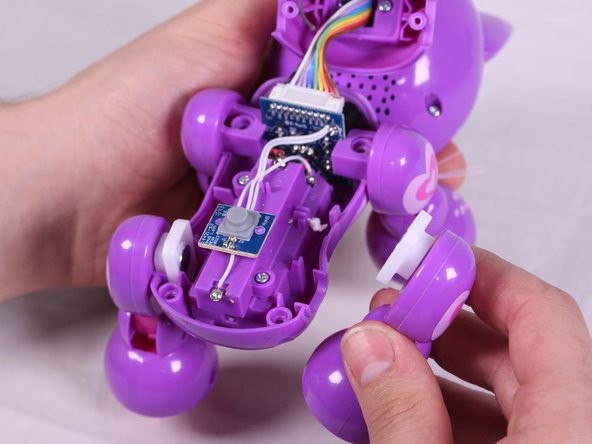
      • With insides exposed, grab leg and gently pull up and away from the body to detach them. Repeat for all legs needed.

      Pergunte ao FixBot

      Comentar

    1. Zoomer Meowzies Back Button Contact Replacement, Back Button Contact Point: passo 4, imagem 1 %32 Zoomer Meowzies Back Button Contact Replacement, Back Button Contact Point: passo 4, imagem 2 %32 Zoomer Meowzies Back Button Contact Replacement, Back Button Contact Point: passo 4, imagem 3 %32
      Ferramenta utilizada neste passo:
      Tweezers
      $4.99
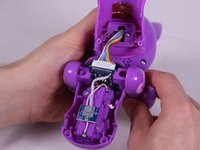
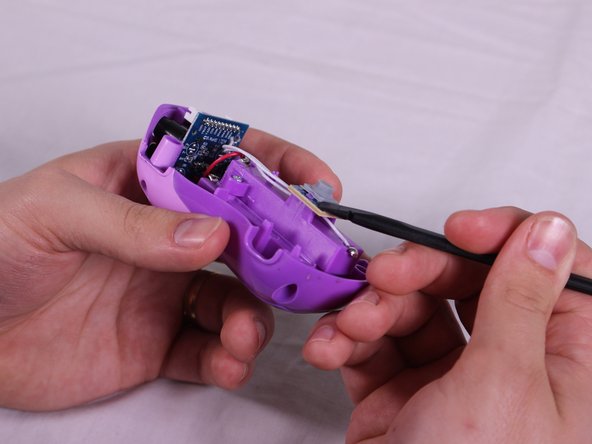
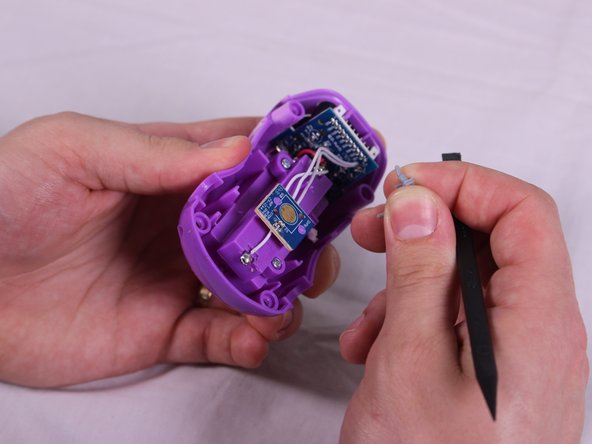
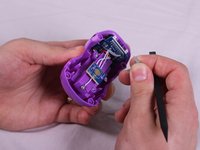
      • Locate the gray rubber contact in the middle of the bottom half of the device. Using the spudger, lift one corner of the contact until it pops loose.

      • Grab the contact and gently pull until the other side detaches.

      • When replacing the contact pad, use the narrow leads on the pad to pull it into place by twisting around the tips of the tweezers.

      Pergunte ao FixBot

      Comentar

Conclusão

To reassemble your device, follow these instructions in reverse order.

Cancelar: não concluí este guia.

Equipe

USF Tampa, Team S6-G2, Eyestone Spring 2018 Membro de USF Tampa, Team S6-G2, Eyestone Spring 2018

USFT-EYESTONE-S18S6G2

3 Membros

Autoria de 16 guias

0Comentários do guia

Comentar

Visualizações:

Últimas 24 horas: 3

Últimos 7 dias: 10

Últimos 30 dias: 30

Ao todo: 603