Introdução
If you need to install or replace new wheels in your ZCWA BR151 vacuum, access the wheels from the underside of the device by using this guide. There could be a buildup of dust or other foreign objects in the wheel chambers, causing a potential blockage. A complete replacement may not be necessary. The wheels are moderately accessible, but there are several pieces to remove for full access. You will not need to do any difficult steps, but be advised that there are several pieces to keep track of. Be cautious when separating the top of the device from the bottom of the device; the two components are held together by wiring. Before starting the guide, be sure to power off the device and drain any water from the device's water tank.
O que você precisa
-
-
-
Remove the water tank by sliding the latch down with a finger and grasping the bottom of the water tank.
-
Pull it out.
-
-
-
-
Flip the device over to access the bottom panel.
-
Remove the cloth mop covering by lifting it from the velcro on the plastic mop attachment.
-
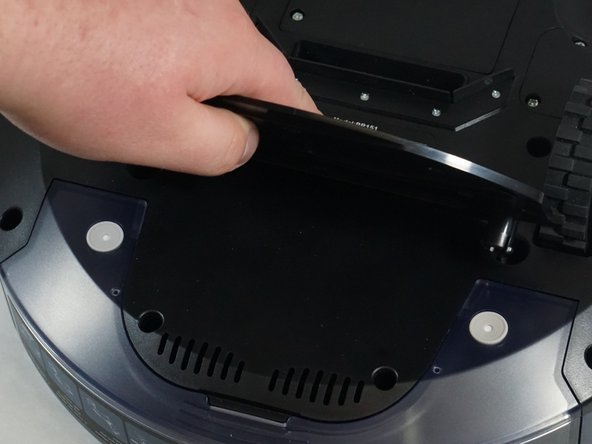
Remove the plastic mop attachment by placing your fingers underneath and prying it up.
-
-
-
Remove the six 6 mm screws on the bumper guards using a Phillips #0 screwdriver.
-
Remove the bumper guards by lifting them.
-
-
-
-
Use a Phillips #1 screwdriver to remove the ten 10 mm screws from the bottom plate.
-
-
-
Use a Phillips #1 screwdriver to remove three 8 mm screws from the wheel plate.
-
-
-
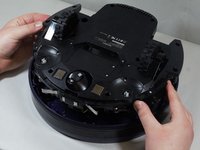
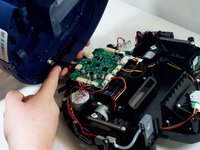
Carefully lift the bottom panel off of the top.
-
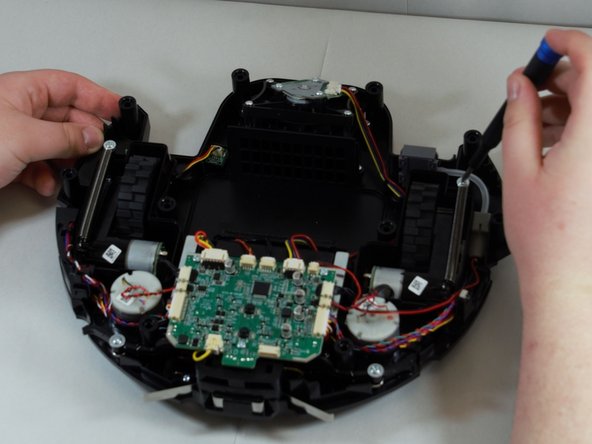
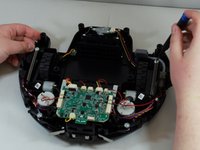
Gently place the bottom of the device on your workspace surface, wheels down, exposing the inner workings of the device.
-
-
-
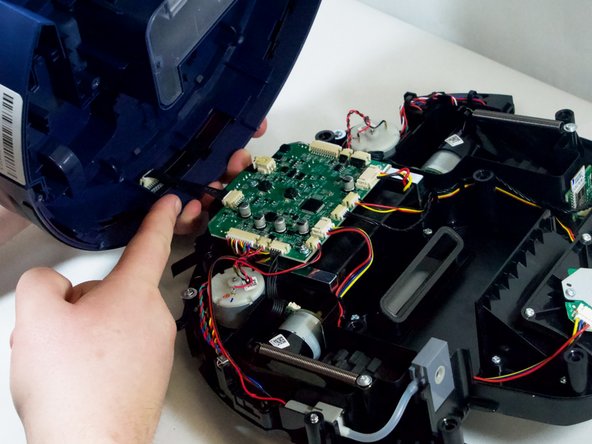
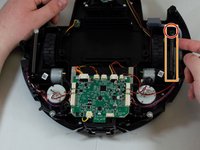
Pinch the wire bracket that is on the top panel while pulling the bracket away.
-
Pull the cable away from the connector in the same direction as the individual wires are running.
-
Pull evenly on the full width of the cable so that no individual wires are overly strained.
-
-
-
Using a Phillips #1 screwdriver, remove the single screw to the spring.
-
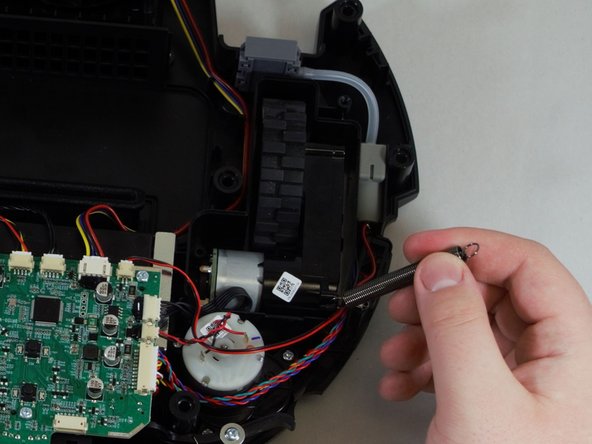
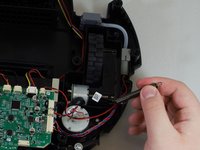
Once the spring is unscrewed, slowly pull it towards you, then to the left of the spring bracket to free the spring.
-
-
-
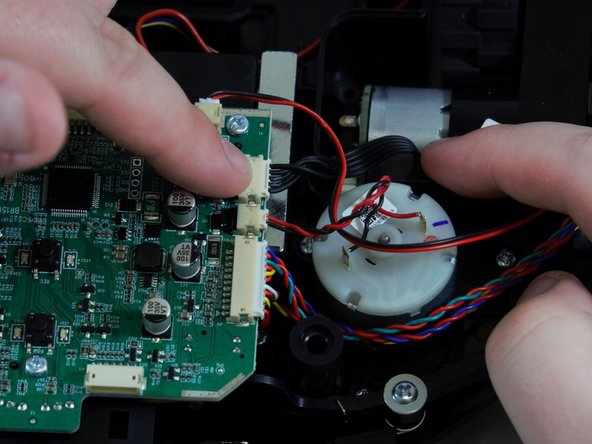
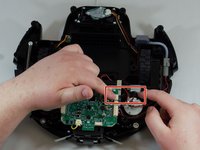
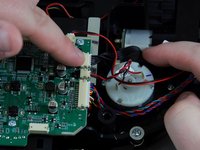
Pinch the silver brackets and pull the wire casing away from the motherboard.
-
Pull evenly on the full width of the cable so that no individual wires are overly strained.
-
Remove the wheel from the vacuum.
-
-

 Pergunte ao FixBot







To reassemble your device, follow these instructions in reverse order.
Cancelar: não concluí este guia.
Uma outra pessoa concluiu este guia.

Equipe

Tennessee Tech University, Team 1-1, Pickering Spring 2024 Membro de Tennessee Tech University, Team 1-1, Pickering Spring 2024
TNTECH-PICKERING-S24S1G1
4 Membros
Autoria de 12 guias
