Introdução
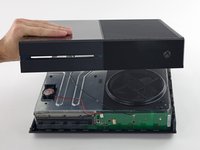
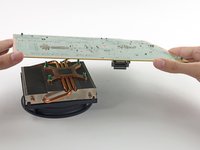
Need to upgrade to some serious cooling? Or replace a busted heat sink? Follow this guide to replace the heat sink in your Xbox One.
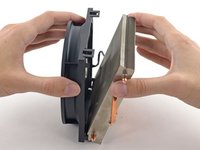
Note that separating the heat sink from the CPU compromises the original thermal compound. You'll need to clean off and replace the thermal paste with a new application. See this guide for directions on how to do this.
O que você precisa
-
-
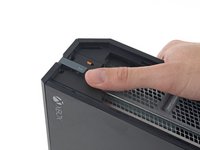
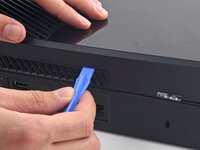
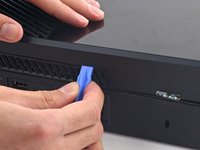
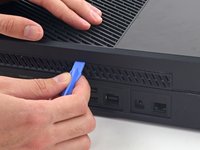
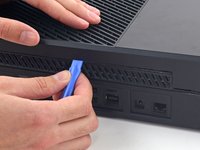
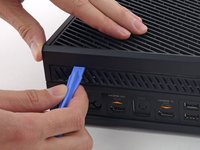
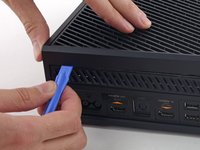
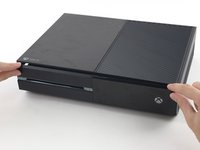
To open your Xbox, you're going to have to cut or peel up this tamper-evident tape. But don't worry—Microsoft can't legally void your warranty, as long as you don't damage anything. Have fun!
-
-
-
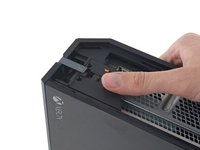
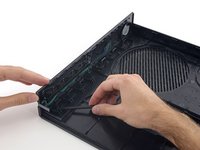
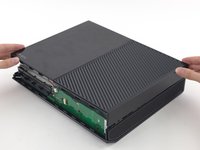
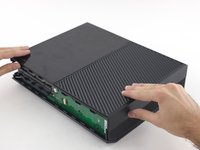
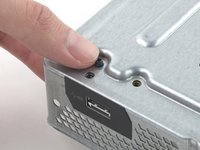
Use the flat end of a spudger to free the clips securing the front panel to the upper case.
-
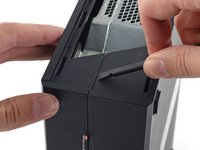
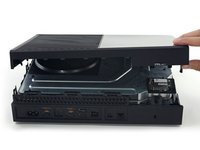
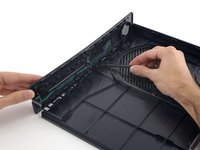
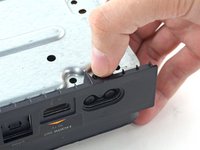
Remove the front panel from the rest of the upper case.
-
-
-
-
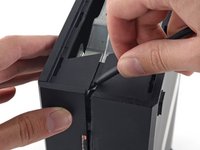
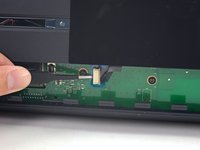
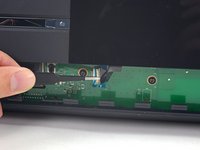
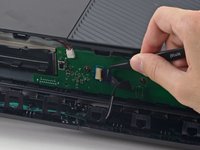
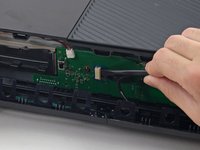
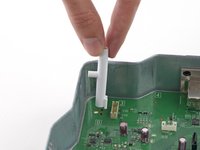
Gently pull up on the speaker cable connector to disconnect it from the front panel board.
-
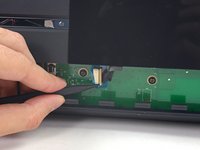
Use the flat end of a spudger to disconnect the antenna cable from the front panel board.
-
-
-
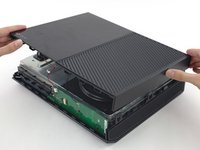
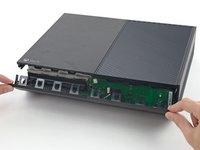
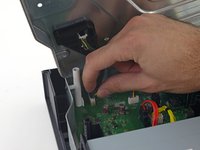
Disconnect the hard drive SATA power and data cables from the motherboard.
-
-
-
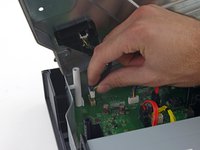
Disconnect the optical drive power and SATA data cables from the motherboard.
-
-
-
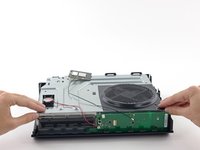
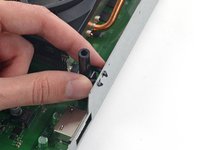
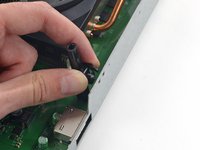
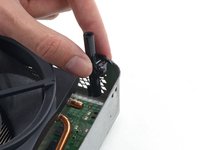
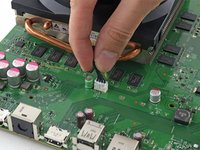
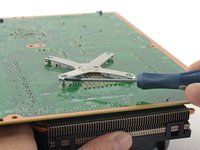
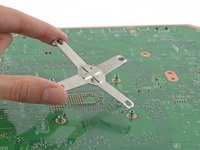
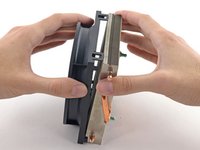
Pinch the arms together and pull the barbs out through the frame to remove the posts.
-
-
-
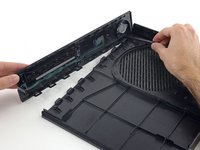
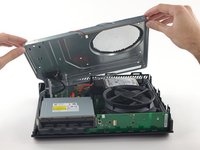
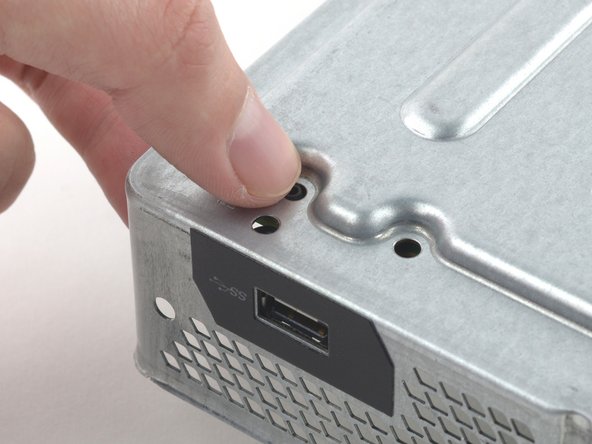
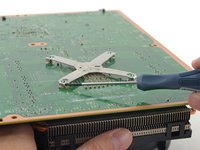
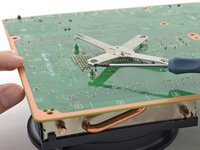
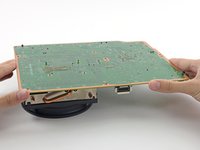
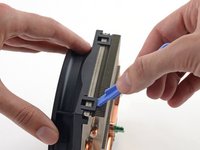
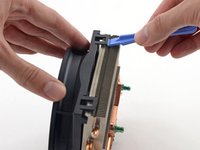
Use a plastic opening tool to pry the two clips on one side out of the channel in the side of the heat sink.
-


To reassemble your device, follow these instructions in reverse order. Don't forget to apply a new layer of thermal paste to your CPU. Follow this guide to learn how.
To reassemble your device, follow these instructions in reverse order. Don't forget to apply a new layer of thermal paste to your CPU. Follow this guide to learn how.
Cancelar: não concluí este guia.
42 outras pessoas executaram este guia.

5 comentários
Can you by chance get the measurements for the heatsink such as the mounting points and height of the heatsink?
Hi.I've just wondering can i put a liquid metal thermal paste i think the radiator has to be copper and that's all , pluses of the procedure that liquid metal thermal paste doesn't age, and the xbox will need only fan cleaning
Pry on the sides in a x formation, and when you get it on the post, just push down till you see it click in to the groove on the heatsink post
Disassembled removed dust with a brush, replaced the thermal paste and reassembled in 50 minutes. Feeling like a pro lmao.