Ir para o conteúdo principal
Participe da comunidade de reparos - Criar conta

Xbox Disassembly

O que você precisa

Vídeo de Apresentação

  1. Xbox Disassembly, Console: passo 1, imagem 1 %32
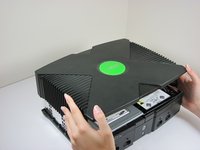
    • Start with your Xbox unplugged and sitting on a flat, stable surface.

    Pergunte ao FixBot

    Comentar

  2. Xbox Disassembly: passo 2, imagem 1 %32
    • Flip the Xbox over and pry off the rubber feet with a metal spudger.

    Pergunte ao FixBot

    Comentar

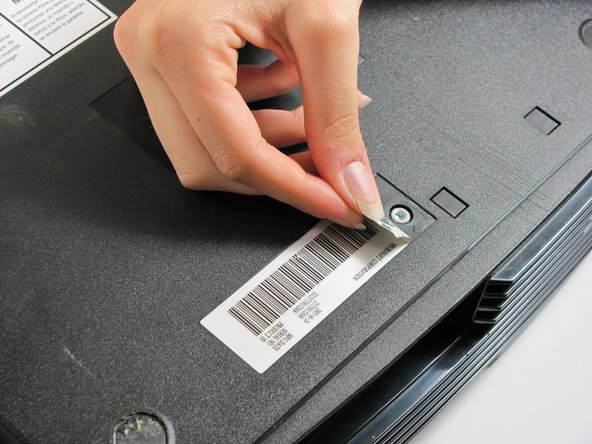
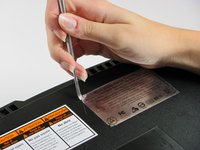
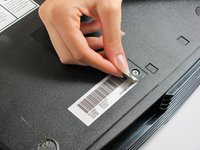
  3. Xbox Disassembly: passo 3, imagem 1 %32 Xbox Disassembly: passo 3, imagem 2 %32
    • Peel back both the silver sticker and the white barcode sticker to reveal two additional screws.

    Pergunte ao FixBot

    Comentar

  4. Xbox Disassembly: passo 4, imagem 1 %32
    • Use a T20 Torx screwdriver to remove the four screws located under the rubber feet you just removed as well as the two screws from beneath the stickers removed in the previous step.

    Pergunte ao FixBot

    Comentar

  5. Xbox Disassembly: passo 5, imagem 1 %32 Xbox Disassembly: passo 5, imagem 2 %32
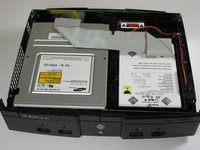
    • Once the bottom shell is no longer attached, carefully turn the Xbox right-side-up and lift off the top shell.

    Pergunte ao FixBot

    Comentar

  6. Xbox Disassembly: passo 6, imagem 1 %32 Xbox Disassembly: passo 6, imagem 2 %32
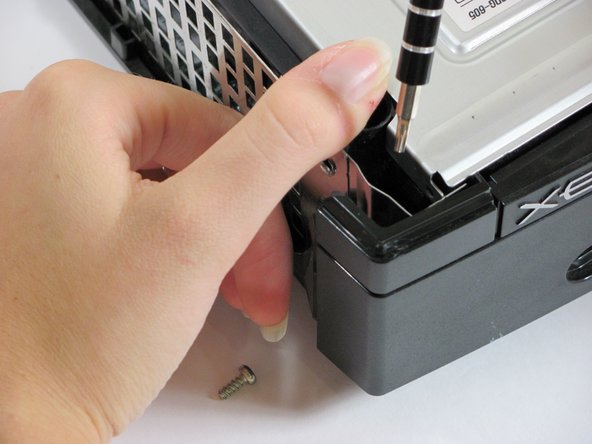
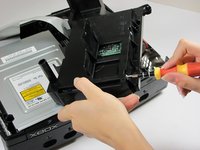
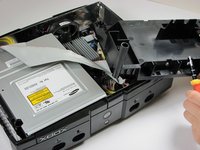
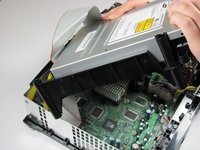
    • Move the grey ribbon cable out of the way in order to remove the three 3 mm screws using T10 Torx screwdriver. They are located on the upper right corner, lower right, and lower left corners of disk drive.

    • The screw on the lower left corner of the disk drive is not in the hole that it appears to be in, but rather just closer to the corner.

    Pergunte ao FixBot

    Comentar

  7. Xbox Disassembly: passo 7, imagem 1 %32 Xbox Disassembly: passo 7, imagem 2 %32
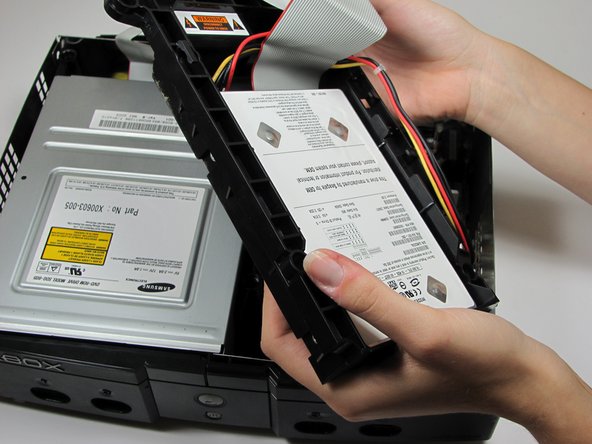
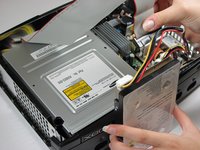
    • Lift the hard drive storage unit out of the Xbox. It should come right out.

    • Take the power cable out of the track around the hard drive so that the unit will come out easier.

    Pergunte ao FixBot

    Comentar

  8. Xbox Disassembly: passo 8, imagem 1 %32 Xbox Disassembly: passo 8, imagem 2 %32 Xbox Disassembly: passo 8, imagem 3 %32
    • Use a T15 Torx screwdriver to remove four 3.37mm screws from both sides of the hard drive.

    • Remove the plastic housing from the hard drive. It does have some clips on it, but it should come right off.

    Pergunte ao FixBot

    Comentar

  9. Xbox Disassembly: passo 9, imagem 1 %32 Xbox Disassembly: passo 9, imagem 2 %32
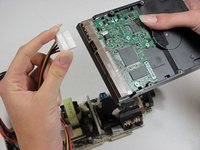
    • Unplug both the ribbon cable and power cable from hard drive.

    • They are in there pretty tightly, so this may take some effort.

    Pergunte ao FixBot

    Comentar

  10. Xbox Disassembly: passo 10, imagem 1 %32 Xbox Disassembly: passo 10, imagem 2 %32 Xbox Disassembly: passo 10, imagem 3 %32
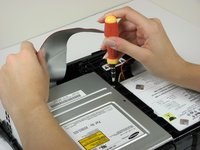
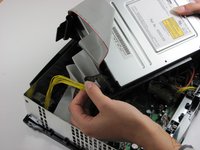
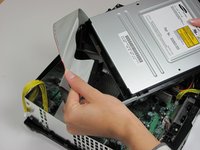
    • Remove the disk drive. It should come right out.

    • Unplug the ribbon cable and yellow cables from back of disk drive.

    Pergunte ao FixBot

    Comentar

  11. Xbox Disassembly: passo 11, imagem 1 %32
    • Pry back the black plastic tabs around the disk drive in order to remove it from its housing. Once removed, set the drive aside.

    Pergunte ao FixBot

    Comentar

  12. Xbox Disassembly: passo 12, imagem 1 %32
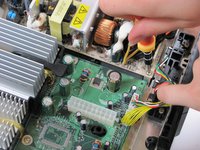
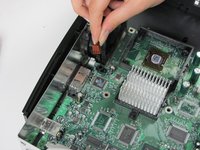
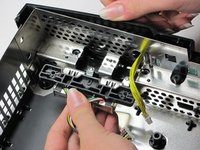
    • Unplug the multi-colored power cord from the motherboard. It can be plugged in very tight, so it may take some effort to unplug it.

    Pergunte ao FixBot

    Comentar

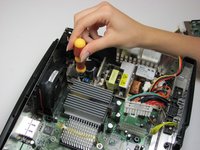
  13. Xbox Disassembly: passo 13, imagem 1 %32 Xbox Disassembly: passo 13, imagem 2 %32
    • Using T10 Torx screwdriver, remove two 3mm screws from the power supply board.

    Pergunte ao FixBot

    Comentar

  14. Xbox Disassembly: passo 14, imagem 1 %32 Xbox Disassembly: passo 14, imagem 2 %32
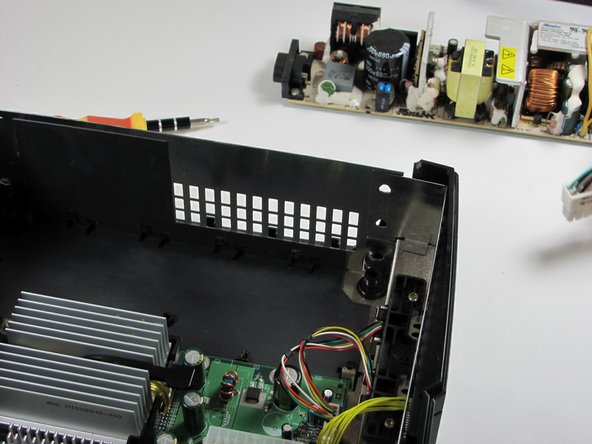
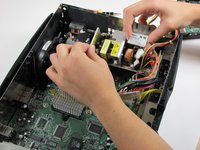
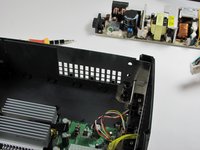
    • Remove the power supply and set it aside. It should lift right out.

    Pergunte ao FixBot

    Comentar

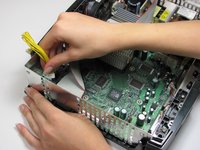
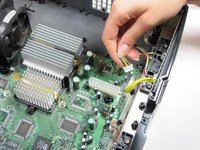
  15. Xbox Disassembly: passo 15, imagem 1 %32 Xbox Disassembly: passo 15, imagem 2 %32
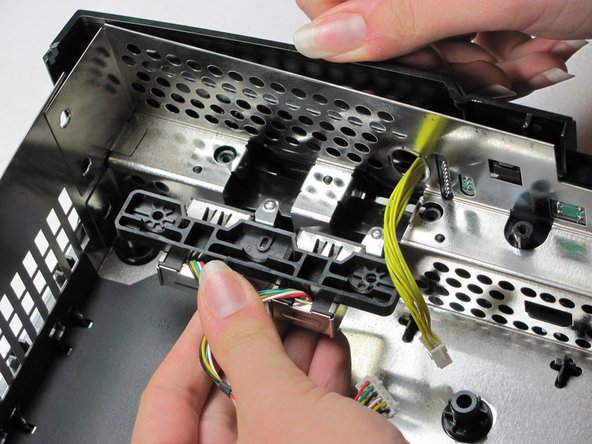
    • Unplug the bundle of yellow cables as well as the rainbow cord from the motherboard.

    Pergunte ao FixBot

    Comentar

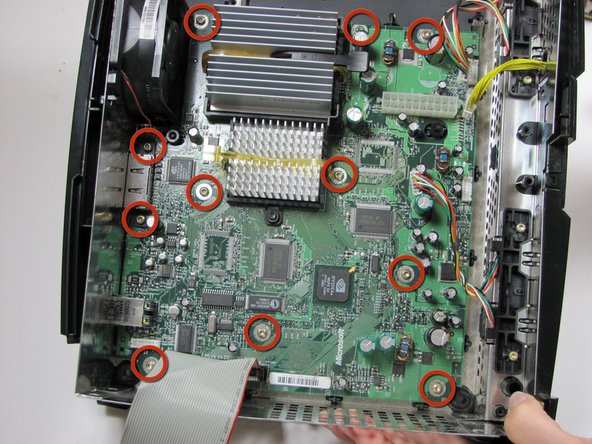
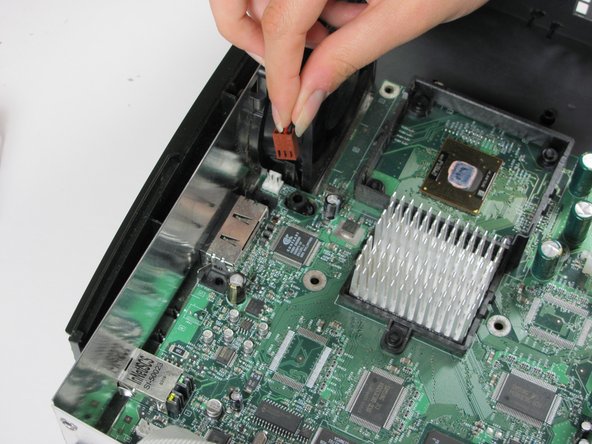
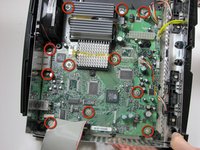
  16. Xbox Disassembly: passo 16, imagem 1 %32 Xbox Disassembly: passo 16, imagem 2 %32
    • Remove eleven 3mm screws from motherboard, using a T10 Torx screwdriver. Refer to the picture to find all eleven.

    • Unplug the power cable attached to the fan.

    Pergunte ao FixBot

    Comentar

  17. Xbox Disassembly: passo 17, imagem 1 %32
    • Remove the motherboard from the Xbox. As long as all of the screws are out and the fan is disconnected, it will lift out easily.

    Pergunte ao FixBot

    Comentar

  18. Xbox Disassembly: passo 18, imagem 1 %32
    • Pry the plastic fan clips away from the fan base and remove the fan.

    • This may take a little effort, as the clips are pretty stiff. Beware, the fan will be filthy.

    Pergunte ao FixBot

    Comentar

  19. Xbox Disassembly: passo 19, imagem 1 %32 Xbox Disassembly: passo 19, imagem 2 %32
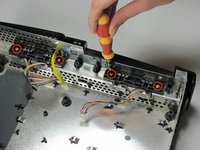
    • Using a T10 Torx screwdriver, remove two 3mm screws from each of two controller sockets.

    • Take the sockets out by pulling back and up at the same time.

    Pergunte ao FixBot

    Comentar

  20. Xbox Disassembly: passo 20, imagem 1 %32
    • Congratulations, your Xbox is now completely dismembered.

    Pergunte ao FixBot

    Comentar

Conclusão

To reassemble your device, follow these instructions in reverse order.

Cancelar: não concluí este guia.

57 outras pessoas executaram este guia.

rmarstel

Membro desde: 10/29/09

6.273 Reputação

Autoria de 5 guias

Equipe

Cal Poly, Team 18-2, Maness Fall 2009 Membro de Cal Poly, Team 18-2, Maness Fall 2009

CPSU-MANESS-F09S18G2

3 Membros

Autoria de 26 guias

10Comentários do guia

Awesomeness, thanks a lot!

godoyander - Responder Compartilhar

Thanks a million - perfect!

xan_lucky16 - Responder Compartilhar

Heatsink removal?

Matt Russell - Responder Compartilhar

Face plate removal?

Herberth Alvarez - Responder Compartilhar

Did a complete cleanup and refresh of my Xbox thanks to your guide, thank you :)

Mickaël STEMMER - Responder Compartilhar

Comentar

Visualizações:

Últimas 24 horas: 50

Últimos 7 dias: 380

Últimos 30 dias: 1,616

Ao todo: 224,672