Introdução
This guide will help the owner of a Kitchen Gourmet XQ-673H replace the water tubes.
O que você precisa
-
-
-
Using a Phillips #1 screwdriver, remove the six 10mm screws found on the bottom of the device.
-
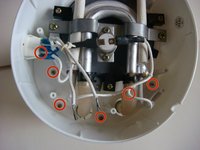
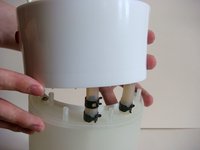
Remove the bottom cover.
-
-
-
-
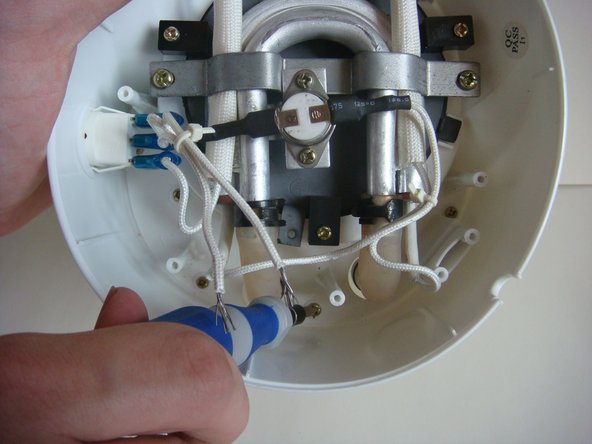
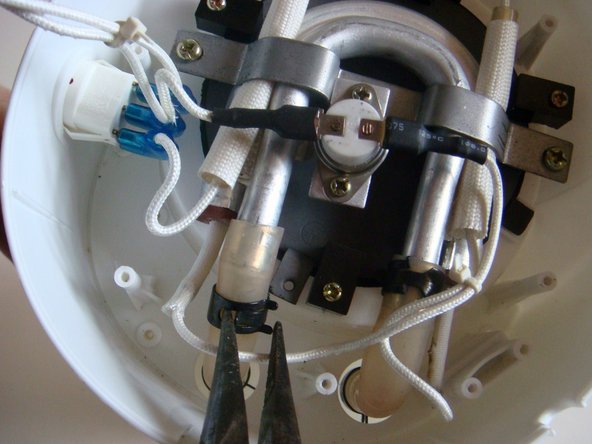
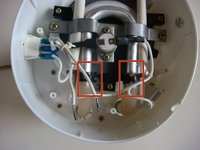
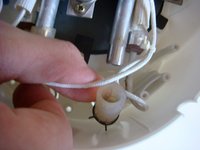
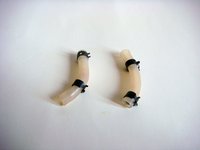
Using small needle nose pliers, squeeze the metal that is covering the tube.
-
Carefully slide down the metal covering.
-
Repeat this step for the other tube.
-
-
-
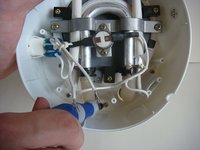
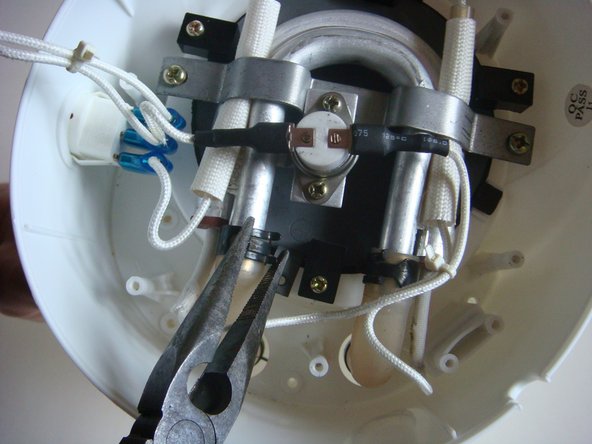
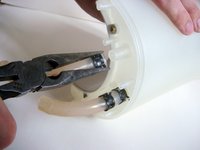
Using small needle nose pliers, squeeze the metal that is covering the tube.
-
Carefully slide down the metal covering.
-
Repeat this step for the other tube.
-
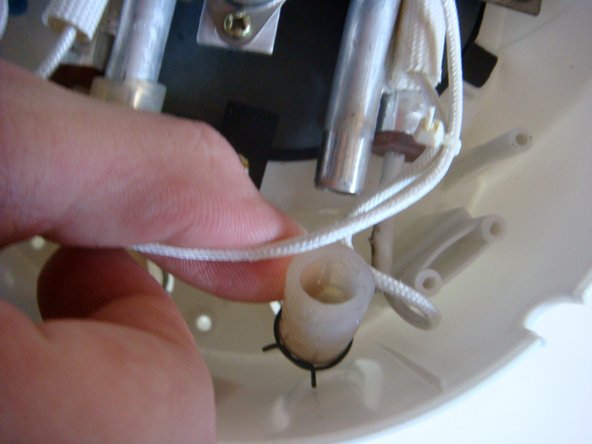
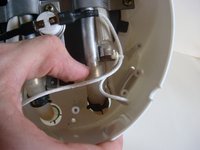
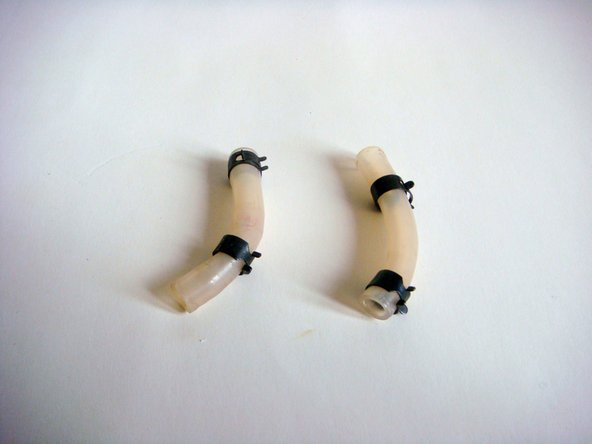
Remove both of the Water Tubes completely.
-


To reassemble your device, follow these instructions in reverse order.
Cancelar: não concluí este guia.
Uma outra pessoa concluiu este guia.
Equipe

USF Sarasota-Manatee, Team 1-3, Stewart Winter 2015 Membro de USF Sarasota-Manatee, Team 1-3, Stewart Winter 2015
USFSM-STEWART-W15S1G3
4 Membros
Autoria de 30 guias