Ir para o conteúdo principal
Participe da comunidade de reparos - Criar conta

Wintec Filemate Clear 7" Charging Pin Replacement

    1. Wintec Filemate Clear 7" Charging Pin Replacement, Remove the Backplate: passo 1, imagem 1 %32
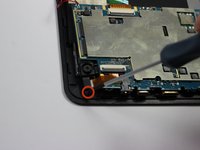
      • Locate the four corners of the backplate.

      Pergunte ao FixBot

      Comentar

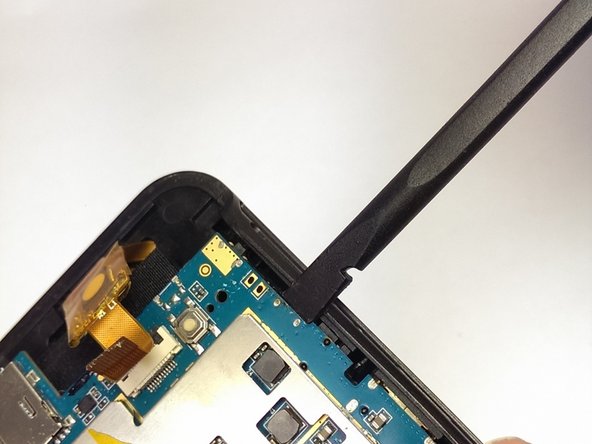
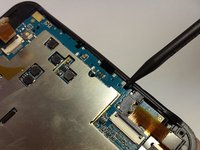
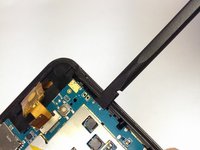
    2. Wintec Filemate Clear 7" Charging Pin Replacement: passo 2, imagem 1 %32 Wintec Filemate Clear 7" Charging Pin Replacement: passo 2, imagem 2 %32
      • Pry off the backplate by inserting a spudger or plastic opening tool into each corner and popping them open.

      Pergunte ao FixBot

      Comentar

    1. Wintec Filemate Clear 7" Charging Pin Replacement, Remove the Battery: passo 3, imagem 1 %32
      • Un-stick the battery from the motherboard assembly with the plastic opening tool.

      Pergunte ao FixBot

      Comentar

    2. Wintec Filemate Clear 7" Charging Pin Replacement: passo 4, imagem 1 %32
      Ferramenta utilizada neste passo:
      Tweezers
      $4.99
      • Desolder the battery wires from the motherboard.

      • The tweezers pictured point to the two solder joints.

      Pergunte ao FixBot

      Comentar

    3. Wintec Filemate Clear 7" Charging Pin Replacement: passo 5, imagem 1 %32
      • Fully remove the battery from the device.

      Pergunte ao FixBot

      Comentar

    1. Wintec Filemate Clear 7" Charging Pin Replacement, Motherboard: passo 6, imagem 1 %32
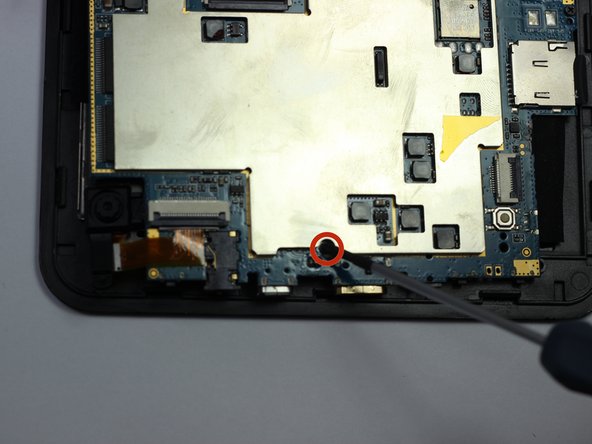
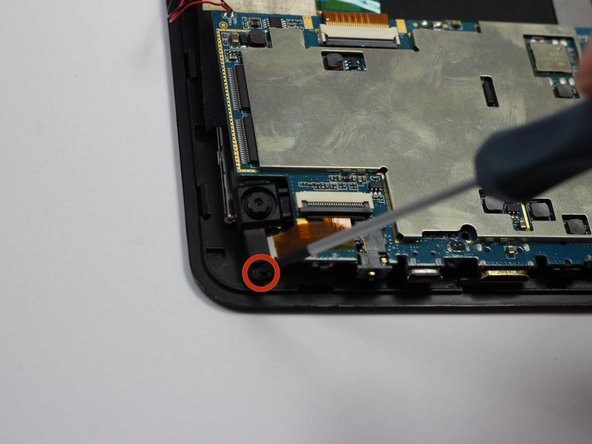
      • Locate each of the motherboard's 4 mm screws.

      Pergunte ao FixBot

      Comentar

    2. Wintec Filemate Clear 7" Charging Pin Replacement, Unscrewing Everything: passo 7, imagem 1 %32 Wintec Filemate Clear 7" Charging Pin Replacement, Unscrewing Everything: passo 7, imagem 2 %32 Wintec Filemate Clear 7" Charging Pin Replacement, Unscrewing Everything: passo 7, imagem 3 %32
      • Remove each of the four 4 mm screws from the motherboard pictured to the left.

      • Use a Phillips #00 precision screwdriver.

      Pergunte ao FixBot

      Comentar

    3. Wintec Filemate Clear 7" Charging Pin Replacement, Detach the Motherboard: passo 8, imagem 1 %32 Wintec Filemate Clear 7" Charging Pin Replacement, Detach the Motherboard: passo 8, imagem 2 %32
      • Use the spudger to pry the instrument array from its plastic housing.

      Pergunte ao FixBot

      Comentar

    4. Wintec Filemate Clear 7" Charging Pin Replacement: passo 9, imagem 1 %32
      • Slowly slide the spudger underneath the adhesive tape to un-sitck it.

      • Be careful not to harm the array of wires leading to this tape.

      Pergunte ao FixBot

      Comentar

    5. Wintec Filemate Clear 7" Charging Pin Replacement: passo 10, imagem 1 %32
      Ferramenta utilizada neste passo:
      Tweezers
      $4.99
      • De-tatch the motherboard output wires from the screen using the tweezers.

      Pergunte ao FixBot

      Comentar

    1. Wintec Filemate Clear 7" Charging Pin Replacement, Remove the Charging Pin: passo 11, imagem 1 %32
      Ferramenta utilizada neste passo:
      Tweezers
      $4.99
      • Remove the charging pin holster.

      • Clamp on the end of the holster with the tweezers and twist until it becomes detached.

      • Repeat for the other side.

      Pergunte ao FixBot

      Comentar

    2. Wintec Filemate Clear 7" Charging Pin Replacement: passo 12, imagem 1 %32
      • Clamp onto the charging pin and twist up until it pops out of place.

      Pergunte ao FixBot

      Comentar

Conclusão

To reassemble your device, follow these instructions in reverse order. The charging pin holster needs to be soldered back into place.

Cancelar: não concluí este guia.

Uma outra pessoa concluiu este guia.

Equipe

USF Tampa, Team 19-6, Blackwell Spring 2014 Membro de USF Tampa, Team 19-6, Blackwell Spring 2014

USFT-BLACKWELL-S14S19G6

3 Membros

Autoria de 11 guias

0Comentários do guia

Comentar

Visualizações:

Últimas 24 horas: 1

Últimos 7 dias: 2

Últimos 30 dias: 14

Ao todo: 336