Introdução
Use this guide to replace the door sensor or door switch in your Whirlpool Refrigerator.
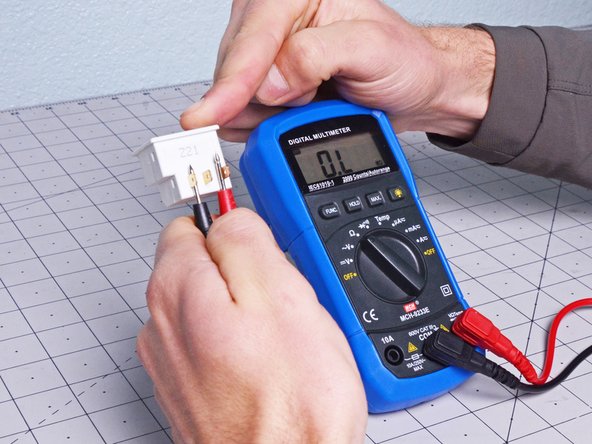
The door switch detects whether or not the door is open or if the control board thinks it's open. If you're having trouble dispensing ice/water, or if your door light won't turn off, then your door switch might be broken.
This guide will work for most Whirlpool refrigerators. This guide is written with a model WRS315SDHW refrigerator. If you have a different model, you may encounter some minor disassembly differences, but the overall repair process will be the same.
Note: Some photos show the doors removed for clarity purposes. Removing them is not required and will not change the procedure.
O que você precisa
-
-
-
-
Insert a flathead screwdriver, or a similar tool, between the door sensor and the chassis.
-
Pry up to separate the door sensor enough so you can grip it with your fingers.
-
-
-
-
Pull the door sensor through the chassis enough to access its connectors.
-
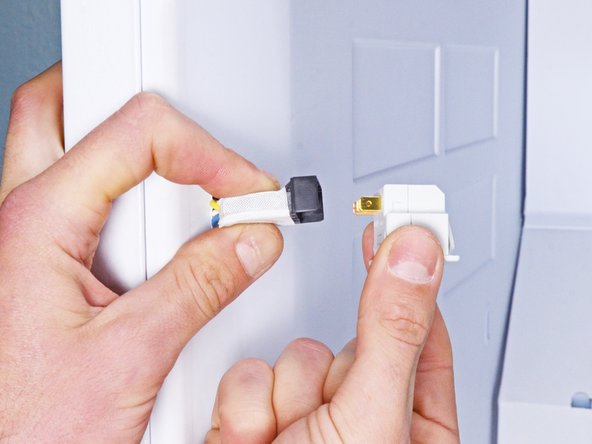
Disconnect any connectors attached to the door sensor.
-
Remove the door sensor.
-
-


 Pergunte ao FixBot



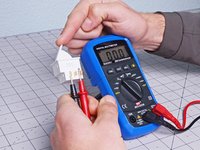
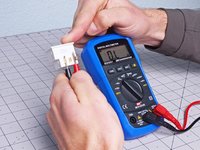
To reassemble your device, follow these instructions in reverse order.
Take your e-waste to an R2 or e-Stewards certified recycler.
Repair didn’t go as planned? Ask our Answers community for help.

