Introdução
The motor is the main component of the blender underneath the bottom plate. This guide will walk you through how to remove it step-by-step.
O que você precisa
-
-
-
Turn the blender on its side so the bottom panel is facing you.
-
Unscrew the 22mm Phillips #1 screw on the indent of the panel.
-
Unscrew the 3 screws in the rubber holes.
 Pergunte ao FixBot
-
-
-
-
-
Place the screwdriver in the head of the middle flat-head screw.
-
-
-
-
Unscrew this screw while holding the coupling with your other hand and not allowing it to rotate.
-
-
-
Once the coupling mechanism has been loosened all the way, gently pull it off the top of the blender.
-
-
-
-
-
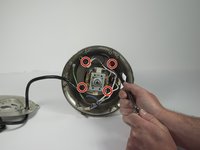
Unscrew the four nuts in the bottom of the motor cavity.
-
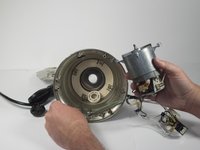
Wiggle the motor until it is free and you can remove it.
-
-
-
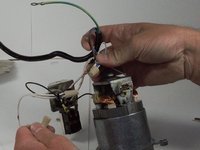
Once motor is pulled out, unscrew the 8 mm screw for the green wire from the base of the blender.
-
-
-
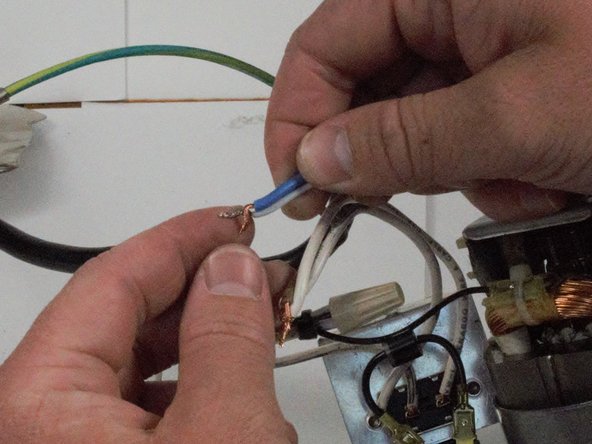
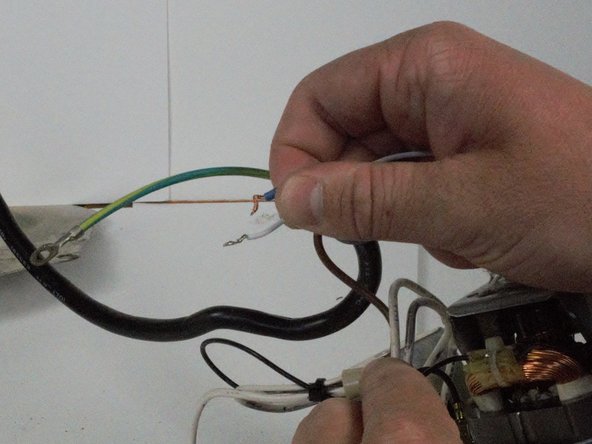
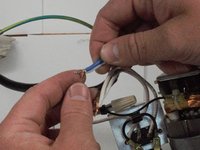
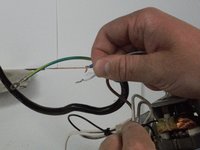
Unscrew each white wire cap in order to free the motor from the power cord.
-
Once wire caps are removed, separate wires carefully.
-
-




To reassemble your device, follow these instructions in reverse order.

Equipe

Cal Poly, Team S15-G4, Banghart Spring 2017 Membro de Cal Poly, Team S15-G4, Banghart Spring 2017
CPSU-BANGHART-S17S15G4
4 Membros
Autoria de 30 guias
1Comentário do guia
Hi
Where do I source a replacement motor? I have been looking without success for UK supplier. Thanks Jill
I have a much loved Vintage Waring blender …
