Ir para o conteúdo principal
Participe da comunidade de reparos - Criar conta

WRS315SDHW Dispenser Assembly Replacement

O que você precisa

    1. WRS315SDHW Dispenser Assembly Replacement, Safety precautions: passo 1, imagem 1 %32
      • Before you begin your repair, perform the following:

      • Turn off your main water supply

      • Unplug your device

      Pergunte ao FixBot

      Comentar

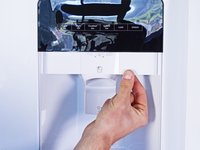
    1. WRS315SDHW Dispenser Assembly Replacement, Unfasten the dispenser panels: passo 2, imagem 1 %32 WRS315SDHW Dispenser Assembly Replacement, Unfasten the dispenser panels: passo 2, imagem 2 %32
      • The dispenser panel screws are located under the dispenser as if you're looking up into the dispenser tube (where the ice cubes and water come out).

      • Use a 1/4 inch socket wrench to remove the two 15.6 mm-long screws securing the two dispenser panels.

      Pergunte ao FixBot

      Comentar

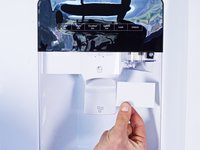
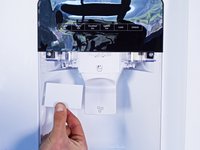
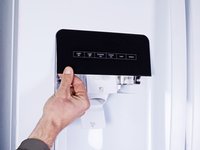
    2. WRS315SDHW Dispenser Assembly Replacement, Remove the dispenser panels: passo 3, imagem 1 %32 WRS315SDHW Dispenser Assembly Replacement, Remove the dispenser panels: passo 3, imagem 2 %32 WRS315SDHW Dispenser Assembly Replacement, Remove the dispenser panels: passo 3, imagem 3 %32
      • Pull the dispenser panels straight down to separate them from the chassis.

      • Remove the dispenser panels.

      Pergunte ao FixBot

      Comentar

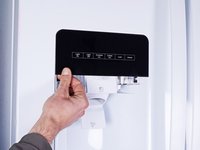
    3. WRS315SDHW Dispenser Assembly Replacement, Unfasten the control board: passo 4, imagem 1 %32
      • Use a 1/4 inch socket wrench to remove the two 15.6 mm-long screws securing the control board.

      Pergunte ao FixBot

      Comentar

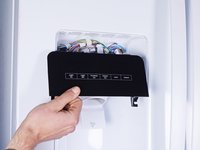
    4. WRS315SDHW Dispenser Assembly Replacement: passo 5, imagem 1 %32 WRS315SDHW Dispenser Assembly Replacement: passo 5, imagem 2 %32 WRS315SDHW Dispenser Assembly Replacement: passo 5, imagem 3 %32
      • Tilt the bottom of the control board away from the chassis to release its clips.

      • Pull straight down to separate the control board enough to access its connectors.

      Pergunte ao FixBot

      Comentar

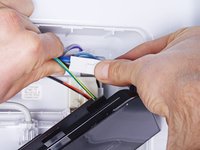
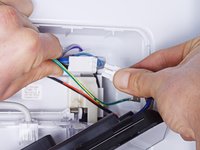
    5. WRS315SDHW Dispenser Assembly Replacement, Disconnect the control board: passo 6, imagem 1 %32 WRS315SDHW Dispenser Assembly Replacement, Disconnect the control board: passo 6, imagem 2 %32 WRS315SDHW Dispenser Assembly Replacement, Disconnect the control board: passo 6, imagem 3 %32
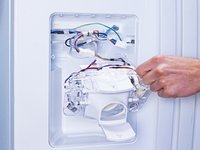
      • Disconnect the large connector attached to the right edge of the control board.

      Pergunte ao FixBot

      Comentar

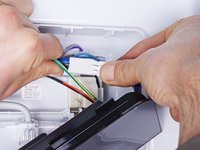
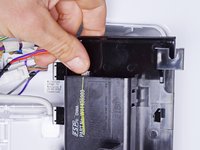
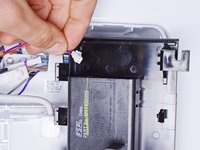
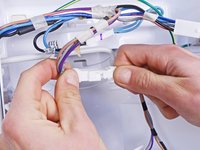
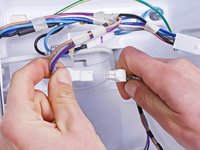
    6. WRS315SDHW Dispenser Assembly Replacement: passo 7, imagem 1 %32 WRS315SDHW Dispenser Assembly Replacement: passo 7, imagem 2 %32
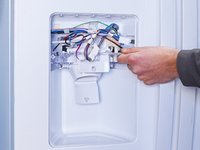
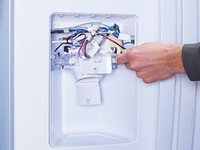
      • Disconnect the small connector attached to the left edge of the control board.

      Pergunte ao FixBot

      Comentar

    7. WRS315SDHW Dispenser Assembly Replacement, Remove the control board: passo 8, imagem 1 %32
      • Remove the control board.

      Pergunte ao FixBot

      Comentar

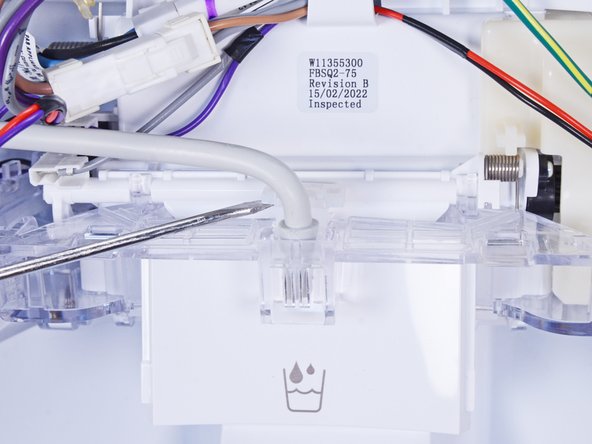
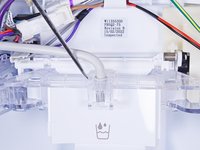
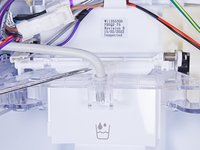
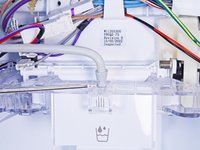
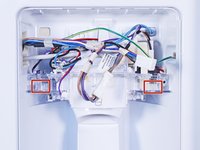
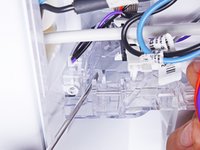
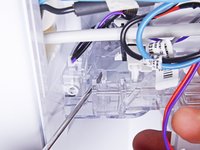
    1. WRS315SDHW Dispenser Assembly Replacement, Remove the plastic clip: passo 9, imagem 1 %32 WRS315SDHW Dispenser Assembly Replacement, Remove the plastic clip: passo 9, imagem 2 %32 WRS315SDHW Dispenser Assembly Replacement, Remove the plastic clip: passo 9, imagem 3 %32
      • Use a flathead screwdriver, or a similar tool, to pry up the plastic clip securing the water hose.

      • Remove the plastic clip.

      Pergunte ao FixBot

      Comentar

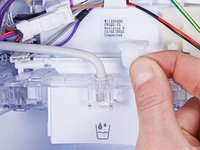
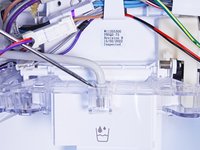
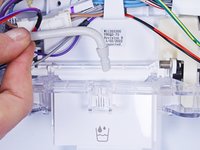
    2. WRS315SDHW Dispenser Assembly Replacement, Disconnect the water hose: passo 10, imagem 1 %32 WRS315SDHW Dispenser Assembly Replacement, Disconnect the water hose: passo 10, imagem 2 %32 WRS315SDHW Dispenser Assembly Replacement, Disconnect the water hose: passo 10, imagem 3 %32
      • Use a flathead screwdriver, or a similar tool, to pry up the water hose enough to grip it with your fingers.

      • Pull the water hose straight up to disconnect it.

      Pergunte ao FixBot

      Comentar

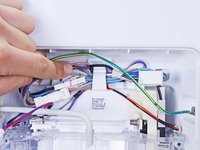
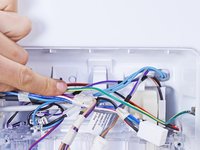
    3. WRS315SDHW Dispenser Assembly Replacement, Reposition the cables: passo 11, imagem 1 %32 WRS315SDHW Dispenser Assembly Replacement, Reposition the cables: passo 11, imagem 2 %32
      • Reposition the cables so they lay in front of the top plastic clip.

      Pergunte ao FixBot

      Comentar

    4. WRS315SDHW Dispenser Assembly Replacement, Unclip the dispenser assembly: passo 12, imagem 1 %32 WRS315SDHW Dispenser Assembly Replacement, Unclip the dispenser assembly: passo 12, imagem 2 %32 WRS315SDHW Dispenser Assembly Replacement, Unclip the dispenser assembly: passo 12, imagem 3 %32
      • There are two plastic clips that secure the dispenser assembly in the chassis.

      • Use a flathead screwdriver, or a similar tool, to press the plastic clip toward the dispenser assembly.

      • Repeat for the other plastic clip to completely separate the dispenser assembly from the chassis.

      Pergunte ao FixBot

      Comentar

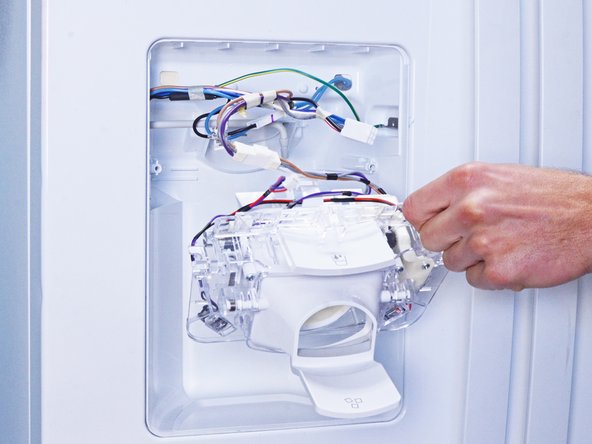
    5. WRS315SDHW Dispenser Assembly Replacement, Reposition the dispenser assembly: passo 13, imagem 1 %32 WRS315SDHW Dispenser Assembly Replacement, Reposition the dispenser assembly: passo 13, imagem 2 %32 WRS315SDHW Dispenser Assembly Replacement, Reposition the dispenser assembly: passo 13, imagem 3 %32
      • Pull the dispenser assembly away from the chassis enough to access its connectors.

      Pergunte ao FixBot

      Comentar

    6. WRS315SDHW Dispenser Assembly Replacement, Disconnect the dispenser assembly: passo 14, imagem 1 %32 WRS315SDHW Dispenser Assembly Replacement, Disconnect the dispenser assembly: passo 14, imagem 2 %32 WRS315SDHW Dispenser Assembly Replacement, Disconnect the dispenser assembly: passo 14, imagem 3 %32
      • While performing this step, support the dispenser assembly so it doesn't fall.

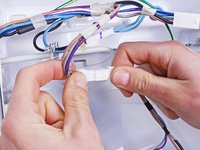
      • Disconnect the connector attached to the dispenser assembly.

      Pergunte ao FixBot

      Comentar

    7. WRS315SDHW Dispenser Assembly Replacement, Remove the dispenser assembly: passo 15, imagem 1 %32
      • Remove the dispenser assembly.

      Pergunte ao FixBot

      Comentar

Conclusão

To reassemble your device, follow these instructions in reverse order.

Take your e-waste to an R2 or e-Stewards certified recycler.

Repair didn’t go as planned? Ask our Answers community for help.

Cancelar: não concluí este guia.

Uma outra pessoa concluiu este guia.

nicO

Membro desde: 04/14/15

15.990 Reputação

Autoria de 89 guias

0Comentários do guia

Comentar

Visualizações:

Últimas 24 horas: 1

Últimos 7 dias: 24

Últimos 30 dias: 123

Ao todo: 1,522