Introdução
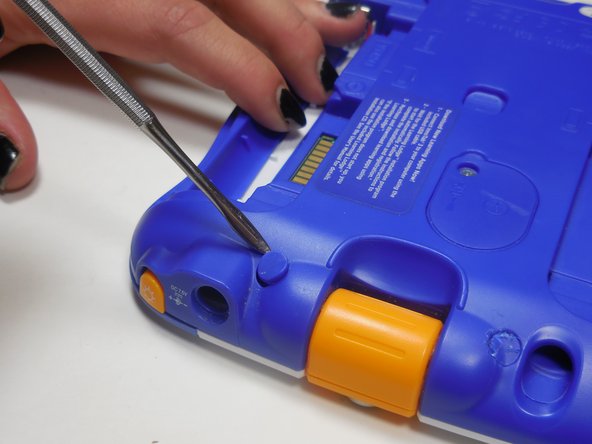
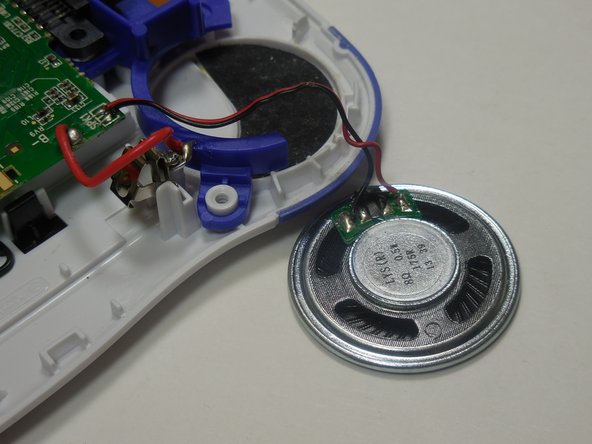
In order to replace the speaker grab yourself a PH00 screwdriver, a metal spudger, and a soldering kit.
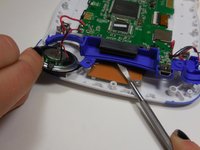
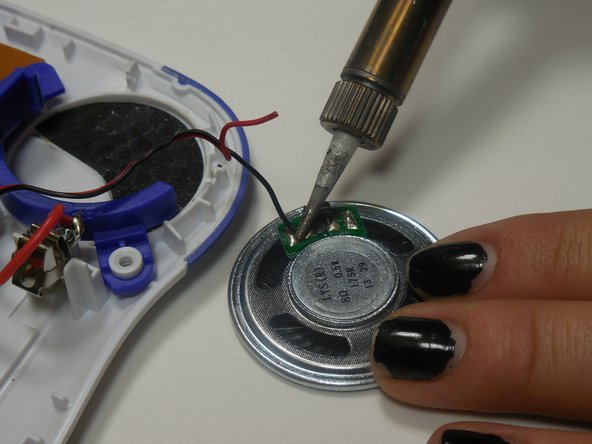
- Before you begin disassembling the Vtech InnoTab 3, turn on your soldering iron. If working with others let them know that the soldering iron is on and to use caution.
O que você precisa
-
-
Slide the battery compartment door lock down.
-
While still holding the battery compartment lock down, slide the two battery doors outwards on either side of the device.
-
Carefully remove the batteries from the battery compartment.
-
-
-
-
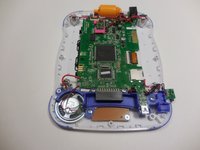
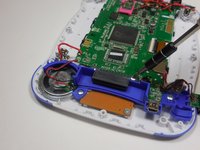
After you disassemble the device, put the back panel to the side and move your attention to the front piece.
-
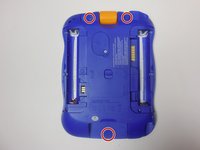
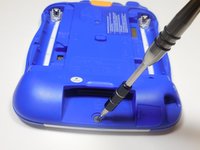
Remove the four screws using a PH00 screwdriver.
-


To reassemble your device, follow these instructions in reverse order.
Equipe

Colorado Springs, Team 5-4, Panko Spring 2015 Membro de Colorado Springs, Team 5-4, Panko Spring 2015
UCCS-PANKO-S15S5G4
3 Membros
Autoria de 10 guias