Introdução
Use this guide if your Vtech InnoTab 3s doesn’t function properly or turn on. This guide provides information to carefully remove the device’s motherboard.
The motherboard functions as the device’s “brain.” The motherboard controls all data input and output. If your Vtech InnoTab 3s’ motherboard dies, you can replace it with minimal technical knowledge in a cost-efficient way.
Before disassembly, power off your device. Working with a powered-on device can further damage its motherboard.
O que você precisa
-
-
-
While holding the battery compartment locks down, slide the two battery doors outwards from the sides of the device.
-
Remove the batteries from the device.
 Pergunte ao FixBot
-
-
-
Remove six 7 mm screws from the interior of the battery compartment using a Phillips #1 screwdriver.
-
-
-
-
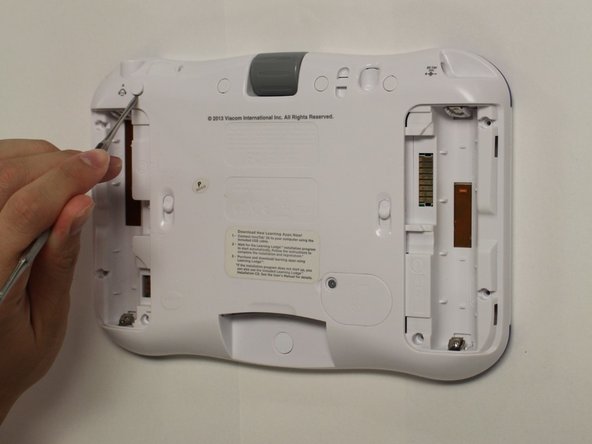
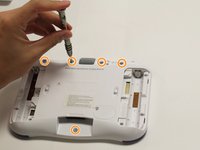
Using a nylon spudger, remove the five caps that hide the screws.
-
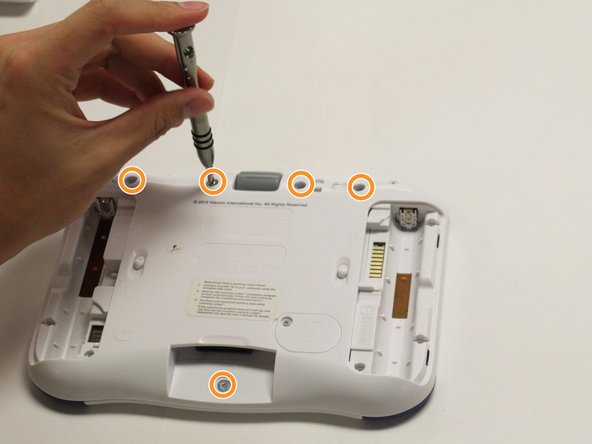
Remove the five 5 mm Phillips #1 screws from the rear panel of the device.
-
-
-
Carefully remove the rear panel from the front panel of the device.
-
-
-
-
-
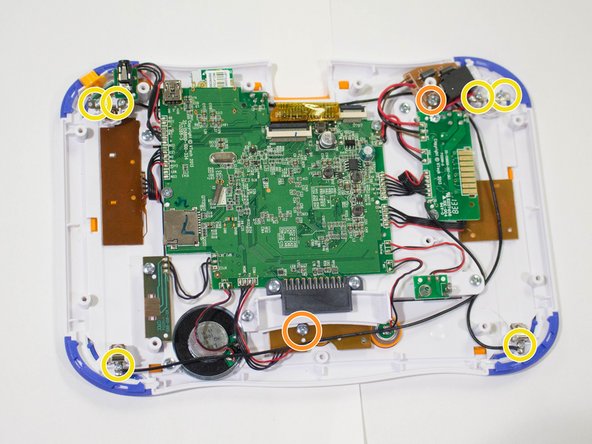
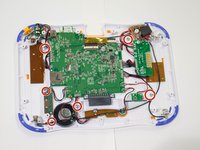
Remove the six screws that secure the motherboard to the front panel of the device using a Phillips #1 screwdriver.
-
Remove the other 5mm screws that secure the charger port and the buttons to the inside of the front panel.
-
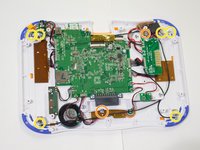
Remove the six 3 mm screws securing the battery clip.
-
-
Ferramenta utilizada neste passo:Tweezers$4.99
-
Using the tweezers, remove one battery clip from each corner (four total) of the Vtech InnoTab 3s.
-
With the tweezers, unsecure the charging port, headphone port, and the light switch button from the front panel of the device.
-
-






To reassemble your device, follow these instructions in reverse order.
Cancelar: não concluí este guia.
3 outras pessoas executaram este guia.

Equipe

USF Tampa, Team 8-2, Eyestone Fall 2015 Membro de USF Tampa, Team 8-2, Eyestone Fall 2015
USFT-EYESTONE-F15S8G2
4 Membros
Autoria de 9 guias
