Ir para o conteúdo principal
Participe da comunidade de reparos - Criar conta

Visual Land Prestige Elite 7Q Digitizer / Front Screen Replacement

O que você precisa

    1. Visual Land Prestige Elite 7Q Digitizer / Front Screen Replacement, Digitizer / Front Screen: passo 1, imagem 1 %32 Visual Land Prestige Elite 7Q Digitizer / Front Screen Replacement, Digitizer / Front Screen: passo 1, imagem 2 %32
      • At the bottom of the tablet, remove the two 3.6mm screws with a Phillips #000 screwdriver.

      Pergunte ao FixBot

      Comentar

    2. Visual Land Prestige Elite 7Q Digitizer / Front Screen Replacement: passo 2, imagem 1 %32 Visual Land Prestige Elite 7Q Digitizer / Front Screen Replacement: passo 2, imagem 2 %32
      • Wedge a plastic opening tool into the edges of the tablet to pry it open.

      Pergunte ao FixBot

      Comentar

    3. Visual Land Prestige Elite 7Q Digitizer / Front Screen Replacement: passo 3, imagem 1 %32 Visual Land Prestige Elite 7Q Digitizer / Front Screen Replacement: passo 3, imagem 2 %32 Visual Land Prestige Elite 7Q Digitizer / Front Screen Replacement: passo 3, imagem 3 %32
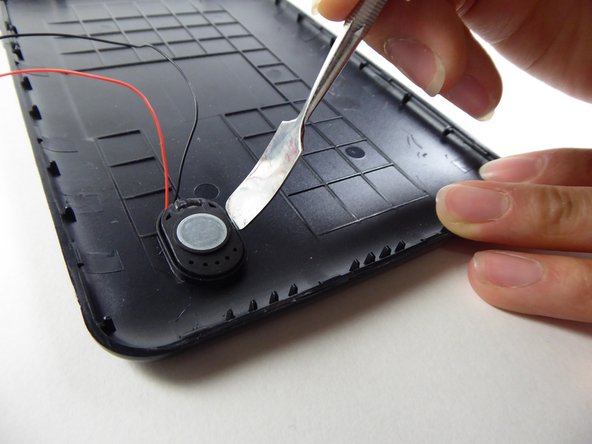
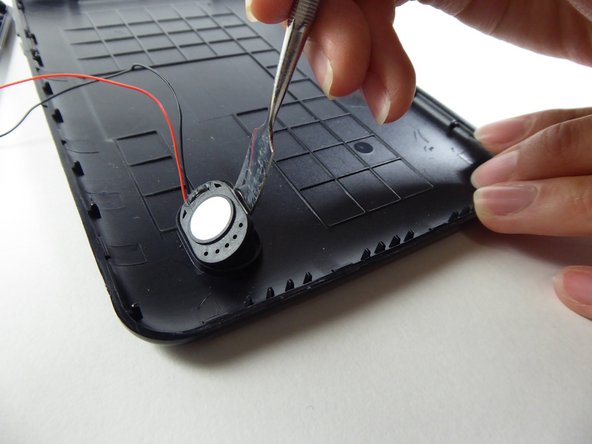
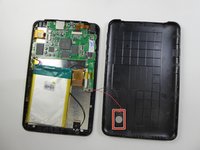
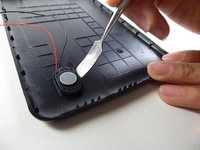
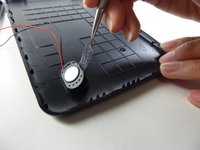
      • Wedge a curved metal spudger under the speaker in order to remove it.

      • The speaker is held in place by an adhesive and can be difficult to remove.

      Pergunte ao FixBot

      Comentar

    4. Visual Land Prestige Elite 7Q Digitizer / Front Screen Replacement: passo 4, imagem 1 %32 Visual Land Prestige Elite 7Q Digitizer / Front Screen Replacement: passo 4, imagem 2 %32 Visual Land Prestige Elite 7Q Digitizer / Front Screen Replacement: passo 4, imagem 3 %32
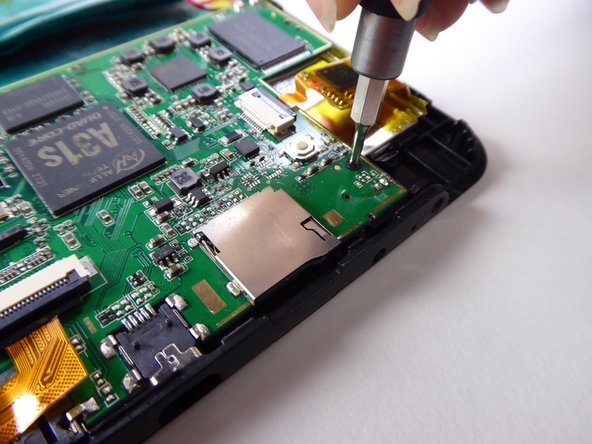
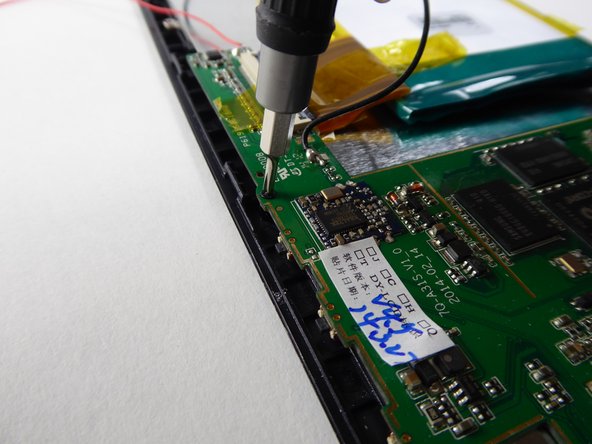
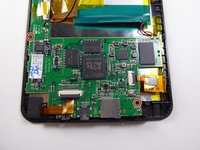
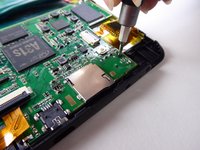
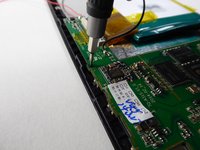
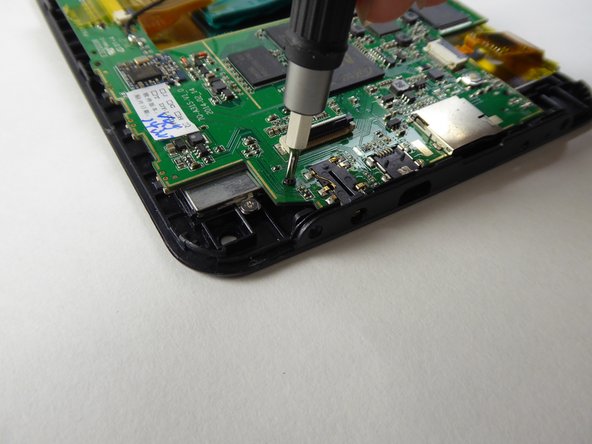
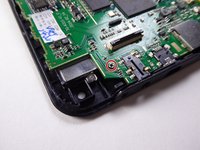
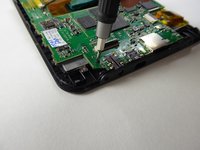
      • Use a Phillips #000 screwdriver to remove the two 3.6mm screws.

      Pergunte ao FixBot

      Comentar

    5. Visual Land Prestige Elite 7Q Digitizer / Front Screen Replacement: passo 5, imagem 1 %32 Visual Land Prestige Elite 7Q Digitizer / Front Screen Replacement: passo 5, imagem 2 %32 Visual Land Prestige Elite 7Q Digitizer / Front Screen Replacement: passo 5, imagem 3 %32
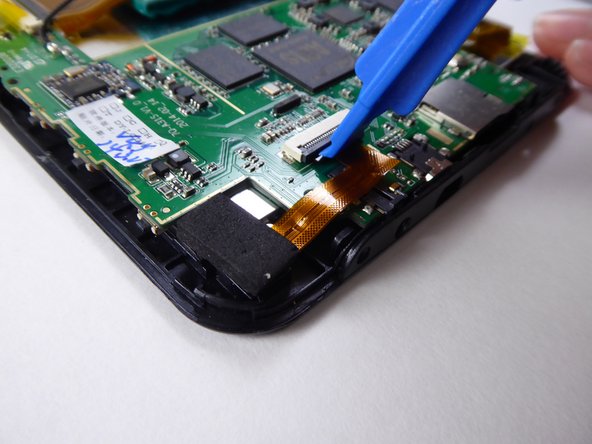
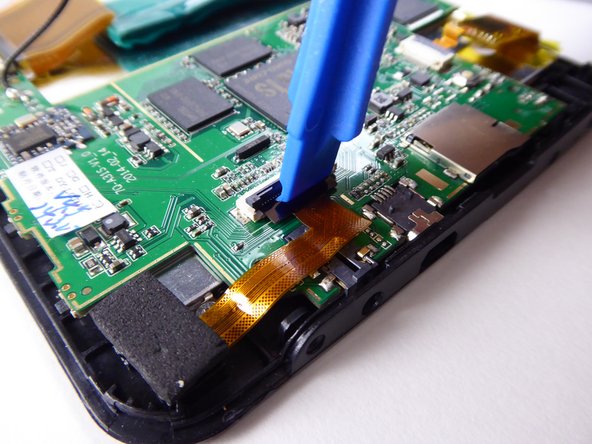
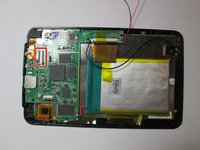
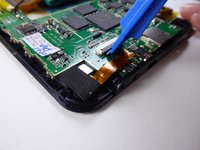
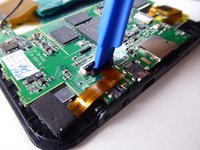
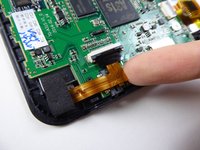
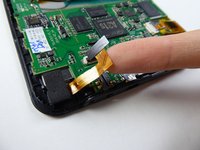
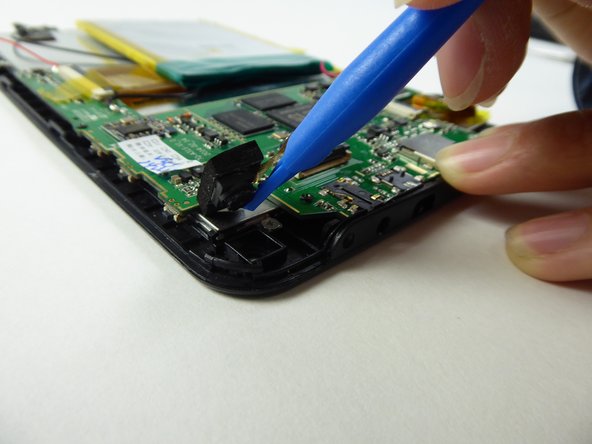
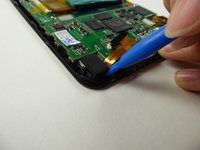
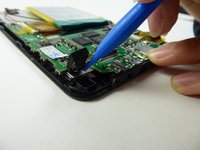
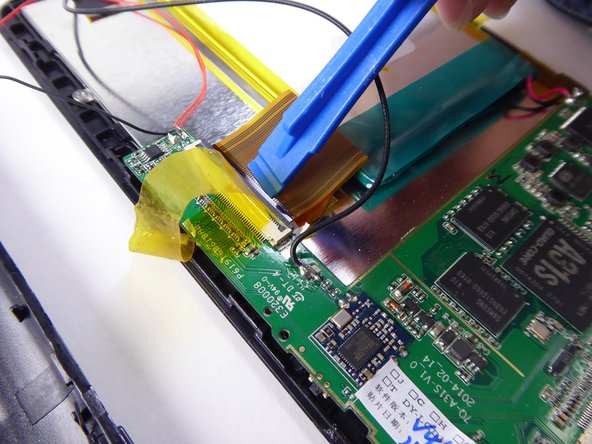
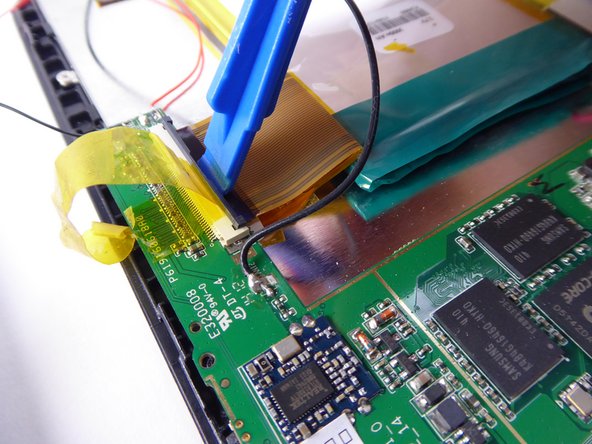
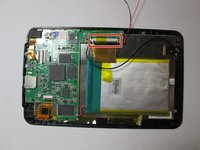
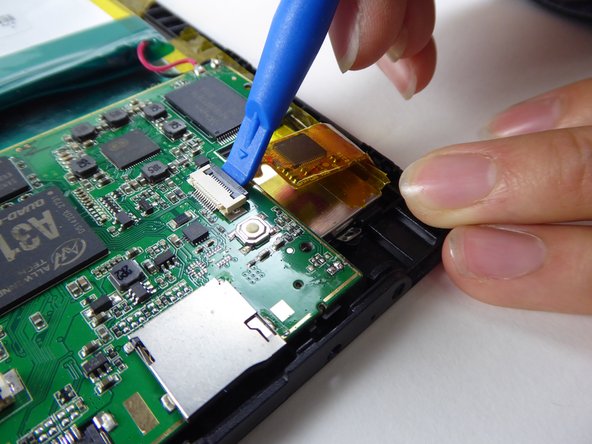
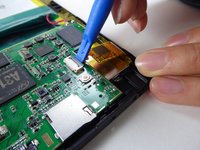
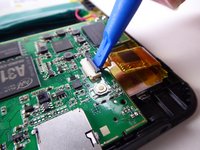
      • Use a plastic opening tool to lift the black tab.

      Pergunte ao FixBot

      Comentar

    6. Visual Land Prestige Elite 7Q Digitizer / Front Screen Replacement: passo 6, imagem 1 %32 Visual Land Prestige Elite 7Q Digitizer / Front Screen Replacement: passo 6, imagem 2 %32
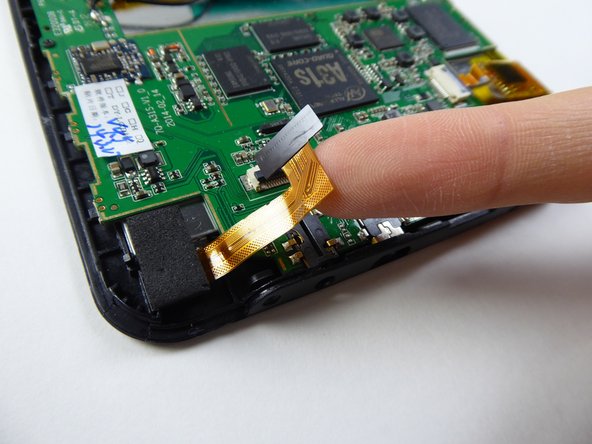
      • Carefully lift and remove the ribbon cable from the black tab.

      Pergunte ao FixBot

      Comentar

    7. Visual Land Prestige Elite 7Q Digitizer / Front Screen Replacement: passo 7, imagem 1 %32 Visual Land Prestige Elite 7Q Digitizer / Front Screen Replacement: passo 7, imagem 2 %32
      • Use a plastic opening tool to remove the camera.

      Pergunte ao FixBot

      Comentar

    8. Visual Land Prestige Elite 7Q Digitizer / Front Screen Replacement: passo 8, imagem 1 %32 Visual Land Prestige Elite 7Q Digitizer / Front Screen Replacement: passo 8, imagem 2 %32
      • Use a Phillips #000 screwdriver to remove the 3.6mm screw.

      Pergunte ao FixBot

      Comentar

    9. Visual Land Prestige Elite 7Q Digitizer / Front Screen Replacement: passo 9, imagem 1 %32 Visual Land Prestige Elite 7Q Digitizer / Front Screen Replacement: passo 9, imagem 2 %32 Visual Land Prestige Elite 7Q Digitizer / Front Screen Replacement: passo 9, imagem 3 %32
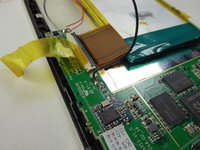
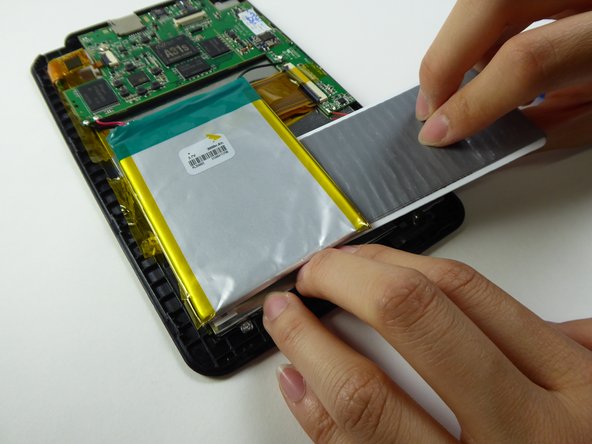
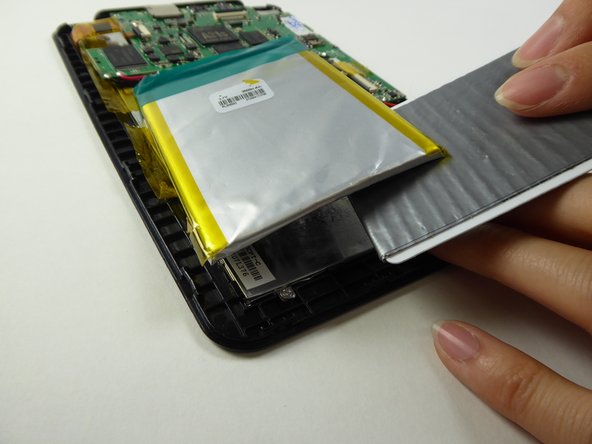
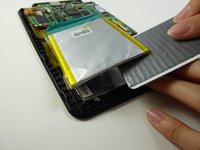
      • Lift the tape holding down the battery.

      Pergunte ao FixBot

      Comentar

    10. Visual Land Prestige Elite 7Q Digitizer / Front Screen Replacement: passo 10, imagem 1 %32 Visual Land Prestige Elite 7Q Digitizer / Front Screen Replacement: passo 10, imagem 2 %32
      Ferramenta utilizada neste passo:
      Plastic Cards
      $2.99
      Pergunte ao FixBot

      Comentar

    11. Visual Land Prestige Elite 7Q Digitizer / Front Screen Replacement: passo 11, imagem 1 %32 Visual Land Prestige Elite 7Q Digitizer / Front Screen Replacement: passo 11, imagem 2 %32 Visual Land Prestige Elite 7Q Digitizer / Front Screen Replacement: passo 11, imagem 3 %32
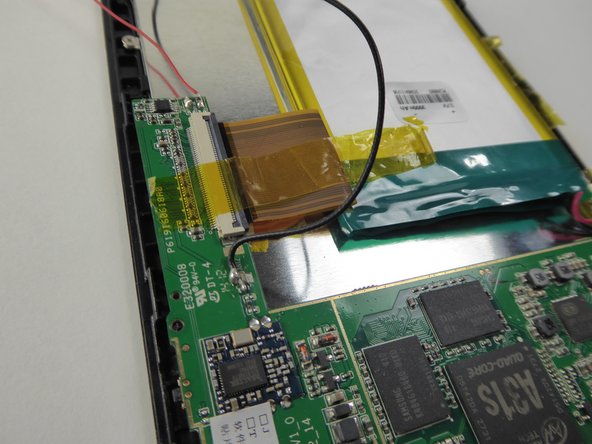
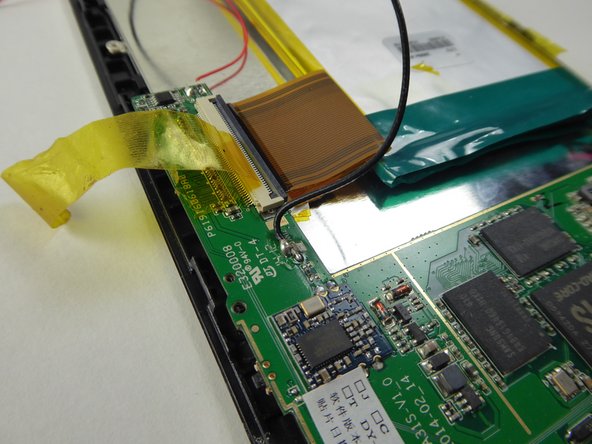
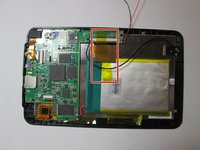
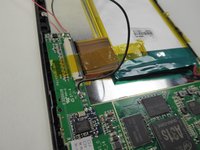
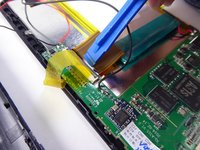
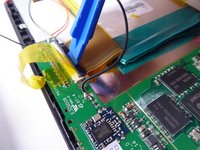
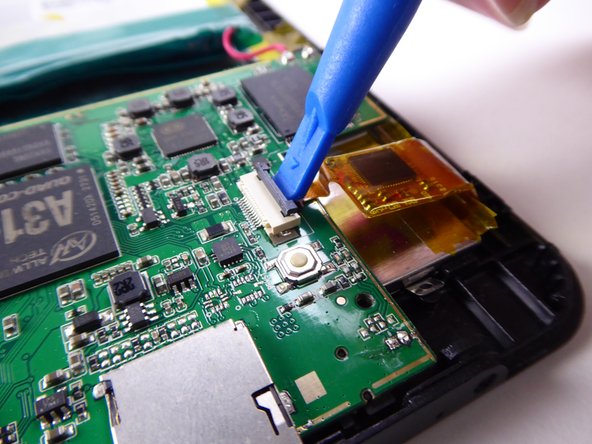
      • Use a plastic opening tool to lift the black tab.

      Pergunte ao FixBot

      Comentar

    12. Visual Land Prestige Elite 7Q Digitizer / Front Screen Replacement: passo 12, imagem 1 %32 Visual Land Prestige Elite 7Q Digitizer / Front Screen Replacement: passo 12, imagem 2 %32
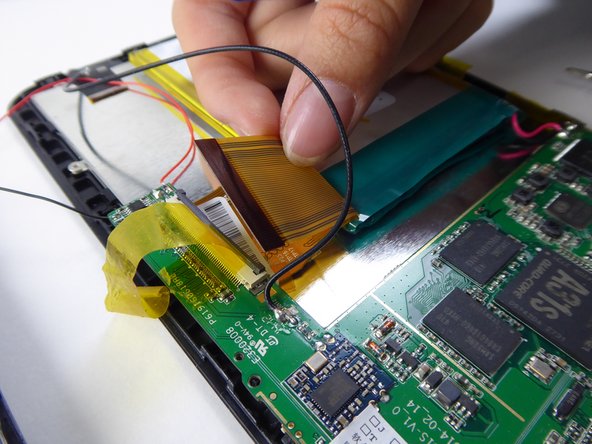
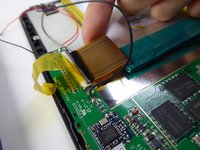
      • Carefully lift and remove the ribbon cable from the black tab.

      Pergunte ao FixBot

      Comentar

    13. Visual Land Prestige Elite 7Q Digitizer / Front Screen Replacement: passo 13, imagem 1 %32 Visual Land Prestige Elite 7Q Digitizer / Front Screen Replacement: passo 13, imagem 2 %32 Visual Land Prestige Elite 7Q Digitizer / Front Screen Replacement: passo 13, imagem 3 %32
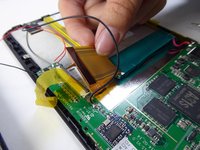
      • Use a plastic opening tool to lift the black tab.

      Pergunte ao FixBot

      Comentar

    14. Visual Land Prestige Elite 7Q Digitizer / Front Screen Replacement: passo 14, imagem 1 %32
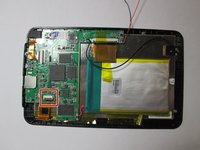
      • Safely remove the battery and motherboard from the tablet.

      Pergunte ao FixBot

      Comentar

    15. Visual Land Prestige Elite 7Q Digitizer / Front Screen Replacement: passo 15, imagem 1 %32 Visual Land Prestige Elite 7Q Digitizer / Front Screen Replacement: passo 15, imagem 2 %32 Visual Land Prestige Elite 7Q Digitizer / Front Screen Replacement: passo 15, imagem 3 %32
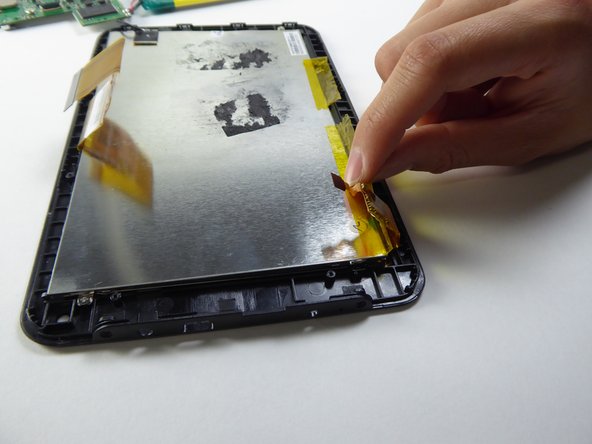
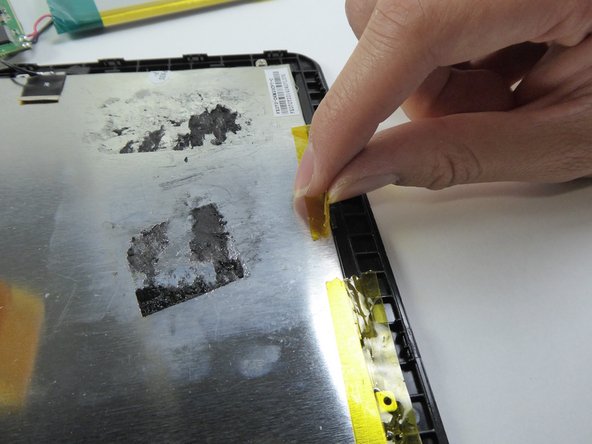
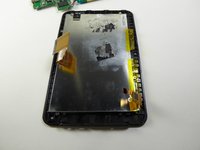
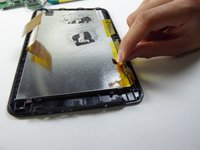
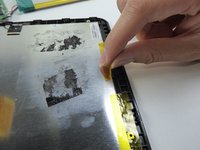
      • Lift the tape on the sides.

      Pergunte ao FixBot

      Comentar

    16. Visual Land Prestige Elite 7Q Digitizer / Front Screen Replacement: passo 16, imagem 1 %32 Visual Land Prestige Elite 7Q Digitizer / Front Screen Replacement: passo 16, imagem 2 %32 Visual Land Prestige Elite 7Q Digitizer / Front Screen Replacement: passo 16, imagem 3 %32
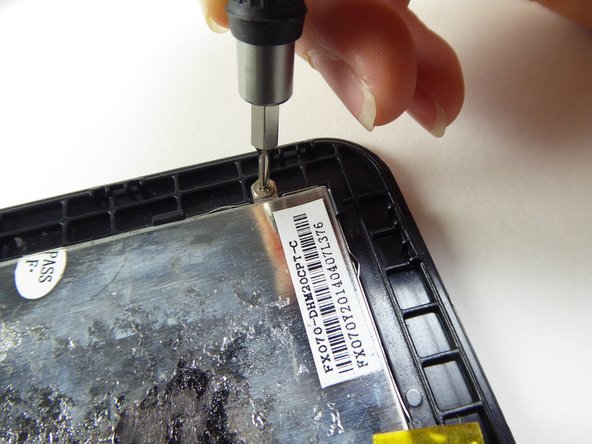
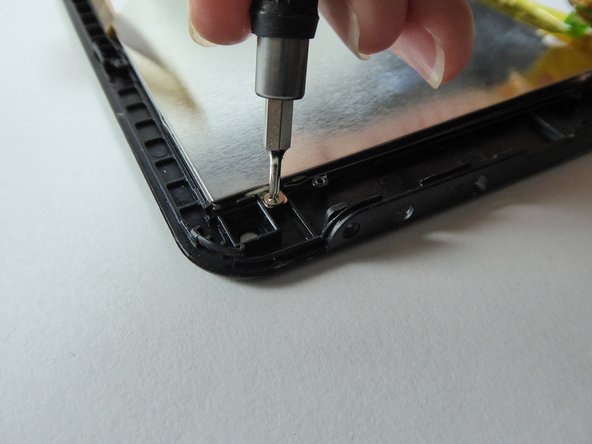
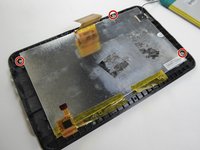
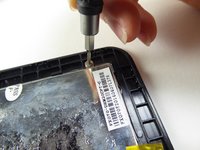
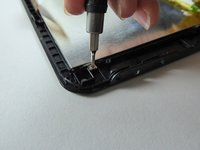
      • Use a Phillips #000 screwdriver to remove the three 2.5mm screws.

      Pergunte ao FixBot

      Comentar

    17. Visual Land Prestige Elite 7Q Digitizer / Front Screen Replacement: passo 17, imagem 1 %32 Visual Land Prestige Elite 7Q Digitizer / Front Screen Replacement: passo 17, imagem 2 %32 Visual Land Prestige Elite 7Q Digitizer / Front Screen Replacement: passo 17, imagem 3 %32
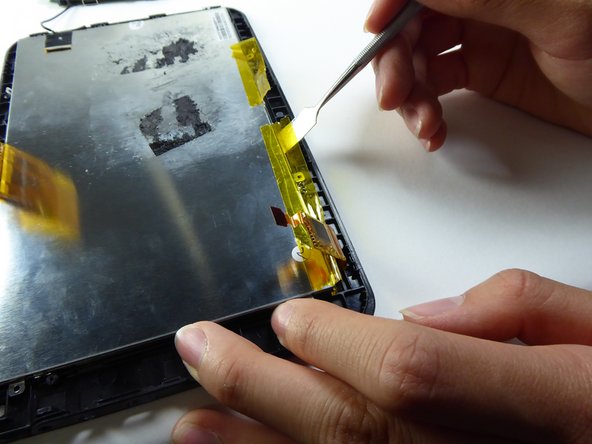
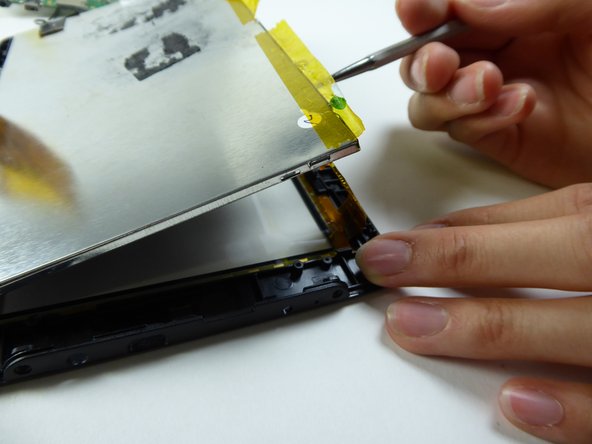
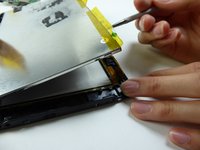
      • Wedge a metal spudger underneath the LCD screen to remove it.

      Pergunte ao FixBot

      Comentar

    18. Visual Land Prestige Elite 7Q Digitizer / Front Screen Replacement: passo 18, imagem 1 %32
      • Replace the front screen to replace the digitizer.

      Pergunte ao FixBot

      Comentar

Conclusão

To reassemble your device, follow these instructions in reverse order.

Cancelar: não concluí este guia.

Equipe

UC Davis, Team 2-1, Oliver Fall 2016 Membro de UC Davis, Team 2-1, Oliver Fall 2016

UCD-OLIVER-F16S2G1

5 Membros

Autoria de 12 guias

0Comentários do guia

Comentar

Visualizações:

Últimas 24 horas: 1

Últimos 7 dias: 4

Últimos 30 dias: 21

Ao todo: 782