Ir para o conteúdo principal

VTech Little Apps Tablet Screen Replacement

O que você precisa

  1. VTech Little Apps Tablet Screen Replacement, Battery: passo 1, imagem 1 %32
    • Remove the 9.9 mm screw covering the batteries with a PH1 driver head.

  2. VTech Little Apps Tablet Screen Replacement: passo 2, imagem 1 %32
    • Use a plastic opening tool to pry the batteries out of their holding.

    • If replacing your batteries with new ones, be careful to insert them as indicated on the device.

  3. VTech Little Apps Tablet Screen Replacement, Back Cover: passo 3, imagem 1 %32 VTech Little Apps Tablet Screen Replacement, Back Cover: passo 3, imagem 2 %32
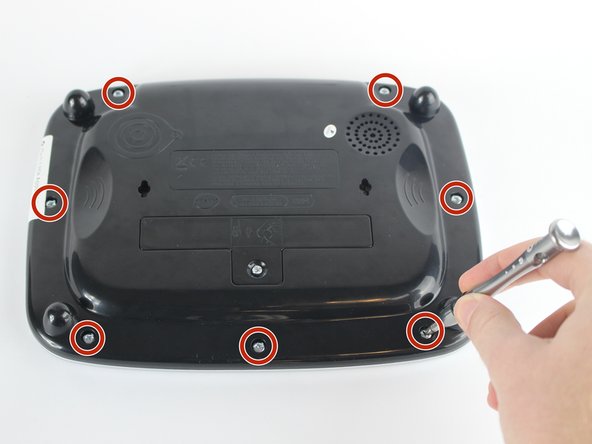
    • Position the VTech Little Apps Tablet face-down on a flat surface so that you can clearly see the back of the device.

    • Remove all seven 9.6 mm screws located around the perimeter of the back cover with a PH1 driver head.

  4. VTech Little Apps Tablet Screen Replacement: passo 4, imagem 1 %32 VTech Little Apps Tablet Screen Replacement: passo 4, imagem 2 %32
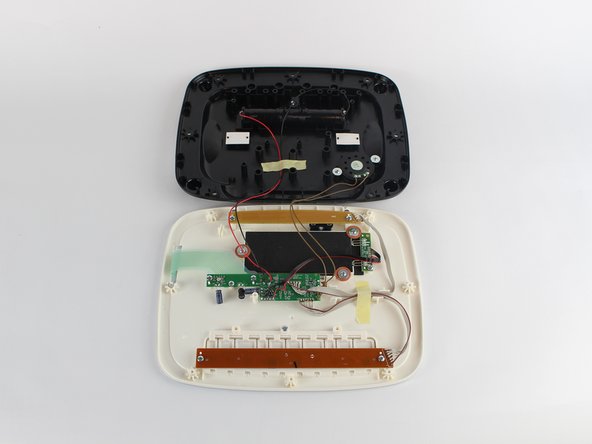
    • Gently remove the back cover then flip it 180 degrees so that the back cover of the device is now face-down.

    • Proceed with caution as there are wires attaching the back cover to the front cover of the device that could be easily detached.

  5. VTech Little Apps Tablet Screen Replacement, LED: passo 5, imagem 1 %32
    • Unscrew the two 7.3 mm screws using a PH0 driver head.

    • Gently lift the beige circuit board and set aside.

    • Be sure to not damage the wires connecting the circuit board to the motherboard, you are only creating space to work in.

  6. VTech Little Apps Tablet Screen Replacement: passo 6, imagem 1 %32 VTech Little Apps Tablet Screen Replacement: passo 6, imagem 2 %32
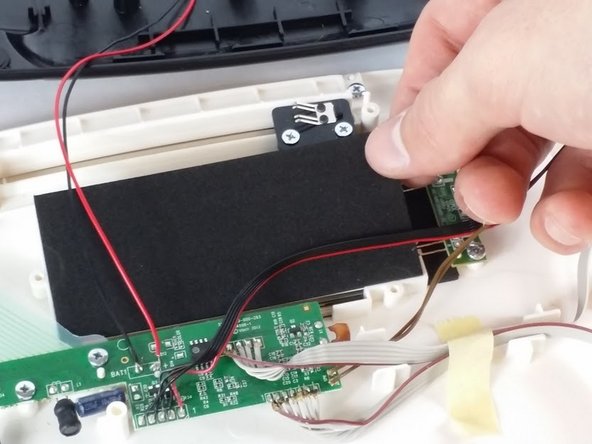
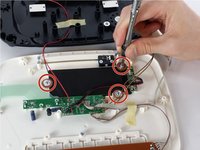
    • Unscrew three 7.3 mm panhead screws with the PH0 driver.

    • Remove the red-brown washer after removing the screws.

    • Remove the black foam insert and set aside.

  7. VTech Little Apps Tablet Screen Replacement: passo 7, imagem 1 %32
    • Unscrew the 7.3 mm screw fastening the LED circuit board to the device shell with a PH0 driver head.

    • Be careful when rescrewing circuit boards. Too much pressure or too tight of screws could damage them.

  8. VTech Little Apps Tablet Screen Replacement: passo 8, imagem 1 %32 VTech Little Apps Tablet Screen Replacement: passo 8, imagem 2 %32
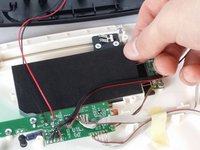
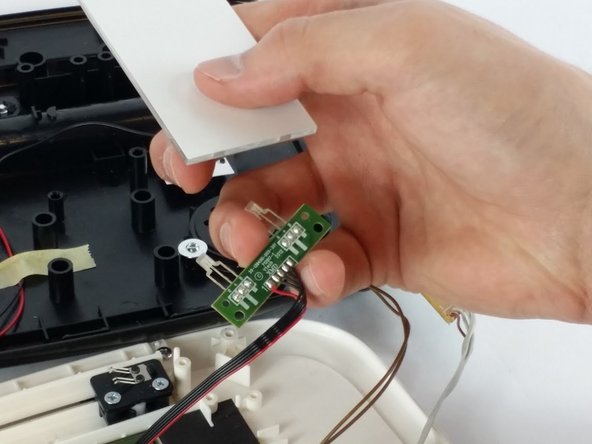
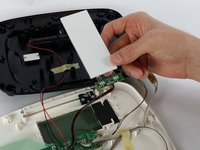
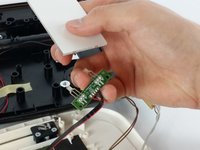
    • Gently lift both LED circuit board and the white glass light refractor panel away from the device.

    • Separate the LED circuit board and light refractor panel by gently pulling apart. Place the light panel to the side.

    • Skip the next step if you are proceeding with this guide as a part of the Screen Replacement.

  9. VTech Little Apps Tablet Screen Replacement: passo 9, imagem 1 %32
    • Carefully desolder the LED leads (labeled "R", "+" and "B" on the circuit board) to disconnect the LED from the circuit board.

    • Replace the LED and solder the new connection to the LED circuit board.

    • Refer to the iFixit Soldering Guide for assistance.

  10. VTech Little Apps Tablet Screen Replacement, Screen: passo 10, imagem 1 %32
    • Remove the three 7.3mm screws securing motherboard to the device shell.

    • When resecuring the motherboard, avoid over-tightening the screws. Too much pressure could damage the motherboard.

    • Pay attention to the setup of the light-blue ribbon cable located under the motherboard, and use this information for reassembly.

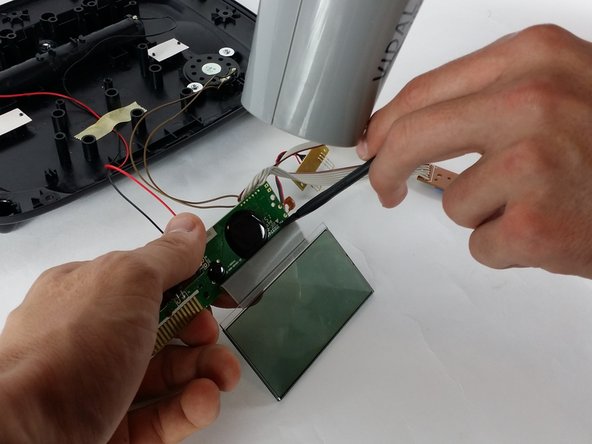
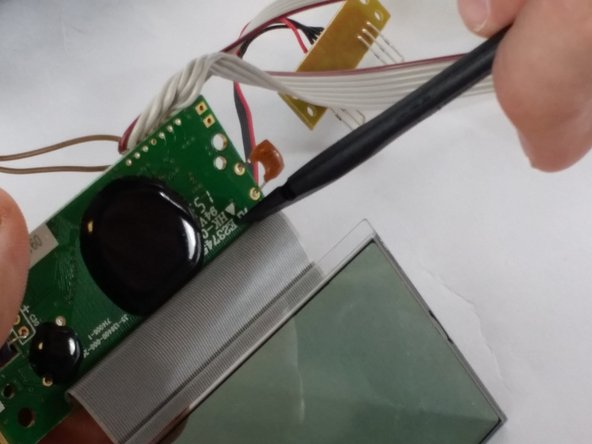
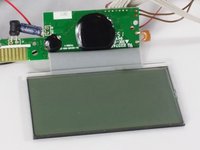
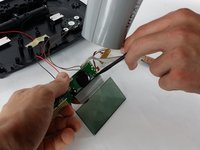
  11. VTech Little Apps Tablet Screen Replacement: passo 11, imagem 1 %32 VTech Little Apps Tablet Screen Replacement: passo 11, imagem 2 %32 VTech Little Apps Tablet Screen Replacement: passo 11, imagem 3 %32
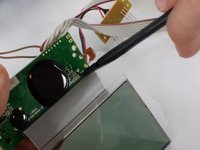
    • Carefully lift both the screen and motherboard, to access to the ribbon cable underneath.

    • Use a heat gun (or hair dryer) to apply low heat to the ribbon cable attachment on the motherboard.

    • Avoid overheating the ribbon cable and motherboard or they may melt.

    • Carefully use a nylon spudger to separate the ribbon cable from the motherboard and remove the screen.

    • This step may require two sets of hands; having a friend always helps!

Conclusão

To reassemble your device, follow these instructions in reverse order.

Dakota Wiersma

Membro desde: 02/10/16

223 Reputação

Autoria de 2 guias

Equipe

USF Tampa, Team 2-6, Sullivan Spring 2016 Membro de USF Tampa, Team 2-6, Sullivan Spring 2016

USFT-SULLIVAN-S16S2G6

Membros da 3

Autoria de 12 guias

Um comentário

Where do you get a replacement LCD?

Timothy Miller - Responder

Adicione um comentário

Exibir estatísticas:

Últimas 24 horas: 0

Últimos 7 dias: 1

Últimos 30 dias: 7

Duração total: 716