Introdução
Use this guide to remove the handlebar and stem from a Trek 820 or similar bikes that have a thread less stem.
The stem acts with the handlebar to steer the bike in the desired location while keeping the fork and headset attached to the bikes frame. It is important that these steps are done correctly to ensure that the rider is safe while operating this bicycle.
Before using this guide make sure you have the correct size handlebar and stem depending on which item you are replacing.
O que você precisa
-
-
-
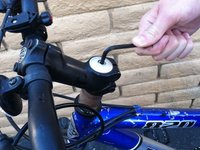
Use a 3/16" Allen Wrench to remove the silver cap.
 Pergunte ao FixBot
-
-
-
Use a 7/32" Allen Wrench to remove the two bolts; 1 and 2. These clamp the stem to the steerer tube of the fork.
-
-
-
-
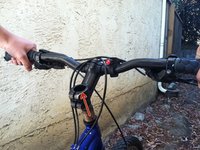
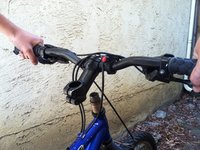
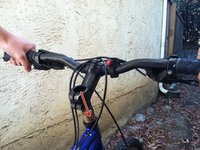
Remove the handlebar by lifting vertically away from the frame.
-
Be careful to lift up only the handlebars and stem. If you lift up by the frame the headset and fork might come lose.
-
-
-
To reassemble, slide the stem with and handlebar on to the steerer tube of the fork carefully.
-
Place silver cap on and tighten the bolt with a 3/16" Allen Wrench. This is done first so that the the headset is compressed between the frame and steerer tube of the fork.
-
-
-
By hand you can now adjust the positioning of the stem and handlebar so that is in line with the front wheel of the bike.
-
Tighten the two bolts; [I] and [II] with a 7/32" Allen Wrench . These clamp the stem to the steerer tube of the fork.
-
Make sure that after tightening bolt [II] you go back and make sure you check the tightness of bolt [I] again. Since the bolts are used to clamp, bolt I will usually not be tight enough after tightening bolt [II].
-
-





To reassemble your device, follow these instructions in reverse order.

Equipe

Cal Poly, Team 1-1, Propen Fall 2012 Membro de Cal Poly, Team 1-1, Propen Fall 2012
CPSU-PROPEN-F12S1G1
5 Membros
Autoria de 16 guias
1Comentário do guia
Always do step 2 before step 1. Otherwise you could damage the stem or steerer tube.
