Ir para o conteúdo principal
Participe da comunidade de reparos - Criar conta

Tara Handle Replacement

    1. Tara Handle Replacement, Handle: passo 1, imagem 1 %32
      • Before performing any repairs, perform a water test on the pump by raising and lowering the handle a full 40 strokes. A properly performing pump will yield greater than 10 liters.

      • Use a Tara tool to loosen the jam nuts on either side of the pump.

      • The bolts do not need to be loosened or removed, only the nuts need to be loosened.

      Pergunte ao FixBot

      Comentar

    2. Tara Handle Replacement: passo 2, imagem 1 %32 Tara Handle Replacement: passo 2, imagem 2 %32 Tara Handle Replacement: passo 2, imagem 3 %32
      • Unscrew the lock bolts about half an inch.

      • The bolts do not need to be removed from the base.

      Pergunte ao FixBot

      Comentar

    3. Tara Handle Replacement: passo 3, imagem 1 %32 Tara Handle Replacement: passo 3, imagem 2 %32
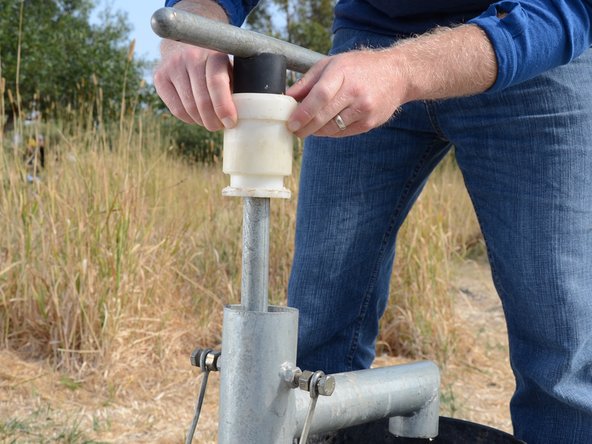
      • Pull the plastic bushing and handle straight up out of the pump.

      • If the bushing doesn't come up, loosen the lock bolts further.

      Pergunte ao FixBot

      Comentar

    4. Tara Handle Replacement: passo 4, imagem 1 %32 Tara Handle Replacement: passo 4, imagem 2 %32
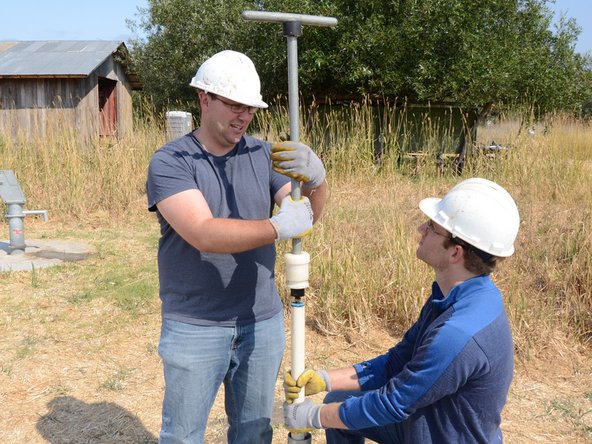
      • Lift up the handle and riser main until the joint between the two is at a comfortable height to work on.

      Pergunte ao FixBot

      Comentar

    5. Tara Handle Replacement: passo 5, imagem 1 %32 Tara Handle Replacement: passo 5, imagem 2 %32 Tara Handle Replacement: passo 5, imagem 3 %32
      • Loosen the jam nut beneath the pump handle using the Tara tool.

      Pergunte ao FixBot

      Comentar

    6. Tara Handle Replacement: passo 6, imagem 1 %32 Tara Handle Replacement: passo 6, imagem 2 %32
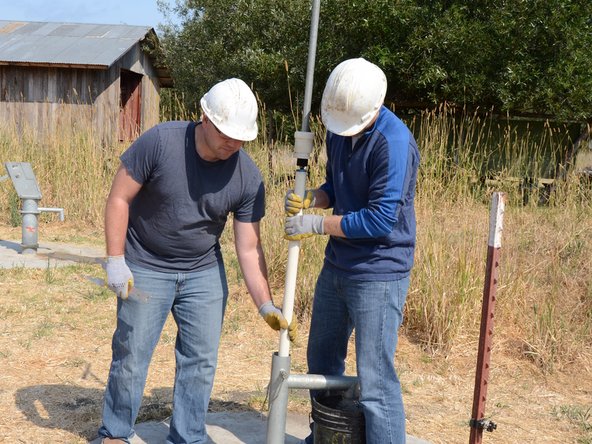
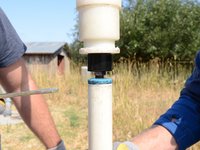
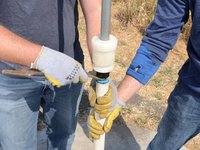
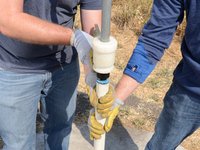
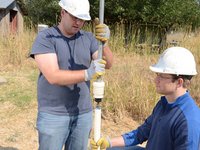
      • Unscrew the pump handle from the top of the riser main.

      • Make sure someone is tightly holding the lower portion of the riser main to prevent losing it down the well.

      Pergunte ao FixBot

      Comentar

    7. Tara Handle Replacement: passo 7, imagem 1 %32 Tara Handle Replacement: passo 7, imagem 2 %32
      • Lift and remove the handle from the pump. Store the handle in a sanitary place to prevent contamination.

      Pergunte ao FixBot

      Comentar

Conclusão

To reassemble your device, follow these instructions in reverse order.

Cancelar: não concluí este guia.

Sam Goldheart

Membro desde: 10/18/12

477.842 Reputação

Autoria de 538 guias

Equipe

iFixit Membro de iFixit

Staff

123 Membros

Autoria de 48.981 guias

0Comentários do guia

Comentar

Visualizações:

Últimas 24 horas: 0

Últimos 7 dias: 8

Últimos 30 dias: 24

Ao todo: 530