Introdução
This step-by-step guide teaches the users two procedures: removing and replacing an old lamp cord and attaching a new cord to the socket.
O que você precisa
-
-
Required materials: AAMP rewire kit, light bulb (not pictured), lamp shade (optional).
-
The AAMP lamp rewire kit should include a new cord, a socket shell, a socket interior and bottle adaptors. (Refer the second image to view the contents of the kit).
 Pergunte ao FixBot
-
-
-
Cut the old lamp wire using scissors.
-
Remove the cord from the lamp.
-
Dispose the cord.
-
-
-
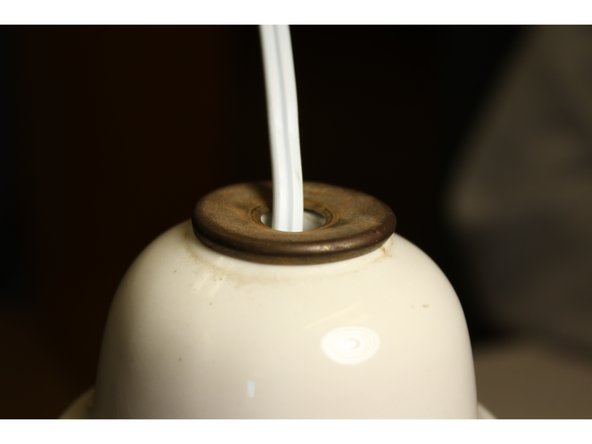
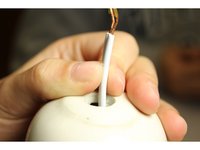
Thread the new wire through the hole on the bottom of the lamp. Pull it out through the top of the lamp base. (Refer the first image to get a better understanding.)
-
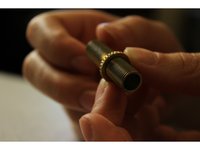
Place the old check ring on top of the lamp with the wire threaded through it. (Refer the second image to see the check ring.)
-
-
-
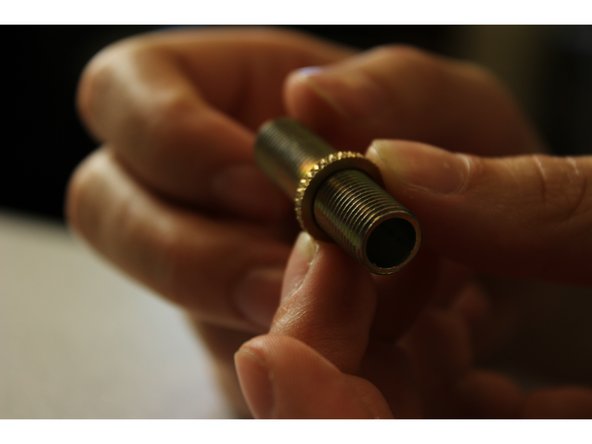
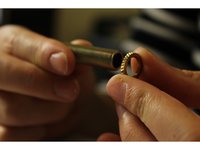
Place the lock nut at the end of the lamp nipple and turn it clockwise.
-
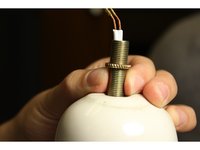
Thread the lock nut a quarter of the way through the lamp nipple.
-
-
-
-
Ensure that the lamp cord sticks through the top of the lamp base.
-
Insert the lamp nipple and the lock nut into the bottle, in such a way that one-fourth inch of the lamp nipple faces up.
-
-
-
Insert the socket in the lamp nipple.
-
Tighten the socket by turning it clockwise until it reaches the lock nut.
-
-
-
Pull either ends of the wire so that you have about 2-3 inches of the wire separated.
-
-
-
Check both the conductors at the end of the wire. Find the ribbed conductor and wrap it around the silver-colored screw. Connect the other conductor to the brass-colored screw.
-
Tighten both of the screws in a clockwise direction. Make sure the conductors are securely under the screw head.
-
-
-
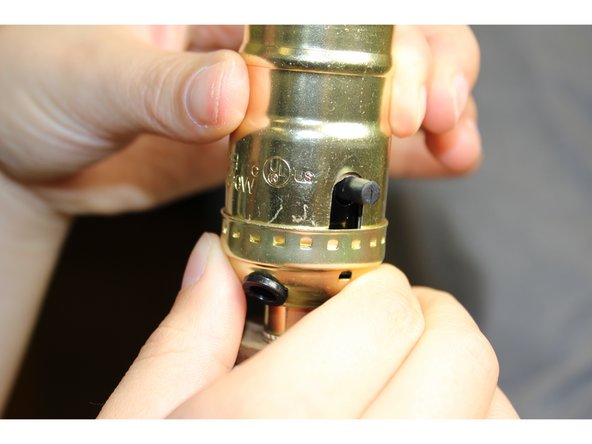
Place the socket shell (with paper liner) over the socket interior. Snap it into correct position. Listen for clicks to make sure that the shell is locked properly.
-
The socket should snap together to form one piece.
-
-
-
Insert the new light bulb into the socket. Plug the cord and turn it on.
-








To reassemble your device, follow these instructions in reverse order.
Cancelar: não concluí este guia.
3 outras pessoas executaram este guia.

Equipe

University of Maine, Team 1-3, Diaz Fall 2015 Membro de University of Maine, Team 1-3, Diaz Fall 2015
UMAINE-DIAZ-F15S1G3
3 Membros
1 Guia de autoria
