Ir para o conteúdo principal
Participe da comunidade de reparos - Criar conta

TI-84 Plus Disassembly

O que você precisa

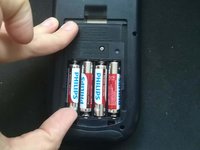
  1. TI-84 Plus Disassembly, flip: passo 1, imagem 1 %32 TI-84 Plus Disassembly, flip: passo 1, imagem 2 %32
    • Be sure the calculator is powered off before proceeding.

    • Take off the sliding cover, and flip your calculator to the back side.

    Pergunte ao FixBot

    Comentar

  2. TI-84 Plus Disassembly, battery plate.: passo 2, imagem 1 %32 TI-84 Plus Disassembly, battery plate.: passo 2, imagem 2 %32
    • Press down on the latch, then remove the battery cover.

    Pergunte ao FixBot

    Comentar

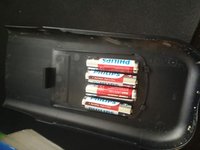
  3. TI-84 Plus Disassembly, take out the batteries: passo 3, imagem 1 %32 TI-84 Plus Disassembly, take out the batteries: passo 3, imagem 2 %32
    • Remove the batteries.

    • You can use the battery cover as a plate to keep the batteries.

    Pergunte ao FixBot

    Comentar

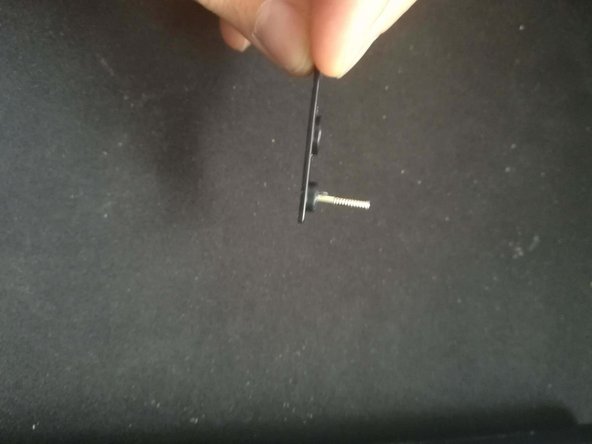
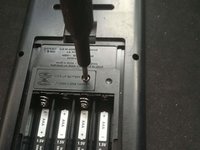
  4. TI-84 Plus Disassembly, back up battery: passo 4, imagem 1 %32 TI-84 Plus Disassembly, back up battery: passo 4, imagem 2 %32 TI-84 Plus Disassembly, back up battery: passo 4, imagem 3 %32
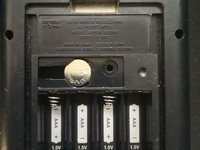
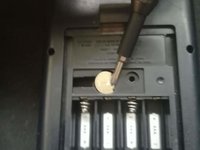
    • Removing this battery will clear your RAM, so be sure that you have made any backups of important data.

    • Use a Phillips #0 to remove the plate from the back up battery.

    Pergunte ao FixBot

    Comentar

  5. TI-84 Plus Disassembly, backup battery: passo 5, imagem 1 %32 TI-84 Plus Disassembly, backup battery: passo 5, imagem 2 %32
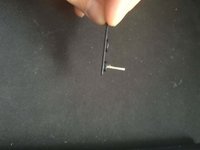
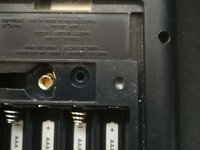
    • Remove the backup battery with either a screwdriver or the spudger.

    Pergunte ao FixBot

    Comentar

  6. TI-84 Plus Disassembly, Remove the back cover: passo 6, imagem 1 %32
    • Use a T6 Torx screwdriver to remove the six screws securing the back cover.

    Pergunte ao FixBot

    Comentar

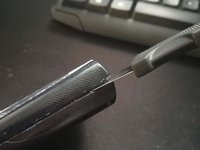
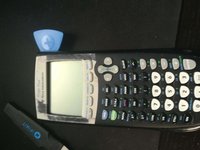
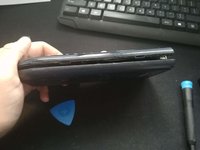
  7. TI-84 Plus Disassembly, cracking the case: passo 7, imagem 1 %32 TI-84 Plus Disassembly, cracking the case: passo 7, imagem 2 %32 TI-84 Plus Disassembly, cracking the case: passo 7, imagem 3 %32
    • Use a prying tool to get a pick into the side and then move it down until it's open.

    Pergunte ao FixBot

    Comentar

Conclusão

To reassemble your device, follow these instructions in reverse order.

Cancelar: não concluí este guia.

12 outras pessoas executaram este guia.

1Comentário do guia

Nice! My calculator wasn't turning on, took it apart and rebent the contacts for the batteries, works great now!

Noah Molla - Responder Compartilhar

Comentar

Visualizações:

Últimas 24 horas: 3

Últimos 7 dias: 20

Últimos 30 dias: 156

Ao todo: 13,693