Essa tradução foi gerada por um programa e ainda não foi revisada por uma pessoa. Falas essa língua? Dá uma olhada.
Introdução
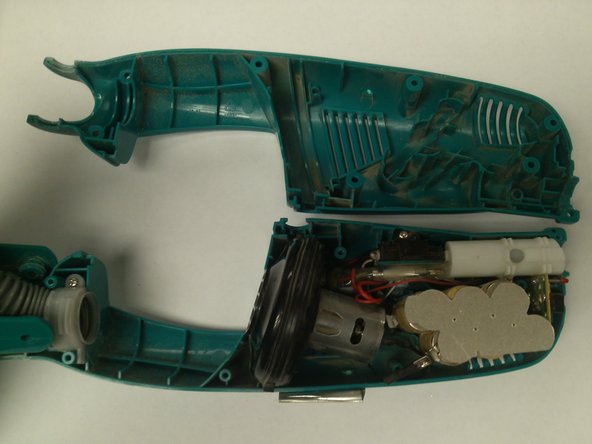
Este guia mostrará onde desparafusar, como abrir o dispositivo e como desconectar uma bateria com falha do restante dos componentes eletrônicos internos.
O que você precisa
-
-
-
Desaparafuse sete parafusos de 17,95 mm na lateral do dispositivo.
-
Desaparafuse o parafuso de 13,87 mm.
 Pergunte ao FixBot
-
-
-
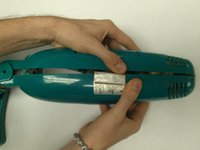
Encontre a etiqueta na parte traseira do aparelho. Pode ser que ela já tenha sido removida.
-
Se houver uma etiqueta, destaque-a a partir de qualquer uma das metades do aparelho.
-
-
-
Segure com firmeza, mas com cuidado, cada metade da carcaça e separe-as.
-
-
-
-
Remova a tampa prateada da bateria da parte superior da bateria.
-
-
-
Levante a bateria conectada do dispositivo e coloque-a sobre a superfície.
-
Remova a segunda tampa da bateria de cor prateada da parte inferior do interior do dispositivo.
-
-
-
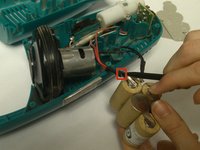
Com a espátula, aplique pressão na trava do conector do fio preto.
-
Enquanto mantém pressão na trava, puxe o fio preto para fora da bateria.
-
-
-
Usando a espátula, aplique pressão na trava da conexão do fio vermelho.
-
Enquanto aplica pressão na trava, puxe o fio vermelho para fora da bateria.
-
-




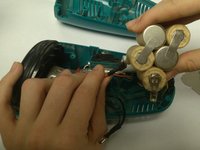
Para a remontagem de seu dispositivo, siga estas instruções na ordem inversa.
Cancelar: não concluí este guia.
16 outras pessoas executaram este guia.

Equipe

USF Tampa, Team 10-3, Brown Fall 2014 Membro de USF Tampa, Team 10-3, Brown Fall 2014
USFT-BROWN-F14S10G3
3 Membros
Autoria de 60 guias
12Comentários do guia
This seems very easy. Will try amd make an update
This was helpful but my swiffer vacuum had a plastic chassis for the battery and I had to remove the circuit board as well to route the wires on my replacement battery as they were not is the same places as the factory battery.
Where do you purchase the batteries
Where do you purchase the batteries?
One place you can get the battery pack as shown is here; https://sweeperbattery.com/. The latest model (easier to install) battery in a case (6 cell - 7.2 volt) is also available from amazon.
