Introdução
In this replacement guide, we will show you how to remove the back cover and all of the inside components of your tablet in order to replace the back cover.
O que você precisa
-
-
To begin, insert the plastic opening tool between the display and back cover and apply force until the back cover comes free from the device.
 Pergunte ao FixBot
-
-
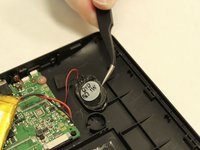
Ferramenta utilizada neste passo:Tweezers$4.99
-
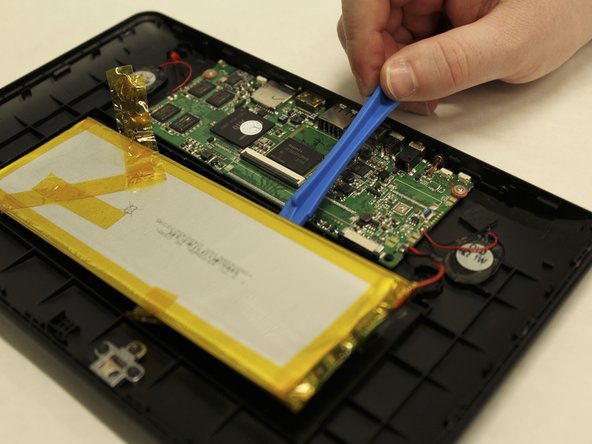
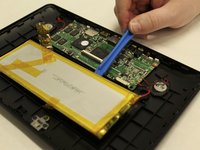
Carefully remove orange ribbons from the motherboard by opening the small plastic flaps and pulling with tweezers.
-
-
-
-
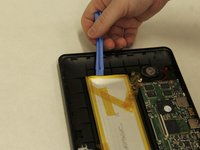
To remove the battery, use the plastic opening tool to pry one corner off of the battery and gently move the opening tool down to pull up one side of the battery.
-
-
-
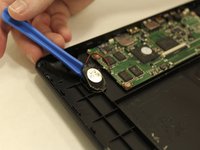
To remove the speakers, use the plastic opening tool to gently pry the speaker from the back cover, then use the tweezers to remove them fully.
-
-
-
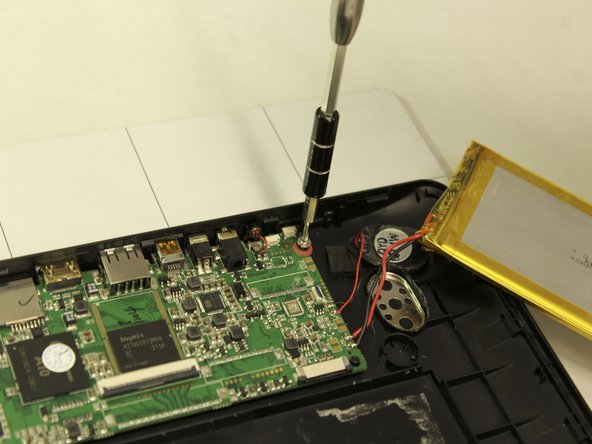
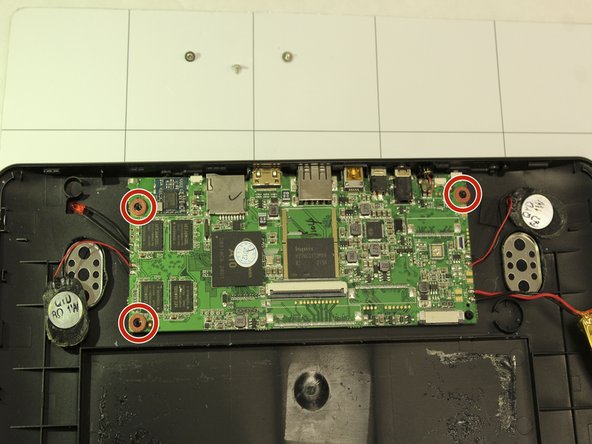
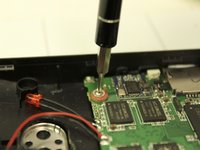
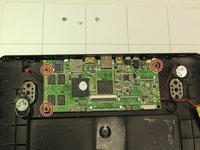
To remove the motherboard, start by unscrewing the three (3) small Phillips head screws using a 1.5 mm Phillips head (Phillips #000) screwdriver.
-


To reassemble your device, follow these instructions in reverse order.
Cancelar: não concluí este guia.
Uma outra pessoa concluiu este guia.
Equipe

IUPUI, Team S1-G1, Wilson Spring 2018 Membro de IUPUI, Team S1-G1, Wilson Spring 2018
IUPUI-WILSON-S18S1G1
5 Membros
Autoria de 6 guias