Introdução
This guide will have you remove the upper case using a gamebit screwdriver and then in order to reveal the ribbon to the system from the controller port you will have to remove the reset button. This process will require only the gamebit.
O que você precisa
-
-
Remove the six screws located on the underside of the system using the Gamebit 4.5mm screwdriver.
 Pergunte ao FixBot
-
-
-
Carefully flip the unit back over.
-
Locate the seam. Lift and separate the upper half of the case from the lower half of the case.
-
-
-
-
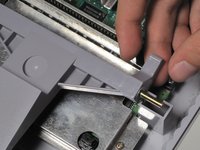
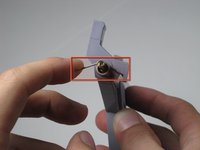
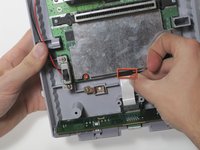
Lift the right side of the eject lever out of the housing.
-
-
-
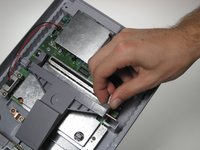
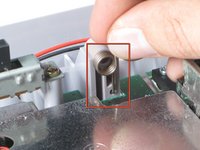
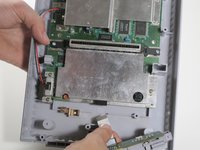
Lift the controller ports out of the housing, this should be done without much force. Take note of the location of the ribbon cable connection.
-


To reassemble your device, follow these instructions in reverse order.
Cancelar: não concluí este guia.
18 outras pessoas executaram este guia.
Equipe

Cal Poly, Team 4-47, Amido Fall 2010 Membro de Cal Poly, Team 4-47, Amido Fall 2010
CPSU-AMIDO-F10S4G47
4 Membros
Autoria de 25 guias
3Comentários do guia
I did a complete teardown of my 26 year old super Nintendo because I had to fix the AV jack. the hardest part was the de soldering. however upon putting it back together I could get the games to play, however it was in black and white…or even a grayish hue…and the controllers didn't work. shortly after the ribbon connecting the controller input to the system snapped on one end. do you think this was the issue, and where do I find a new one? Thanks.
This isn’t complete. How about taking the face plate off?
Find don’t look like screws they look like rivets