Ir para o conteúdo principal

Sony Xperia XA1 Audio Jack Replacement

O que você precisa

  1. Sony Xperia XA1 Audio Jack Replacement, Phone Back Cover: passo 1, imagem 1 %32 Sony Xperia XA1 Audio Jack Replacement, Phone Back Cover: passo 1, imagem 2 %32 Sony Xperia XA1 Audio Jack Replacement, Phone Back Cover: passo 1, imagem 3 %32
    • Using a hair dryer, apply heat evenly around the edges of the back of the phone. This will loosen the adhesive and allow you to remove the back panel.

    • As you're heating up the phone, begin to pry open the back starting from the middle, and going to the corners.

    • Do not apply heat in one area for too long.

  2. Sony Xperia XA1 Audio Jack Replacement, Audio Jack: passo 2, imagem 1 %32 Sony Xperia XA1 Audio Jack Replacement, Audio Jack: passo 2, imagem 2 %32 Sony Xperia XA1 Audio Jack Replacement, Audio Jack: passo 2, imagem 3 %32
    • Use a Phillips #000 Screwdriver to remove the three 3 mm screws from the top bracket.

  3. Sony Xperia XA1 Audio Jack Replacement: passo 3, imagem 1 %32 Sony Xperia XA1 Audio Jack Replacement: passo 3, imagem 2 %32 Sony Xperia XA1 Audio Jack Replacement: passo 3, imagem 3 %32
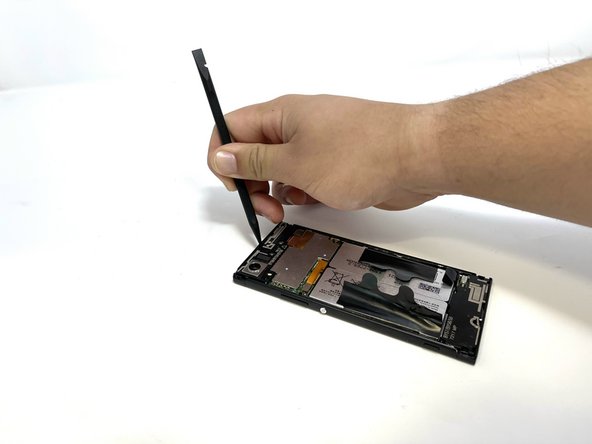
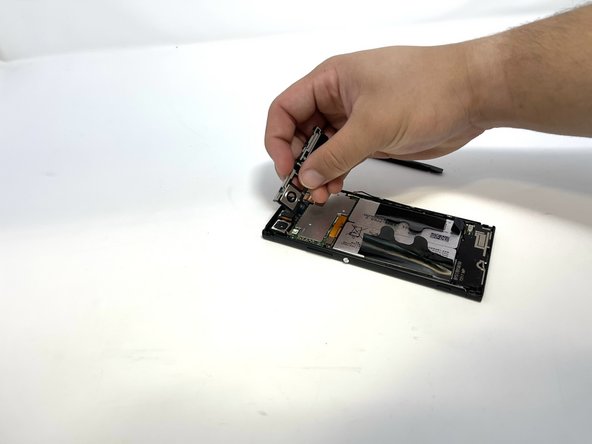
    • Use a spudger to gently pry the three tabs at the top of the phone and release the camera cover.

    • Gently lift the cover.

  4. Sony Xperia XA1 Audio Jack Replacement: passo 4, imagem 1 %32 Sony Xperia XA1 Audio Jack Replacement: passo 4, imagem 2 %32 Sony Xperia XA1 Audio Jack Replacement: passo 4, imagem 3 %32
    • Use the Phillips #000 Screwdriver to remove the 3 mm screw to the left of the audio jack component.

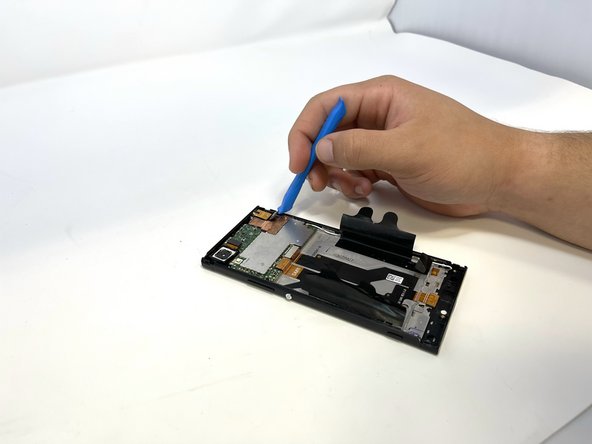
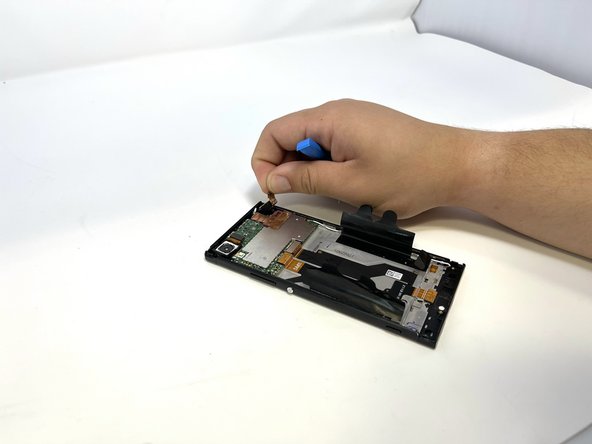
    • Use an opening tool to lift the audio jack connector.

    • Pinch the connector and remove the audio jack.

Conclusão

To reassemble your device, follow these instructions in reverse order.

Lindsey Taysom

Membro desde: 02/14/23

205 Reputação

Autoria de 2 guias

Equipe

0 comentários

Adicione um comentário

Exibir estatísticas:

Últimas 24 horas: 0

Últimos 7 dias: 1

Últimos 30 dias: 2

Duração total: 127