Introdução
If your camera broke or doesn't work you may need to replace it from the board. This will show you how to do it.
O que você precisa
-
-
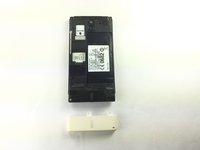
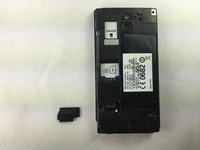
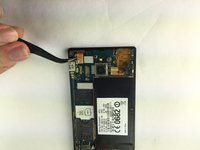
Place phone down with screen side down and camera side facing up as shown.
-
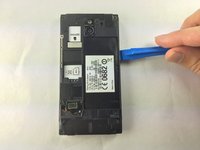
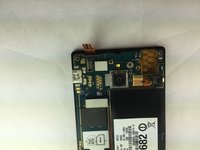
Push on cover away from you. You should hear a snap or pop. This will let you view the battery and sim/sd card slots. Then lift the cover off.
 Pergunte ao FixBot
-
-
-
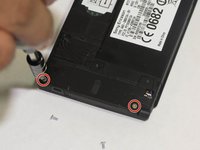
Remove the five (5) screws on the phone, using a screwdriver. The screws are at the top and the bottom of the phone as shown.
-
-
-
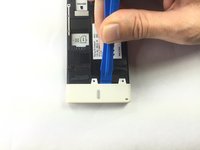
Pry off the bottom white cover by using the opening tool as a lever.
-
-
-
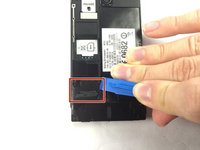
Locate the black cover on the bottom left of phone. Use an opening tool to pry up and remove the black cover.
-
-
-
Ferramenta utilizada neste passo:Tweezers$4.99
-
Disconnect the circuit by lifting the connector straight up as shown using the tweezers.
-
-
-
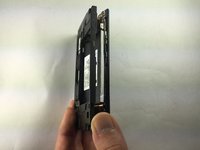
Turn the phone onto its side. Insert a plastic opening tool into seam, and gently remove the cover. You can also slide the spudger in from the top.
-
Once the cover is loose, lift it off the phone. The side buttons may feel a bit sticky, but this is normal.
-
-
-
Locate the additional circuit at the bottom left. Using the tweezers, remove it gently by pulling up.
-
-
-
Use the tweezers to lift up on the circuit located at the top left.
-
-
-
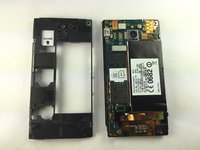
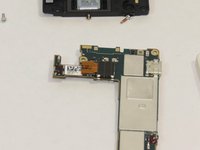
Use the spudger and slide it under the top left of the board then lift the board straight up. The board should come up very easily.
-
-
-
This will ensure easy removal of the camera module.
-
-
Ferramenta utilizada neste passo:Tweezers$4.99
-
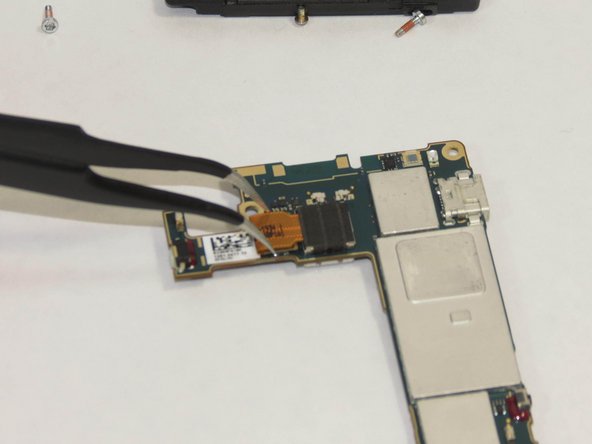
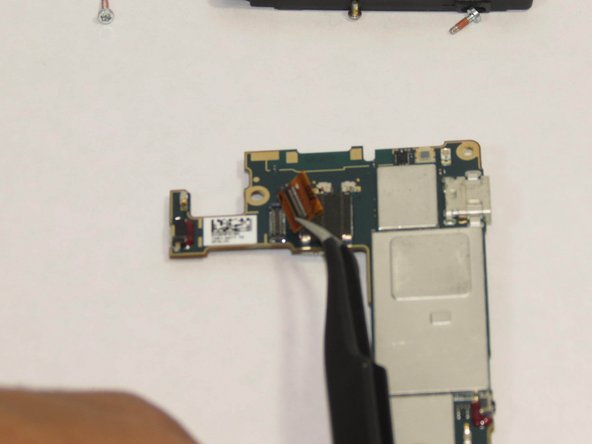
Using the tweezers remove the camera from the power source.
-
-
-
Pick up board and remove camera module. The module should seem to just pop out.
-


To reassemble your device, follow these instructions in reverse order.
Cancelar: não concluí este guia.
2 outras pessoas executaram este guia.
Equipe

USF Tampa, Team 1-1, Brown Fall 2014 Membro de USF Tampa, Team 1-1, Brown Fall 2014
USFT-BROWN-F14S1G1
4 Membros
Autoria de 5 guias