Ir para o conteúdo principal
Participe da comunidade de reparos - Criar conta

Sony Vaio VGN-SR140E RAM Replacement

O que você precisa

    1. Sony Vaio VGN-SR140E RAM Replacement, Battery: passo 1, imagem 1 %32
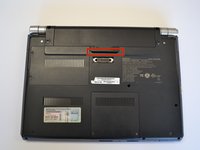
      • Turn the laptop over and orient it as shown in the figure.

      Pergunte ao FixBot

      Comentar

    2. Sony Vaio VGN-SR140E RAM Replacement: passo 2, imagem 1 %32
      • Slide the lock latch to the right to release the battery lock.

      • Slide and hold the release latch to the left.

      Pergunte ao FixBot

      Comentar

    3. Sony Vaio VGN-SR140E RAM Replacement: passo 3, imagem 1 %32 Sony Vaio VGN-SR140E RAM Replacement: passo 3, imagem 2 %32
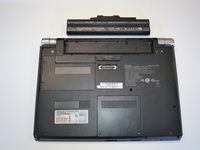
      • Use a fingernail or plastic opening tool lift the battery while holding the release latch.Rotate the battery up and away from you to remove it from the laptop.

      Pergunte ao FixBot

      Comentar

    1. Sony Vaio VGN-SR140E RAM Replacement, RAM: passo 4, imagem 1 %32
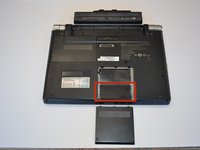
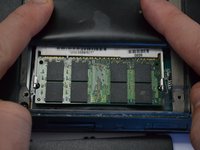
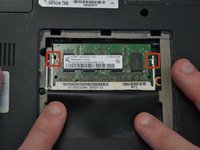
      • Using a Phillips #1 screwdriver, remove both screws. The screws are secured to the cover with retaining clips.

      Pergunte ao FixBot

      Comentar

    2. Sony Vaio VGN-SR140E RAM Replacement: passo 5, imagem 1 %32 Sony Vaio VGN-SR140E RAM Replacement: passo 5, imagem 2 %32
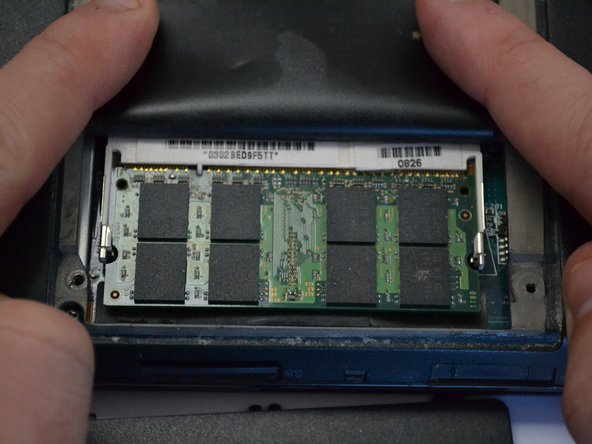
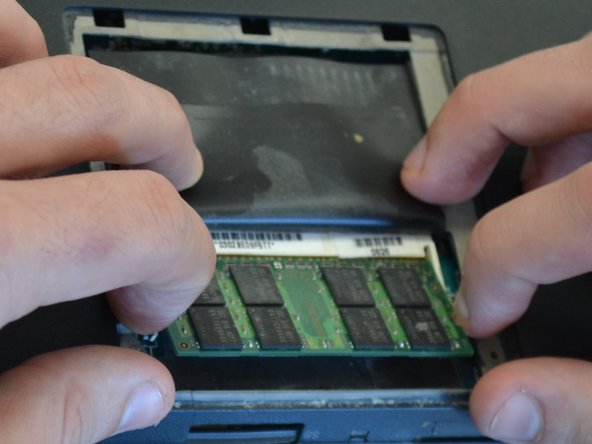
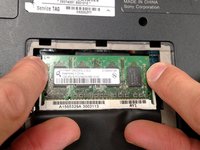
      • Lift the thin black plastic cover to access the RAM.

      Pergunte ao FixBot

      Comentar

    3. Sony Vaio VGN-SR140E RAM Replacement: passo 6, imagem 1 %32 Sony Vaio VGN-SR140E RAM Replacement: passo 6, imagem 2 %32
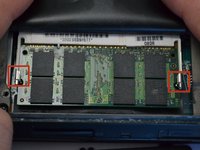
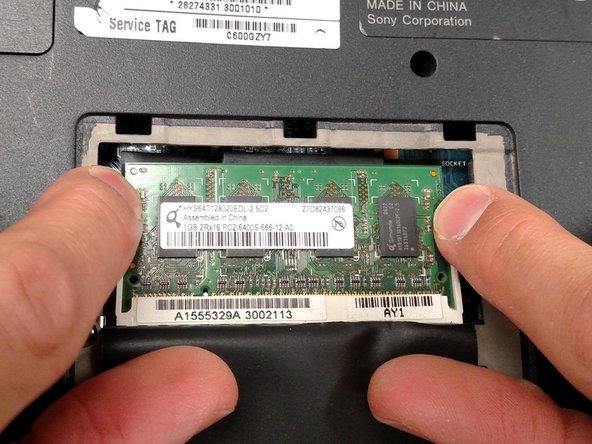
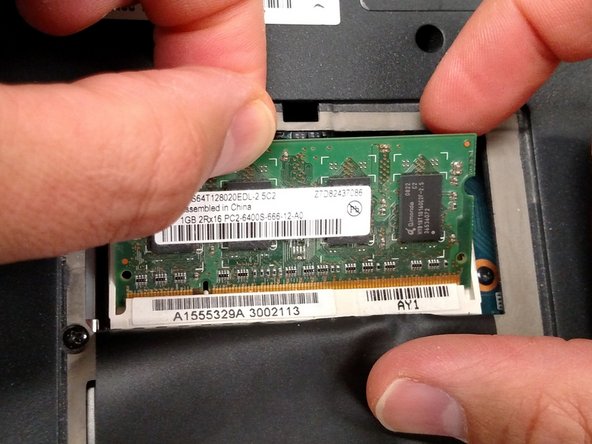
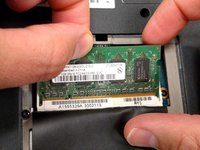
      • Apply light outward pressure to the locks on either side of the RAM. Rotate the RAM up slightly. Pull the RAM toward you to remove it.

      Pergunte ao FixBot

      Comentar

    4. Sony Vaio VGN-SR140E RAM Replacement: passo 7, imagem 1 %32 Sony Vaio VGN-SR140E RAM Replacement: passo 7, imagem 2 %32 Sony Vaio VGN-SR140E RAM Replacement: passo 7, imagem 3 %32
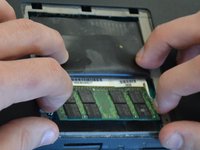
      • Using the same light outward pressure on the locks, lift the secondary RAM up and slide it away from you to remove it from its slot.

      Pergunte ao FixBot

      Comentar

Conclusão

To reassemble your device, follow these instructions in reverse order.

Cancelar: não concluí este guia.

Jeremy

Membro desde: 03/18/15

735 Reputação

Autoria de 4 guias

Equipe

Michigan Tech, Team 1-6, Lauer Spring 2015 Membro de Michigan Tech, Team 1-6, Lauer Spring 2015

MTU-LAUER-S15S1G6

2 Membros

Autoria de 30 guias

1Comentário do guia

C'est trop cool

Joël Zanou - Responder Compartilhar

Comentar

Visualizações:

Últimas 24 horas: 4

Últimos 7 dias: 11

Últimos 30 dias: 35

Ao todo: 890