Introdução
This guide will show you how to remove the keyboard from your Sony Vaio VGN-FS640 laptop.
O que você precisa
-
-
-
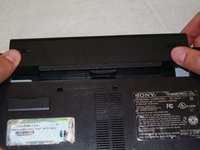
Lay the closed laptop on its screen so the bottom is facing towards you.
 Pergunte ao FixBot
-
-
-
Revome the battery by pushing it away from the laptop.
-
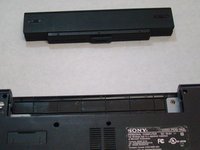
Set the battery away from the laptop.
-
-
-
-
-
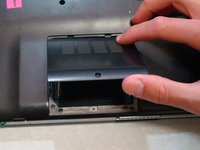
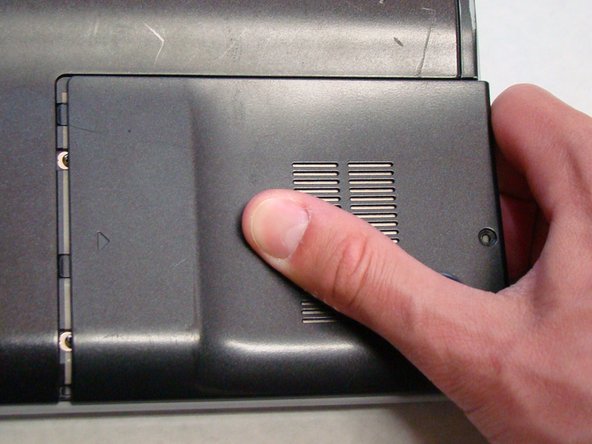
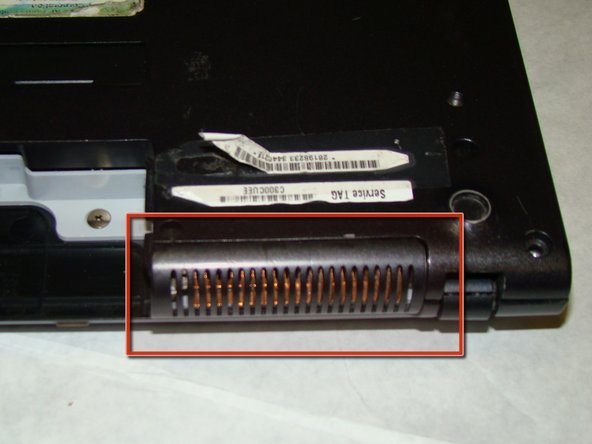
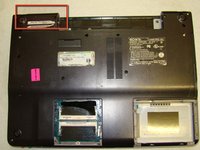
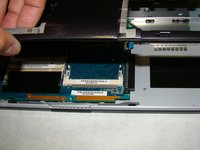
With the bottom of the laptop facing up, locate the RAM cover.
-
The RAM is covered by the panel with four columns of vents.
-
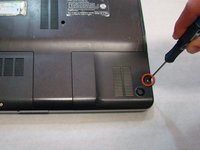
Locate the screw (Length: 4.8 mm) holding down the panel, which is near the edge of the laptop. Unscrew it with your phillips #0 screwdriver.
-
-
-
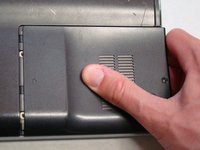
Use your fingers to slide the cover away from the laptop. (It will only slide a few millimeters)
-
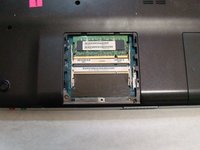
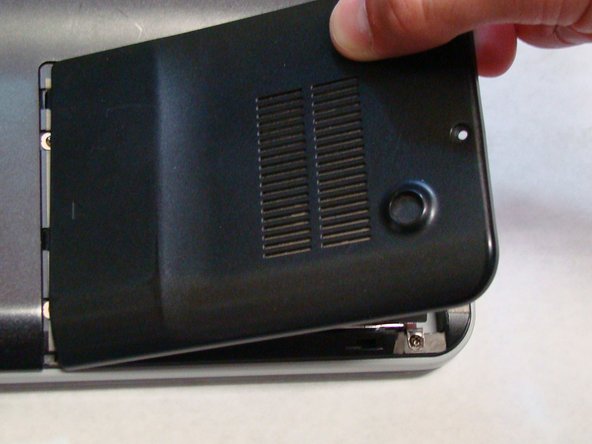
Once the panel is out of its locked position, it can be lifted out without any resistance.
-
-
-
-
-
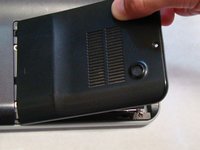
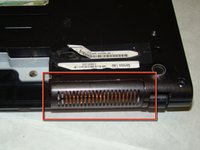
Locate and remove the screw (Length: 7.7mm) for the hard drive cover.
-
Slide the cover until it is free from the laptop case.
-
Lift the cover to remove.
-
-
-
-
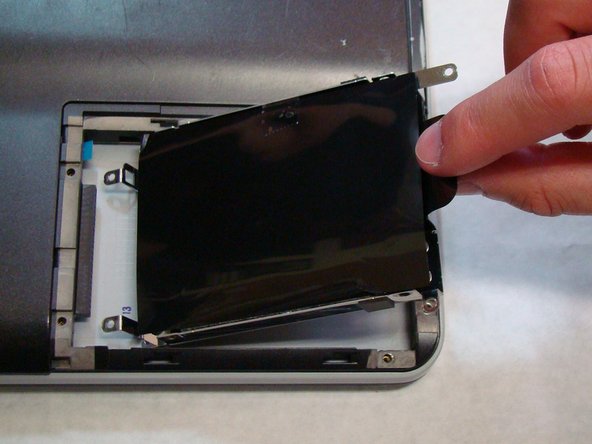
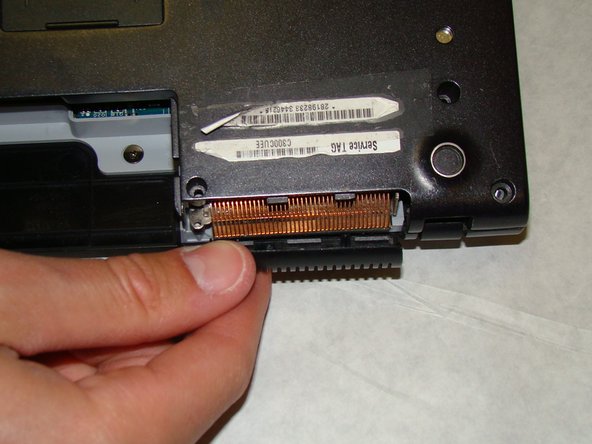
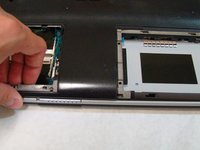
Locate and remove the four screws (Length: 7.7mm) holding the Hard Drive tray in place.
-
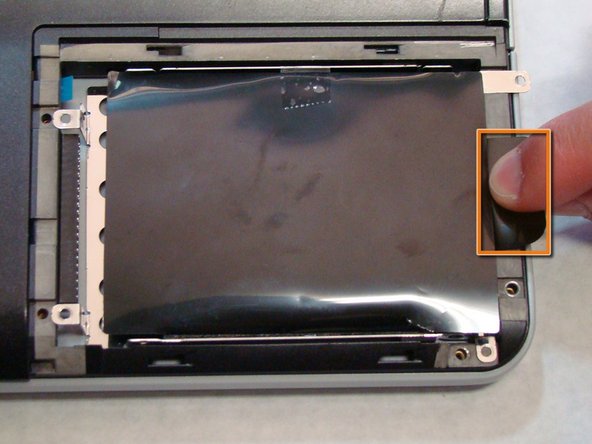
Using the tab on the tray, slide the Hard Drive away from the main body of the laptop.
-
The Hard Drive should now be disconnected.
-
Lift the drive out with the tab on the tray.
-
-
-
-
-
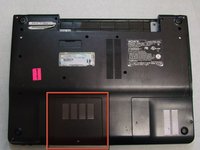
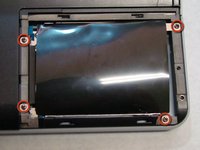
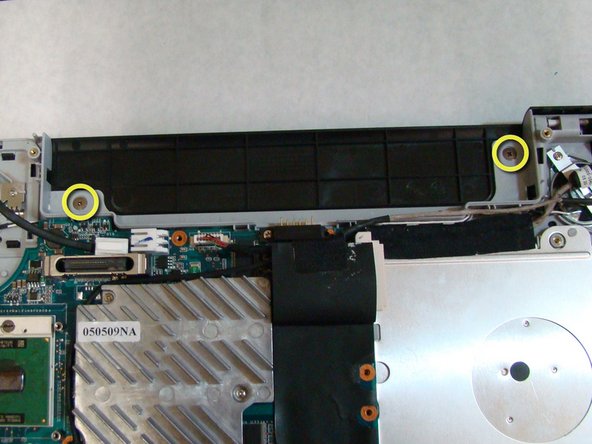
Locate the screws highlighted here. There are 16 total.
-
Using a Phillips #0 screwdriver, remove the screws (Length: 6.8mm) and place them on a tray for later use.
-
-
-
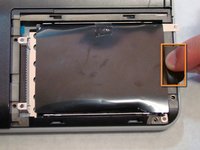
You do not need to actually remove the part at this time. It is held in place by the rest of the back cover and will fall off when back cover is removed in the next step.
-
-
-
After removing the screws, use your fingers to lift the back cover off the laptop.
-
-
-
Remove the back cover and place it somewhere safe so you can locate it later.
-
-
-
-
-
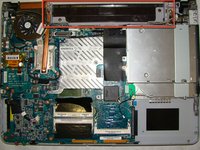
After the back cover is removed, lay the laptop on a flat surface, with the bottom facing up.
-
-
-
To remove the keyboard, the speaker cover must be removed first.
-
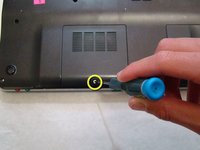
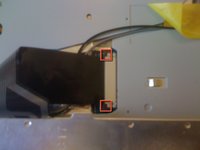
To do this, first remove the two screws (Length: 2.3 mm) highlighted in the picture.
-
-
-
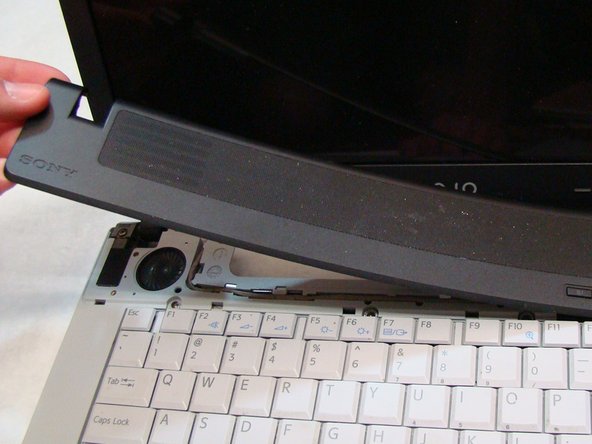
After the screws are removed, flip the laptop over so the keyboard is facing up and move the screen to its upright position.
-
-
-
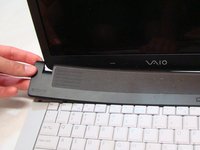
To start removing the speaker cover, use your finger to lift up on the exposed corner of the black speaker cover, located near the bottom left corner of the screen.
-
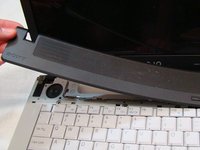
Slowly pull the speaker cover off from left to right, making sure it snaps off little by little.
-
-
-
After removing the speaker cover, remove the four screws (Length: 3.6 mm) with your Phillips #0 screwdriver that hold the keyboard in place.
-
-
-
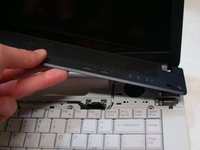
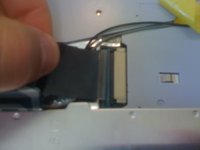
Lift the free edge of the keyboard and fold it back to expose the ribbon that connects the keyboard to the laptop.
-
-
-
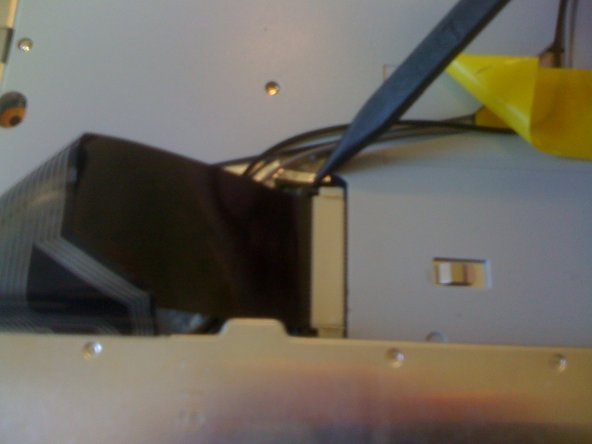
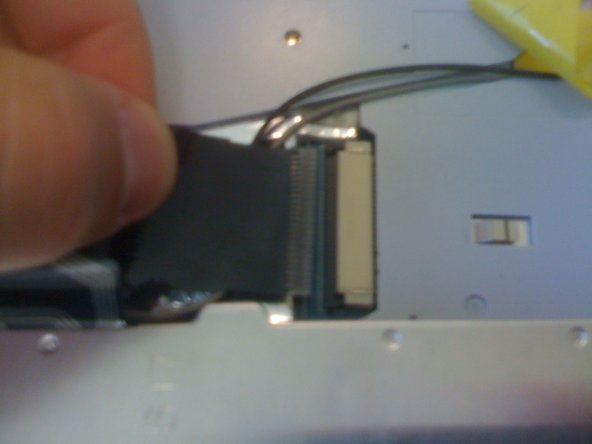
On each side of the white plastic connector, there is a tiny black tab that locks the ribbon into place.
-
Use the sharp edge of a spudger to slide the black tabs away from from the white plastic connector.
-
Once the tabs have been extended away from the connector, the ribbon can be removed from the keyboard.
-
The keyboard is now completely disconnected from the laptop.
-
-


To reassemble your device, follow these instructions in reverse order.
Cancelar: não concluí este guia.
3 outras pessoas executaram este guia.
Equipe

Cal Poly, Team 24-32, Regan Spring 2010 Membro de Cal Poly, Team 24-32, Regan Spring 2010
CPSU-REGAN-S10S24G32
4 Membros
Autoria de 16 guias
1Comentário do guia
You only need to remove the 2 screws in the battery compartment to complete this replacement. The student may be brilliant but he sure enjoys doing unnecessarily long, overly complex, and potentially damaging tasks. ;-)